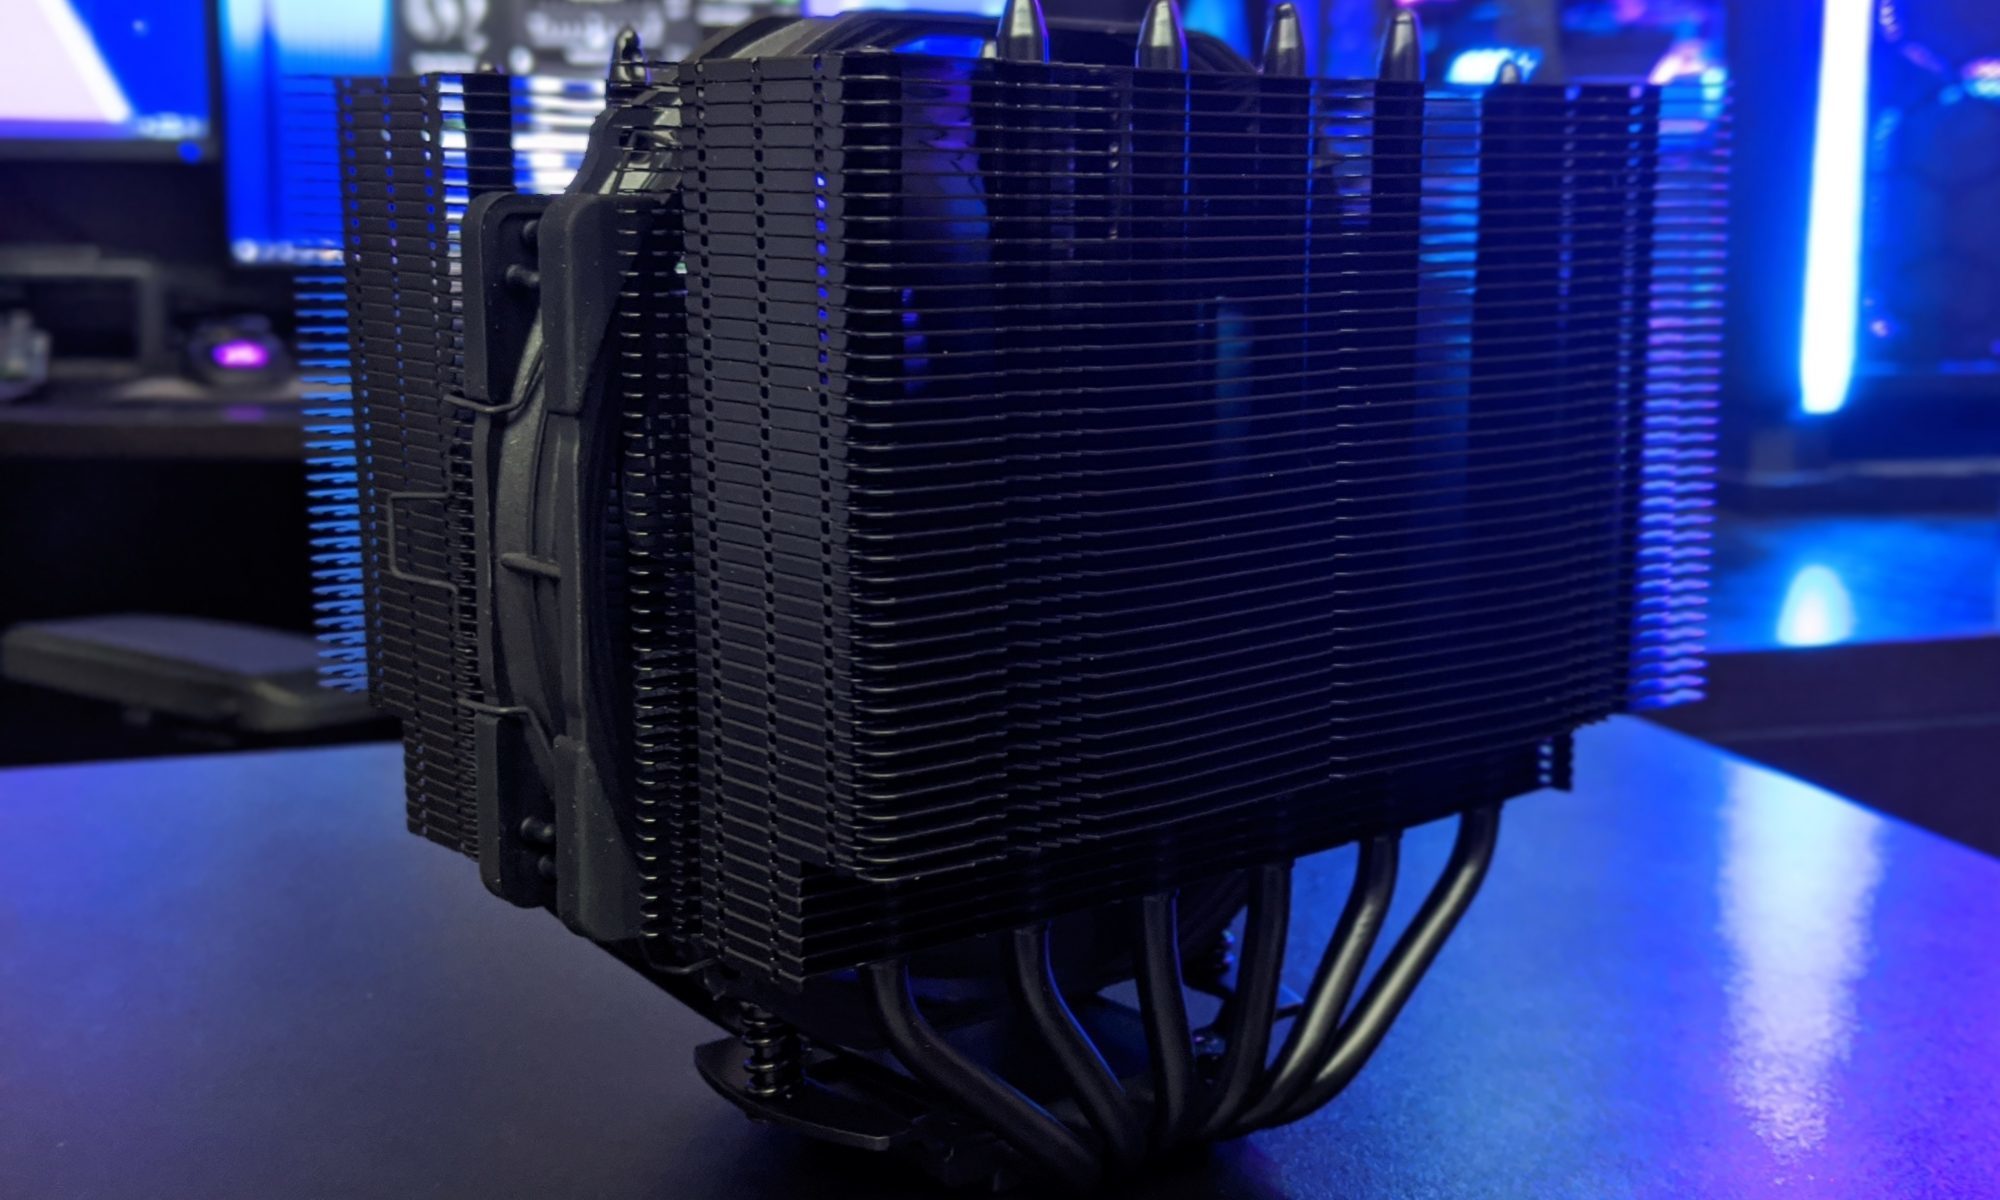
360mm AIO radiator position in a mid-tower
Placing a 360mm all-in-one liquid cooler at the top, front or bottom of a mid-tower affects the entire cooling path. The mounting position determines where the radiator draws air from, how that air reaches the CPU and graphics card, and how much heat is released into the case. A larger radiator cannot compensate for a poorly planned airflow route, so the best position depends on the hardware, case design and which component produces the most heat.
Australian conditions make these decisions especially important. Hot afternoons in Sydney and Brisbane provide little thermal margin, while Melbourne’s changeable weather can conceal a poorly arranged airflow path. Shared rooms and evening gaming favour quiet cooling, and Australian-dollar pricing can make an imported 360mm AIO look attractive compared with a bundled local option. Electrical compliance also matters: Australian mains is nominally 230V with Type I plugs, while the power supply and any separately sold powered cooler should have appropriate Australian supplier documentation, including Regulatory Compliance Mark arrangements where applicable.
How radiator position changes airflow
The pump pushes coolant through the CPU block and radiator, but the radiator fans determine how air moves through the chassis. That distinction is important when comparing top, front and bottom mounting. A fan below a top-mounted radiator blows upwards into it, whereas a fan above it pulls air through the radiator and out of the case. Reversing those fans can reverse the pressure characteristics of the entire build.
Heat-source location influences the result. A CPU sits near the top of a mid-tower and naturally heats the surrounding air. A top radiator receives this warmer air, while a front radiator may receive a mixture of outside air, CPU exhaust and graphics card heat. A bottom-mounted radiator can begin with cooler intake air, although that air may pass across the graphics card before reaching the CPU. The radiator’s job is to remove heat from the liquid loop; the chassis fans must still deliver air to the heat sources.
A 360mm label also does not guarantee equal performance. Radiator thickness, fin density, metal construction, fan characteristics and pump performance all matter, as do the space available for fans and unobstructed airflow. A 360mm AIO can be excessive for a modest processor: Hardware Hounds’ best 65W CPUs guide, originally aimed at low-noise fanless systems, illustrates how reducing processor heat can simplify cooling without a large liquid cooler.
Top mounting for strong CPU cooling
A top-mounted 360mm AIO keeps the radiator close to the CPU block and provides a short, relatively direct coolant route. This reduces the distance the pump must push coolant and generally suits processors that become hot under sustained rendering or compiling workloads. The roof also provides a direct path for exhaust air to leave the case, provided there is enough clearance above the motherboard and rear I/O panel.
Fan orientation determines the trade-offs. With the fans below the radiator acting as pushers and a rear exhaust fan running, the case maintains positive pressure while CPU exhaust and graphics card heat leave through the roof. With the top fans acting as pullers, the radiator can pre-cool air before it reaches the CPU. That arrangement may improve CPU temperatures, but it can obstruct the graphics card’s rear exhaust, trapping some GPU heat inside the chassis. A rear exhaust fan is particularly useful for preventing that recirculation.
Top placement is often the quietest option when configured correctly. Exhausting hot air outside the case can allow cooler-running hardware to use slower fan speeds, and there is usually no drive cage or power-supply shroud restricting the radiator. Check the case height, the motherboard’s upper edge and the clearance needed to connect the pump tubing without sharply bending the leads.
Front mounting for balanced performance
A front-mounted radiator is a common choice because it combines straightforward installation with an effective positive-pressure airflow arrangement. With the front fans pushing air through the radiator and a rear fan exhausting the case, incoming air passes through the radiator before moving across the graphics card and towards the CPU and rear exhaust. The GPU receives a good supply of cooler air, while the CPU receives air that may already contain some GPU heat.
The radiator’s physical position also affects tube routing and component clearance. Front mounting usually leaves the RAM unobstructed, but a long radiator can interfere with a power-supply shroud, drive cage or oversized graphics card. The pump block remains attached to the CPU, so the tubes may need careful routing across the motherboard to avoid blocking a cooler or awkwardly forcing the pump into a tilted position.
Front fans benefit from unobstructed intake air, but filters can add resistance and increase noise. This matters in Australian environments, where road dust, pollen and coastal humidity can accumulate quickly. Positive pressure helps keep unfiltered dust outside, while a cleaned mesh filter protects the radiator fins. Local pricing also deserves comparison: an imported AIO might offer stronger fans or a better pump than a cheaper bundled kit, but buyers should check warranty support and the availability of replacement parts.
Bottom mounting as a case-specific compromise
Bottom mounting makes sense when the roof is occupied by a tall memory module, a reservoir or another radiator, or when the case’s lower intake already has a large fan. In a typical intake arrangement, outside air enters below the radiator and travels upwards through the case. This can provide the CPU with a cooler starting point than recirculated upper-case air, although the graphics card may warm that airflow before it reaches the processor.
Positive pressure remains the safer default. Bottom intake fans combined with rear and top exhaust fans keep dust outside and provide a continuous route away from the heat sources. Treating the bottom radiator as an exhaust is another possibility, but it reverses the usual arrangement and can draw external air through components that were expected to receive filtered internal airflow. Bottom mounting should therefore follow the case’s intended airflow design rather than simply moving a front radiator to another location.
Clearance is the main practical obstacle. The radiator and fans must fit beneath the graphics card without restricting its intake, and the GPU support bracket needs room to contact the case floor. Long tubes create more opportunities for leaks and awkward routing, while floor-level placement exposes the radiator to dust and pet hair. Before making the move, compare temperature measurements taken at similar ambient temperatures; the linked community resource can provide supplementary reference material, but results should still be verified against the exact hardware and test conditions.
Choosing the right position for your build
Start with the component that limits performance and the layout available in the case. A CPU-heavy workstation may benefit most from a top radiator and short tubes, while a gaming PC with a hot graphics card may gain more from front placement. Neither rule is absolute, because case restrictions, fan direction and ambient temperature can outweigh the nominal advantage of a mounting position. Measure the finished system rather than relying on a general placement rule.
Compatibility checks should happen before purchasing a cooler. Measure the radiator length, the case’s mounting points, the space behind the motherboard tray and the combined thickness of the radiator and fans. Check RAM clearance, GPU clearance, pump fittings, cable routing and the case’s warranty terms. A barebones chassis that accepts a 360mm radiator does not necessarily provide the airflow clearance needed to cool it effectively.
- Choose top mounting for CPU-limited systems, hot climates and quiet operation, provided the case has sufficient roof clearance.
- Choose front mounting for balanced gaming builds, straightforward positive pressure and relatively accessible radiator servicing.
- Choose bottom mounting when the roof is unavailable and the floor area can accommodate the radiator without obstructing the graphics card.
- Judge a cooler by measured CPU temperatures, GPU hotspot performance, pump characteristics and fan noise rather than its nominal 360mm size alone.
For a conventional mid-tower, a front-mounted 360mm AIO with rear exhaust is the dependable general-purpose arrangement. Top mounting becomes the stronger choice when CPU cooling is the priority and the chassis provides generous clearance. Bottom placement is best treated as a deliberate response to the case design, with airflow direction and measured results taking precedence over the mounting label.