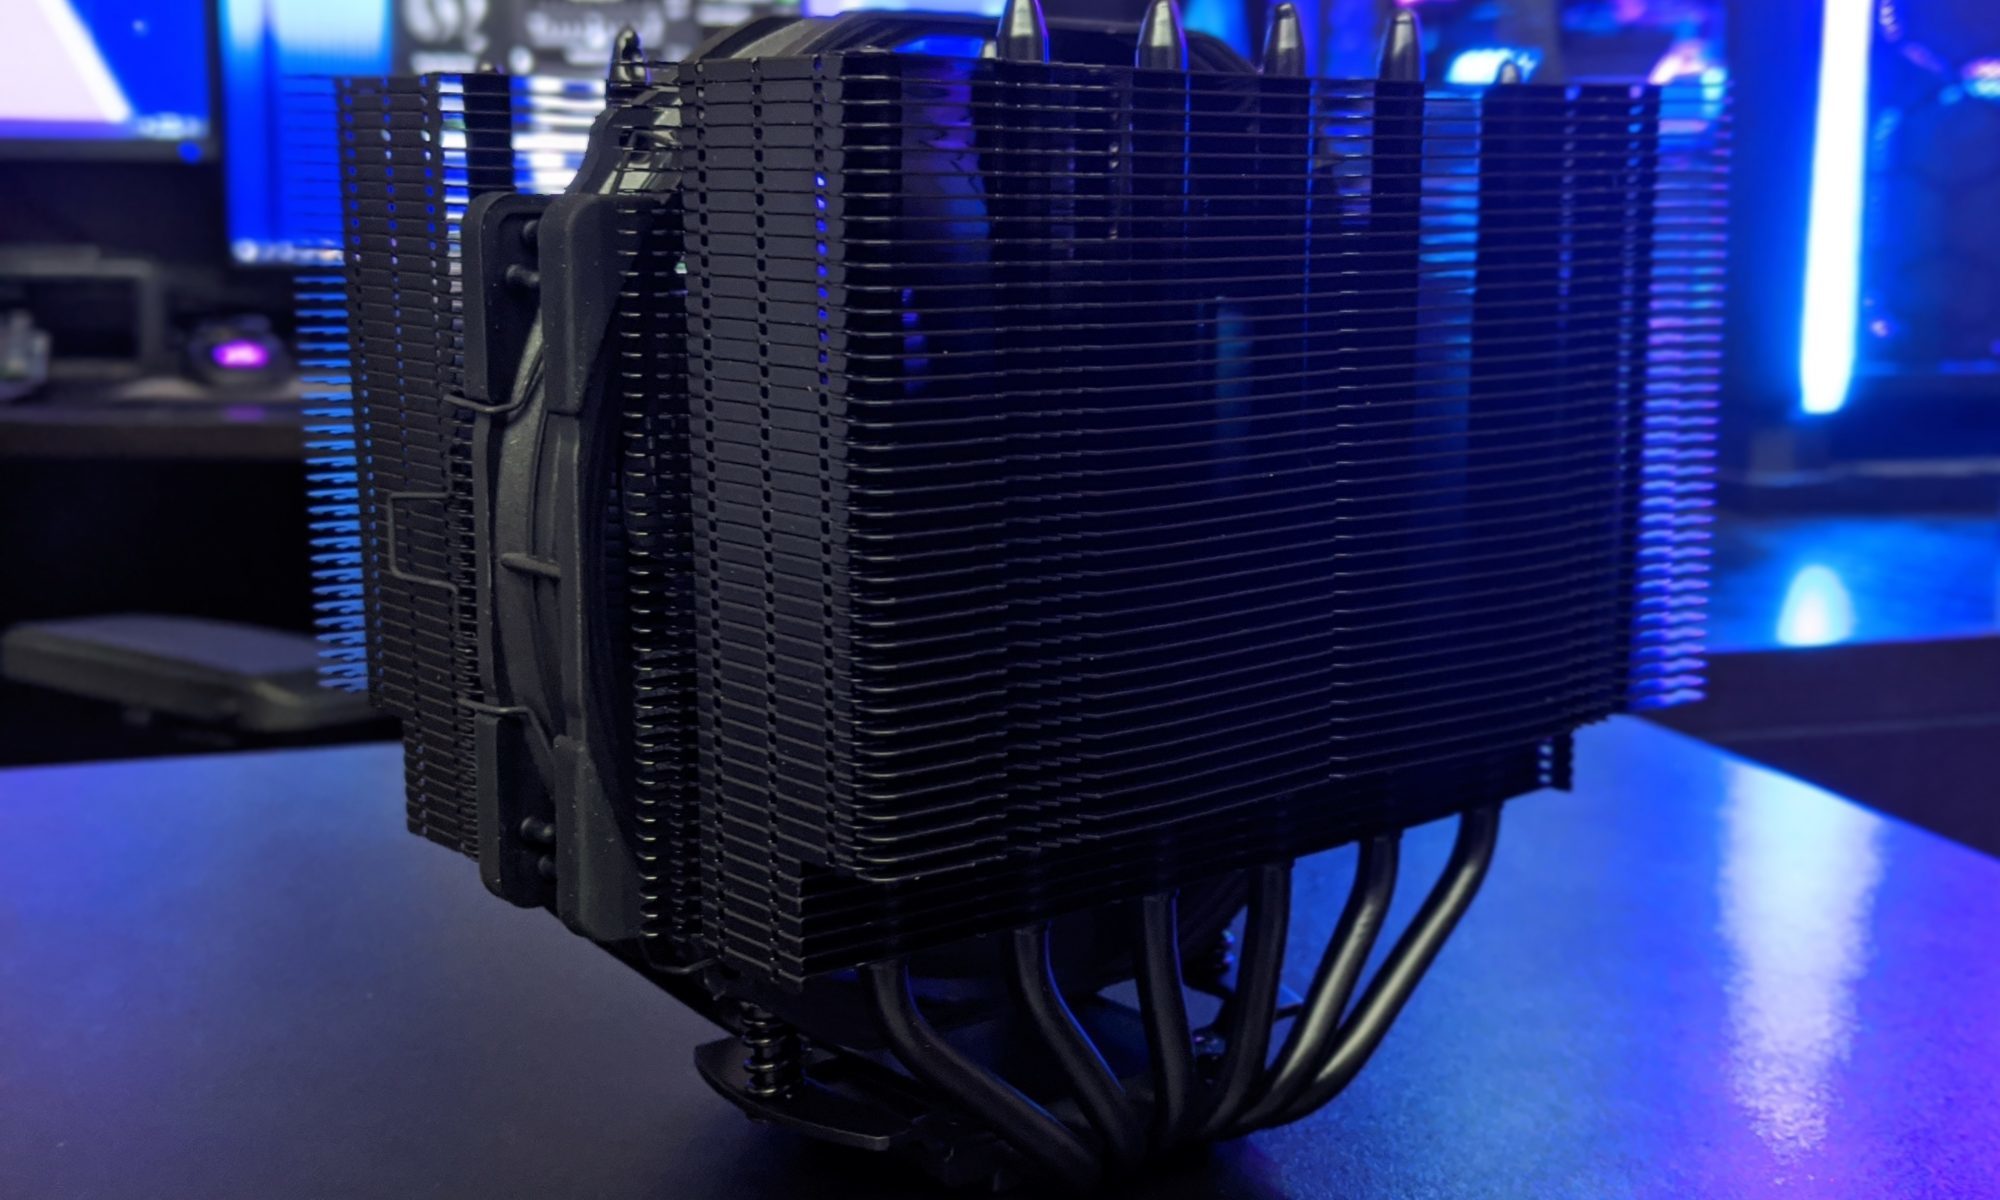
Making Tall RAM Work With Large Air Coolers
Large tower air coolers remain a practical choice for Australian PC builders. They can deliver strong CPU temperatures without pump noise, software overhead, or the long-term maintenance concerns associated with some liquid cooling systems. The catch is that their fin stacks and front fans often occupy the same space as tall memory heat spreaders.
Air cooler orientation compatibility with tall RAM modules depends on several measurements rather than the cooler’s advertised socket support alone. A heatsink may fit an AM5 or LGA1851 motherboard perfectly while its front fan blocks the first memory slot, forcing the fan upward or requiring a different mounting direction.
That clearance issue matters when choosing performance memory with RGB light bars, oversized heatsinks, or decorative designs. It also matters in compact cases sold through Australian retailers, where moving a fan just a few millimetres can interfere with the side panel. Careful planning avoids an expensive return and makes a quieter, cleaner build easier to achieve.
Why memory height changes cooler fit
Most dual-tower coolers have a front fin stack positioned above the motherboard’s DIMM slots. The front fan pulls air through that stack and is usually mounted low enough to overlap the memory area. Standard modules around 31–36 mm tall are often safe, while RGB kits commonly reach 42–46 mm or more.
The critical measurement is the distance from the motherboard surface to the lowest edge of the cooler’s front fan or fin array. Manufacturers may publish maximum RAM clearance, but this figure can vary with fan position. A cooler listed with 40 mm of clearance may support shorter modules at the intended fan height, while a taller kit may require the fan to sit above the heatsink.
Raising the fan increases the total cooler height. A case that accepts a 165 mm heatsink may become unsuitable if the fan is moved 8 mm upward. This is particularly relevant to popular mid-tower cases used in Sydney and Melbourne builds, where the advertised CPU cooler limit may leave little tolerance for a side panel, acoustic padding, or a slightly bowed panel.
Front-to-back mounting is usually the easiest solution
The conventional front-to-back layout sends air from the front intake toward the rear exhaust fan. It generally gives the most predictable CPU cooling performance because it follows the case’s normal airflow path. With tall RAM, the front fan can sometimes be raised, clipped behind the memory area, or replaced with a slimmer 120 mm model.
A raised fan is acceptable when the case has sufficient height clearance and the upper portion of the fin stack still receives good airflow. The trade-off is that the airflow may pass above the lower fins rather than through the whole radiator. In testing, this often produces a small temperature increase, though the result depends on the CPU’s power limit, workload, ambient temperature, and fan curve.
Some coolers allow the front fan to be shifted toward the rear or mounted slightly higher without changing the heatsink’s orientation. Check the clip range before assuming this is possible. A narrow 120 mm fan can preserve memory clearance, while a thicker 140 mm fan may offer lower noise but create a larger obstruction.
Rotating the heatsink can solve one problem and create another
Turning a cooler 90 degrees may move its fin stack away from the DIMM slots, but motherboard socket geometry determines whether that orientation is supported. On some platforms, the mounting brackets only permit a front-to-back installation. On others, the cooler can be rotated so airflow moves from the bottom of the case toward the top.
A vertical airflow layout can be useful in a case with a strong roof exhaust, but it is not automatically better. The cooler may conflict with motherboard heatsinks around the VRM, reach toward the graphics card backplate, or obstruct the top PCIe slot. It can also make cable routing and fan access less convenient.
When comparing tower coolers, inspect the mounting manual and installation photographs rather than relying on product thumbnails. The Hardware Hounds testing approach is useful context for readers who want to assess performance, thermals, noise, and practical fit together instead of treating compatibility as a simple socket checklist.
Motherboard layout and RAM slot choice matter
The first DIMM slot is usually the one most affected by a large tower cooler, especially on boards where the memory slots sit close to the CPU socket. Some manufacturers move the slots a few millimetres outward, while others place the CPU socket higher or lower on the PCB. As a result, the same cooler and memory kit can fit one board comfortably and clash on another.
Using the second and fourth memory slots, commonly recommended for a two-module kit, does not always solve the problem. The front fan may overlap the first slot but still cover the upper edge of the second slot. RGB light bars can touch the fan frame even when the memory PCB itself fits. Install the memory before the cooler whenever possible, because removing a tower heatsink later is an avoidable nuisance.
Check the full height of the module, including the light diffuser, rather than measuring only the metal heat spreader. Some low-profile DDR5 kits use plain black heat spreaders and fit beneath large coolers, while high-frequency kits with elaborate branding can be substantially taller without offering a meaningful real-world benefit for every workload.
Case clearance is part of the compatibility calculation
A cooler’s stated height is measured in its intended configuration. If the front fan is raised to clear 44 mm memory, add the adjustment to the published height. For example, a 158 mm cooler with a fan lifted by 7 mm becomes approximately 165 mm tall. That can exceed the limit of a compact case even if the cooler itself was originally listed as compatible.
Australian buyers should compare the case manufacturer’s specification with local retailer listings from PCCaseGear, Scorptec, Umart, or smaller specialist stores, since product pages can occasionally round dimensions differently. Allowing several millimetres of practical tolerance is wise, especially for steel side panels and cases with sound-dampening material.
Summer conditions also expose poor clearance decisions. A warm room in Brisbane or Perth can push CPU and case temperatures higher than a controlled review environment, encouraging a faster fan curve. A cooler installation that is mechanically cramped may then become noisier because the fan has less freedom to move air around the memory and fin stack.
Low-profile alternatives can preserve performance
If a preferred dual-tower cooler cannot clear the memory, a single-tower model may offer a better overall balance. Many single-tower designs position the fin stack behind the memory slots, leaving the DIMMs unobstructed while still providing enough surface area for mainstream Ryzen 7 and Core 7 processors. They may also be easier to install in narrower cases.
Low-profile memory is another straightforward option. Removing decorative modules is not exciting for an enthusiast build, but capacity and stability usually matter more than tall heat spreaders. DDR5 kits with conservative heat spreaders can deliver the same rated performance as visually larger versions, provided the motherboard’s memory profile is configured correctly.
A slim front fan is a middle ground for builders who want a dual-tower cooler. A 120 mm fan with a shallow frame may clear the DIMMs while retaining much of the cooler’s thermal capacity. Confirm that the replacement fan uses compatible clips and has a suitable static-pressure profile; a random case fan may fit physically but perform poorly against dense fins.
A practical fitting sequence for your build
Before ordering, measure the RAM height, the cooler’s front clearance, the case’s maximum CPU cooler height, and the distance between the socket and the first DIMM slot. Manufacturer drawings are helpful, but user photographs and installation manuals can reveal clip positions and orientation limits that specification tables miss.
During assembly, install the memory first, test-fit the cooler without paste, and check the side-panel clearance before final cable management. Make sure the fan does not press against the module, because vibration can create noise and put stress on the DIMM or fan clips. Confirm that the cooler does not obstruct the primary PCIe slot or interfere with motherboard heatsinks.
For builders who value a themed workstation, visual details can be handled without adding height to the memory. A desktop background, such as this Tet wallpaper gallery, can provide colour and personality while the hardware uses low-profile components. That approach keeps the build practical for hot Australian rooms and compact desks without sacrificing presentation.
A quick checklist before purchasing
- Measure the complete RAM height, including RGB diffusers and decorative caps.
- Check whether the front fan can move upward, backward, or be replaced with a slimmer model.
- Add any fan-height adjustment to the cooler’s published total height.
- Compare motherboard DIMM placement with installation images for the exact cooler.
- Leave several millimetres of case clearance rather than relying on a tight specification match.
The safest choice is the configuration that works without pressure, improvised brackets, or a side panel that barely closes. A well-fitted tower cooler should leave the memory accessible, maintain a clear front-to-rear airflow path, and keep fan speeds reasonable during sustained rendering or gaming.
For many Australian systems, a modestly sized air cooler paired with sensible-height DDR5 memory will outperform a larger, awkward installation in daily use. The best result comes from balancing CPU power, case dimensions, memory design, ambient temperature, noise targets, and local pricing rather than choosing the biggest heatsink available.