Cooling a Mini-ITX Build with a 240mm AIO
A Mini-ITX case looks roomy on a product render, but its usable volume is often much smaller than the square motherboard suggests. A graphics card, power supply, storage and cable space compete with the CPU cooler, leaving little room for a conventional tower. Radiator position is therefore the first constraint when planning a compact gaming or workstation PC.
A 240mm all-in-one liquid cooler offers a useful middle ground. It can move more heat with less noise than a small air tower while remaining easier to fit than a 280mm or 360mm unit. The catch is that “240mm supported” does not guarantee clearance once fans, fittings, tubing and the pump housing are included.
Australia makes the thermal question more important. Melbourne’s variable summers, Sydney’s humid days and Brisbane’s hotter ambient temperatures produce very different intake conditions, while many home offices run their PC through long work or gaming sessions. A system that throttles in a cool showroom may behave differently when the case sits under a desk beside a window.
Radiator size and case geometry
A typical 240mm radiator is roughly 397–410mm long, depending on the model, and about 120mm wide. With a 25mm fan, the assembly needs around 150mm of depth; a slim 15mm fan can reduce that. Measurements taken from the bare mounting rail can mislead because end tanks and hardware may extend beyond them.
Front mounting is often the simplest arrangement. The radiator sits behind the front intake, and the GPU remains the principal length constraint. A side mount may provide better access to the CPU cooler, but it can shorten GPU clearance or cover the motherboard’s power inputs. Bottom placement suits tidy tubing, yet it can conflict with a PSU cage, riser cable or elevated power supply.
Treat the case specification as a starting point rather than proof of compatibility. Check the maximum radiator width, fan thickness, motherboard-to-panel distance and whether the supplied screws pass through the intended holes. Push-pull configurations may fit on paper, but the extra fan, its cable and the required airflow path also need space.
Measuring the Mini-ITX clearance
Measure the assembled case at its narrowest point, including the motherboard tray bulge and any space occupied by front I/O. Keep the tape straight across the full radiator length rather than estimating from the 170mm square board. If clearance is within a few millimetres, allow for manufacturing tolerance and the extra depth of an elbow fitting or cable bend.
The CPU block creates a different clearance problem. Its housing can foul tall memory modules, the top PCIe x16 slot, an M.2 heatsink or the motherboard’s rear I/O shield. Socket position matters too: an AM5 or LGA1700 offset can move the pump and its mounting posts away from those components, so one cooler may sit neatly on one board but overlap on another.
Tubing deserves the same attention as metal. Check that the tubes can reach the radiator without being stretched, sharply bent or pressed against the GPU, and that the pump block can be secured to the CPU bracket. Photographs of the intended route can reveal conflicts before the cooler is installed.
Pump placement and socket offsets
Mounting usually starts with the supplied bracket, but the correct hardware for the CPU socket is essential. Some coolers include a universal plate and adjustable posts; others provide separate AM4, AM5 and LGA1700 kits. Confirm the CPU socket and check that the insulating washers and spring-loaded screws are arranged as the manufacturer specifies.
On offset sockets, the pump head may need deliberate orientation. Turning the block can create clearance for memory or a PCIe card, although the tubing then approaches the CPU from an unusual angle. The cold plate must still sit squarely and evenly on the processor because uneven contact can produce hot spots and unstable temperature readings. The housing can look centred while the contact area is not.
Plan the tube and pump positions before assembling. Tubes should run in broad curves without twisting or sharp bends, and the radiator should not trap air at its highest point. The block and radiator do not need a specific vertical order. Prime the pump as directed and keep the loop full before powering the system.
Airflow through a tiny chassis
The radiator fans create the first airflow path, but the case still needs somewhere for that air to go. A rear or top exhaust helps warm air leave rather than recirculate over the CPU and VRM. Positive pressure with a filtered intake can also reduce dust, provided the exhaust path is not blocked by a thick radiator or an unconventional arrangement.
Small cases often suffer when their side or bottom vents are blocked by a desk or cabinet. This matters in Australian homes, where ceiling fans may move room air without cooling it and air-conditioning is not always running during a daytime gaming session. Keep the intake paths clear, elevate the case where necessary and clean the filters regularly.
The GPU should not be treated as an obstacle alone. Its cooler and backplate influence the pressure balance, and a blower-style card can either help or disrupt the intended route. Position the GPU so its intake does not face a radiator fan pushing air straight back at it. Cable ties should secure pump and fan leads against the GPU face, where vibration and contact can create a ticking sound.
Thermal results under sustained load
A useful thermal comparison begins with an ambient temperature near the CPU intake and ends with a defined workload. Record idle temperatures after a short warm-up, then run a representative CPU-heavy test for 20–30 minutes. Log package power, maximum temperature, clock rate and any throttling rather than relying on one sensor. Test the case in its normal location to avoid optimistic results from an artificially open bench.
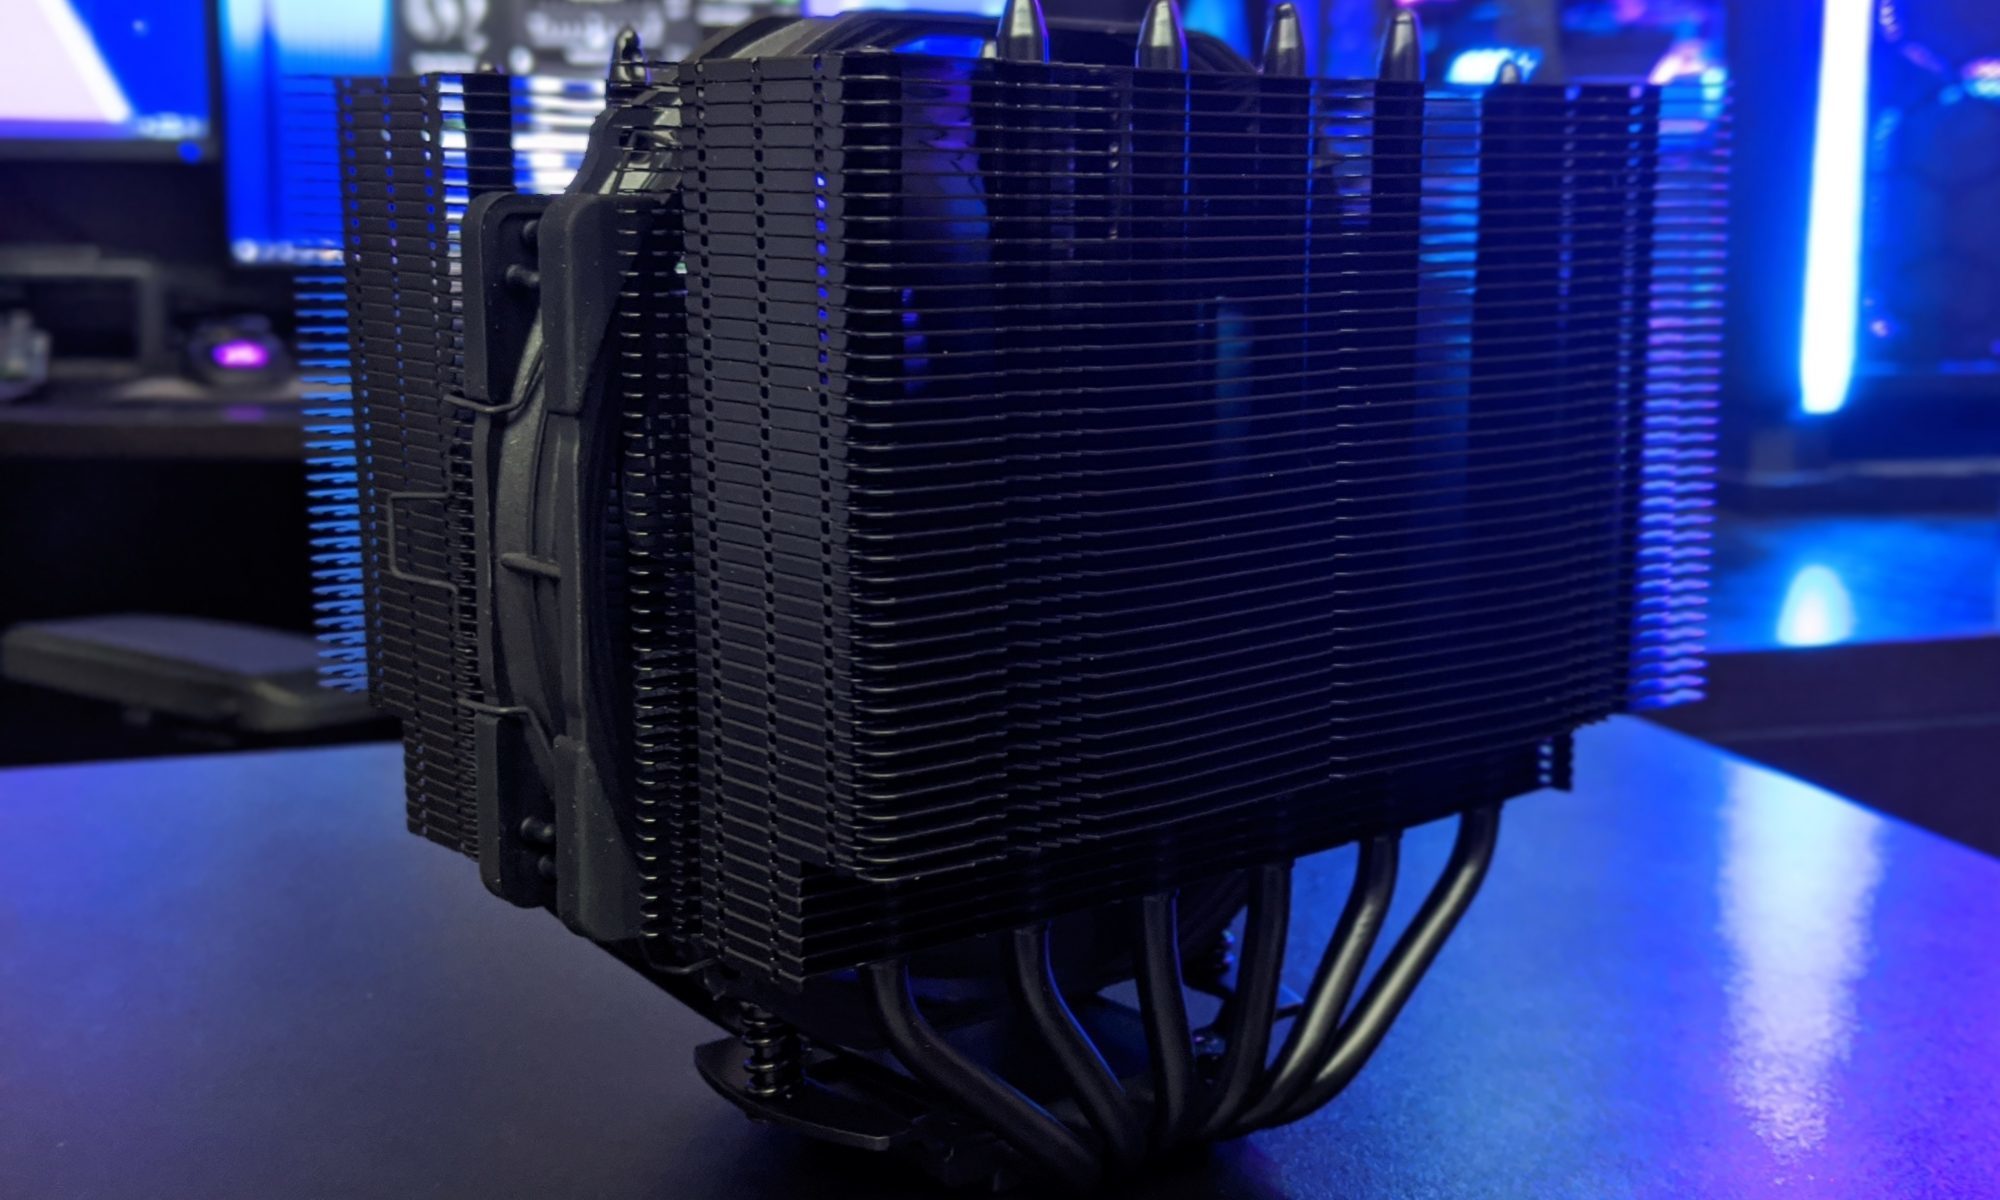
Under comparable conditions, a correctly mounted 240mm AIO should keep a mainstream six- or eight-core processor close to a larger radiator, often within a few degrees. That advantage narrows in a crowded Mini-ITX enclosure, particularly when the radiator draws warm recirculated air across the CPU. A tall, efficient air tower can then match or beat the liquid cooler because it moves air directly through the heat pipes without adding pump power.
Use temperature difference rather than one absolute number when comparing coolers. If the CPU rises by 35°C over a 23°C ambient temperature, the cooler is operating about 35°C above intake. Results in Brisbane during a hot afternoon may exceed the same test in a controlled 21°C room, even with identical settings. CPU power limits, case fans and the GPU’s workload can also change the outcome, so replacing only the cooler does not always isolate its performance. Gaming tests remain useful because they reveal how the CPU and GPU heat interact inside the finished case.
Noise, power and maintenance
A 240mm AIO introduces a pump and radiator fans, so acoustic performance depends on both parts. A pump that becomes loud at low RPM can dominate an otherwise quiet room, while aggressive fan curves may make the cooler louder than a well-tuned tower. Listen for bearing whine, gurgling and hollow “water noise”, then adjust pump speed in small increments rather than forcing it to run constantly at maximum.
The pump needs a reliable power and control connection. Some motherboard headers can supply enough current, while others require a separate SATA power lead; the instructions should identify which is correct. USB-connected pumps can simplify firmware control, but they also add a cable and another point of failure. A temperature-based curve is usually quieter than a fixed pump speed, provided the CPU sensor and minimum duty cycle are configured sensibly.
Routine maintenance includes checking fan movement, cleaning dust from the radiator and confirming that the fittings remain tight. System housekeeping also includes keeping the operating system and drivers current. A free Malwarebytes licence can be evaluated alongside those updates, but the offer should be verified through the publisher and any installer downloaded directly from Malwarebytes rather than an unverified mirror.
Buying for the Australian market
Compare prices in Australian dollars and confirm whether GST and delivery are included. Import listings can look cheaper after exchange-rate conversion, but local stock normally provides clearer warranty handling and less waiting if a pump or fan fails. Local shops and established online retailers change stock quickly, so a temporary sale price should not be treated as the normal value of the cooler.
Electrical safety and consumer rights are practical buying criteria in Australia. Pair the build with an RCM-compliant power supply from a reputable supplier, and retain invoices and packaging in case the cooling hardware develops a fault. The Australian Consumer Law provides consumer guarantees for defective goods, although modified mounting or physical damage can complicate a claim. Local warranty terms should be read alongside those statutory rights.
Value depends on more than the sticker price. A radiator that fits without shortening the GPU, a pump that stays quiet and tubing that can be routed without stress can be worth several dollars more than a marginally cheaper unit. CPU cooler comparison charts help normalise results, but the chassis drawing remains the final filter. Australian readers can share clearance photos, local prices or test data through contact Hardware Hounds, giving the community a stronger basis for compact-build comparisons. The strongest mini-ITX cooler is the one that fits cleanly, maintains stable clocks and keeps noise within the builder’s preferred limit.