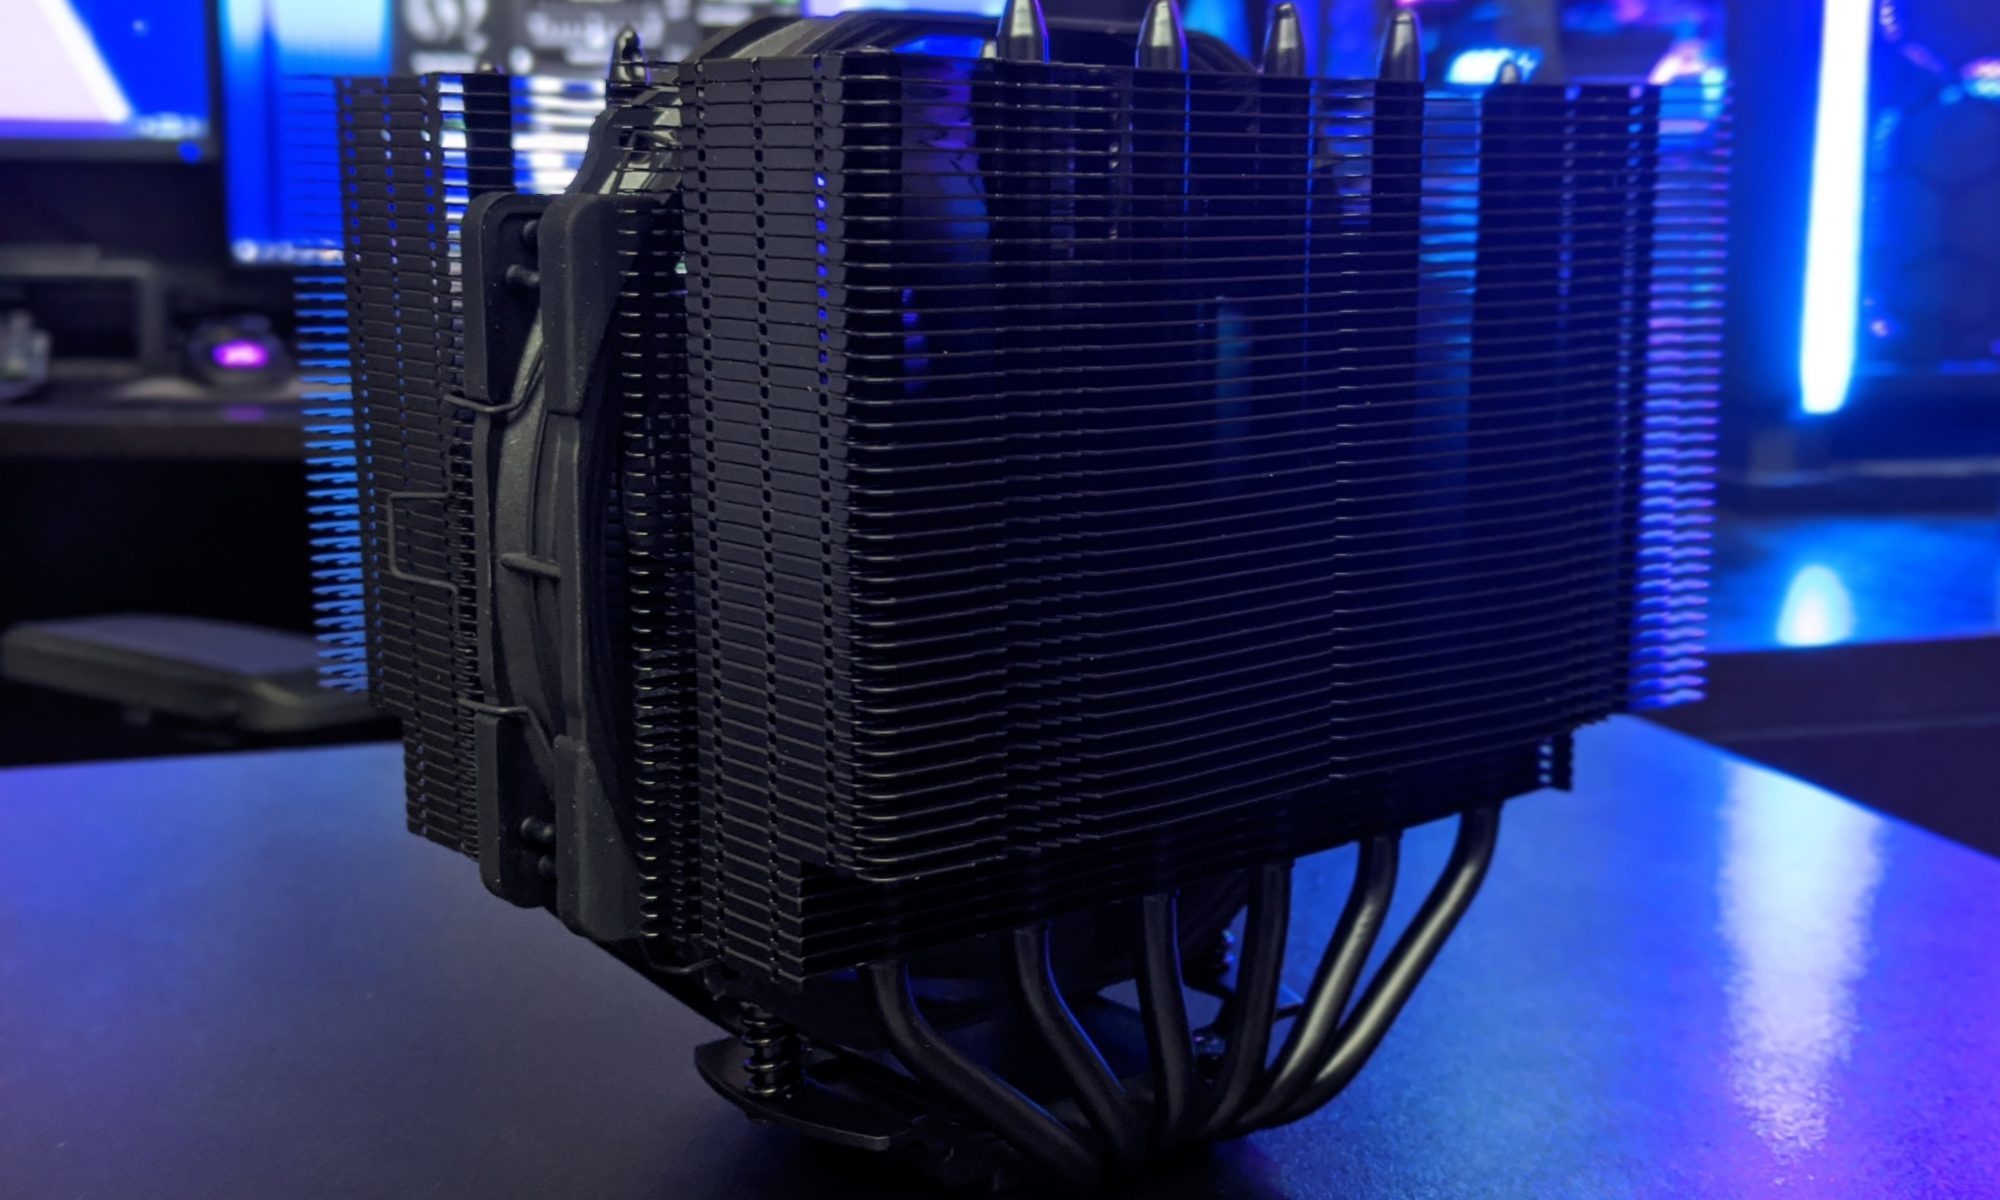
CPU Cooler Mounting Pressure: When Too Tight Hurts Thermals
Installing a CPU cooler can feel like a simple mechanical job: apply thermal paste, line up the hardware, tighten the screws and start testing. Yet the force applied to the mounting system has a direct effect on contact between the cooler base, thermal interface material and integrated heat spreader. A mount that is loose may leave gaps, while one tightened far beyond the manufacturer’s instructions can introduce its own problems. Learn more about Nutitelefoni Aeglane Laadimine Levinud Pohjused Ja Lahendused.
For Australian PC builders, this matters during a Brisbane summer, in a warm Perth gaming room or inside a compact system where every degree affects fan speed. A few minutes spent checking mounting pressure can prevent noisy operation, confusing temperature spikes and the need to remove a cooler that was installed only days earlier.
Why Mounting Force Affects Heat Transfer
A cooler base needs firm, even contact with the CPU’s integrated heat spreader. Thermal paste fills microscopic imperfections, but it is not intended to act as a thick cushion. Correct screw tension compresses the paste into a thin, consistent layer and helps the heatsink sit flat across the hottest part of the processor.
Too little pressure can leave air pockets or create a small gap along one edge. That often appears as higher peak temperatures, a large difference between CPU cores or rapid temperature changes under a short workload. If the cooler rocks slightly when touched, the mounting system is probably not applying enough stable force.
Excessive pressure creates a different set of risks. It can flex the motherboard around the socket, distort the cooler’s contact pattern or place uneven load on the CPU package. The result is not always an immediate failure. More commonly, temperatures become worse because the heatsink is no longer making uniform contact, even though the screws feel impressively tight.
What Too-Tight Installation Can Damage
Current mounting kits usually include springs, spacers or a defined stopping point to limit pressure. Those features are designed to make installation safe when the screws are tightened until they stop. Problems arise when a builder continues using force after the springs are fully compressed, substitutes incompatible hardware or mixes parts from different sockets.
On Intel LGA platforms, uneven loading can contribute to socket contact problems or motherboard flex. LGA1700 systems are particularly sensitive to bending around the socket area, which is why some enthusiasts use contact frames designed for that platform. A cooler cannot correct a warped mounting surface, and adding extra washers without understanding the kit can make contact less predictable.
AMD systems also need care. AM5 processors have a tall integrated heat spreader, while many AM4 coolers use mounting hardware that may not transfer directly. Overtightening can damage threads, crush plastic components or make later removal difficult once thermal paste has set. The CPU may survive, but a damaged backplate or stripped standoff can turn routine maintenance into an expensive nuisance.
Reading Temperature Patterns Correctly
A high CPU temperature alone does not prove that mounting pressure is the cause. Ambient temperature, fan curves, pump speed, power limits and the cooler’s capacity all matter. In Australia, comparing a result taken in a 30°C room with a review recorded at 21°C will produce a misleading verdict before the cooler is even touched.
Look for patterns instead of a single number. A sudden jump to the thermal limit, a large core-to-core difference, or a cooler that feels warm while the CPU reports unusually high temperatures can indicate poor contact. A consistent temperature rise across all cores may simply mean the processor is drawing more power than the cooler can dissipate.
Before remounting, record idle temperature, a repeatable all-core workload and the room temperature. Cinebench, OCCT or a game with a consistent built-in benchmark can provide useful comparisons. Make one change at a time, and allow the system to reach a similar operating temperature. This is especially helpful in Melbourne, where a cool morning and a warm afternoon can change results noticeably.
A Safer Way To Install a Cooler
Start by checking the manual for the exact socket, standoffs and orientation. Remove protective film from the cooler base, clean old thermal compound with isopropyl alcohol and inspect the motherboard backplate. The correct amount of paste is usually a small dot or a manufacturer-specified line; adding more does not compensate for poor alignment or excessive force.
Place the cooler evenly, engage every screw by a few turns and then tighten in a diagonal pattern. Alternate between corners so the pressure builds gradually rather than loading one side first. If the kit uses springs, tighten until the screws reach their intended stop. If the manual specifies a torque value, a small torque screwdriver is safer than relying on feel.
Do not use a long screwdriver as a lever. The extra mechanical advantage makes it easy to exceed the intended load, particularly when working in a cramped case. Stop if the motherboard begins to bow, the screw head slips, a standoff spins or the cooler’s mounting bar shifts sideways. Those are signs to disassemble and verify the hardware rather than simply applying more pressure.
Diagnosing a Bad Mount Without Guesswork
If temperatures are unexpectedly high, shut down and remove the cooler carefully. The paste imprint on the CPU and cooler base can reveal contact quality. A very thin imprint concentrated in one area suggests uneven pressure or a base that is not sitting flat. Thick paste remaining across most of the surface may indicate insufficient compression, while paste pushed dramatically to one side points towards misalignment.
Check whether the mounting brackets, standoffs and washers match the installation guide. A common error is leaving a motherboard’s original plastic retention brackets in place when the replacement kit requires their removal, or using the wrong spacer height. In a compact build, nearby RAM, VRM heatsinks or case panels can also prevent the cooler from sitting squarely.
After correcting the mount, test again under the same conditions. If temperatures remain abnormal, inspect fan direction, radiator airflow and pump operation. Dust is another practical factor in Australian homes, particularly in dry areas or rooms near open windows. A blocked front filter in Adelaide or a dusty system used through a Perth summer can overwhelm the difference between a good and poor cooler installation.
Choosing Hardware That Tolerates Real-World Builds
The mounting system should suit the case, motherboard and maintenance routine rather than just the CPU socket. Large tower coolers can offer excellent temperatures, but they may place awkward leverage on a small board or clash with tall memory. For small-form-factor planning, this SFF cooler comparison shows why clearance, airflow and installation access deserve as much attention as advertised heatsink size.
Australian buyers also need to account for availability and warranty support. A cooler that is cheap through an overseas marketplace may arrive with the wrong bracket, incur GST or take weeks to replace. Local retailers such as PCCaseGear, Scorptec and Umart often list socket compatibility and mounting revisions, although stock and pricing can change quickly. Paying a little more for a complete, supported kit is usually worthwhile when a replacement backplate is needed.
For unusual builds or pressure-related symptoms, hardware communities can provide useful second opinions, particularly when you include socket type, cooler model, ambient temperature and mounting photographs. The Hardware Hounds forums are a suitable place to compare results without treating one temperature reading as definitive. A careful mount, repeatable testing and sensible screw tension will usually deliver better thermals than simply tightening until the hardware feels immovable.