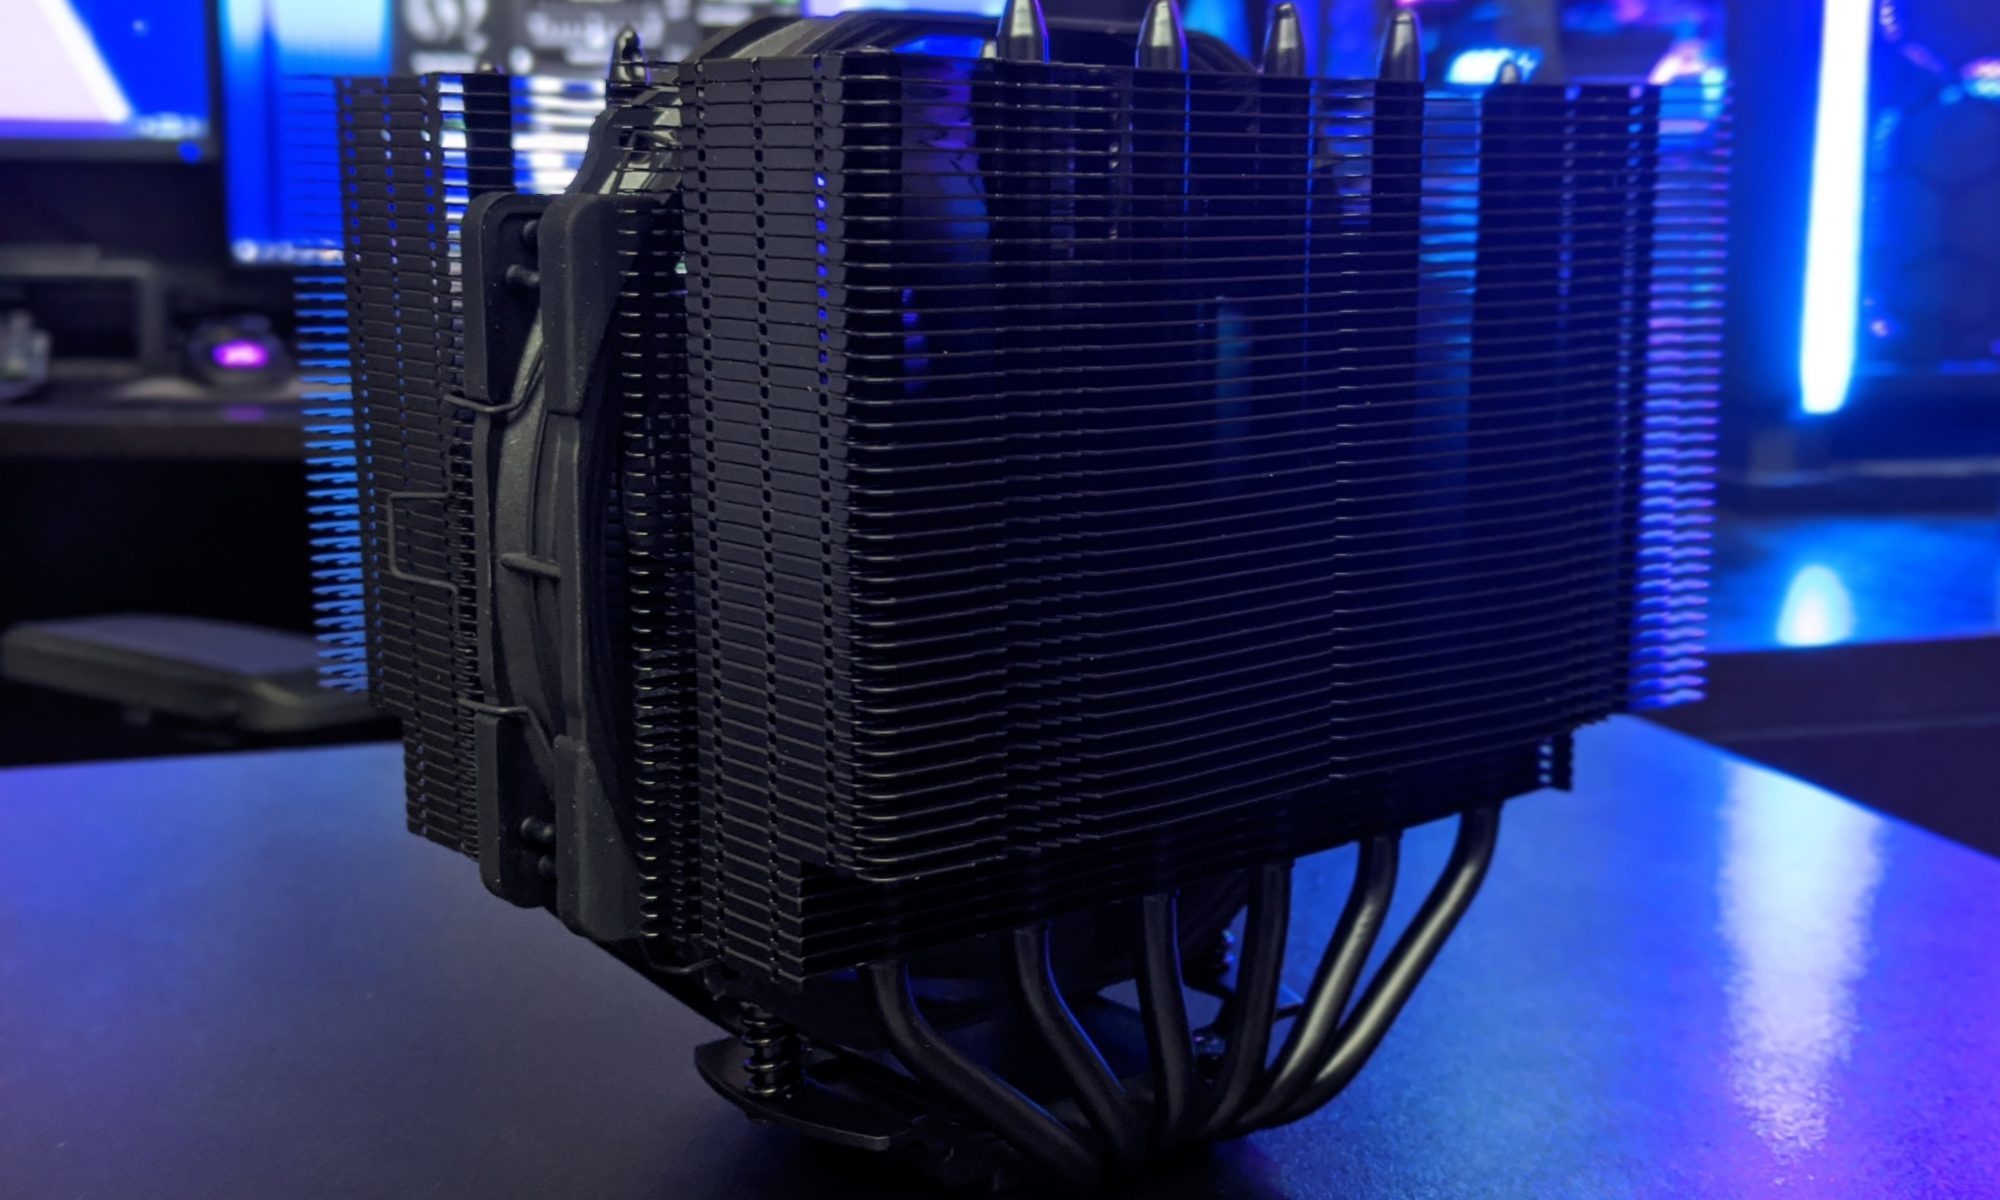
Fan curve tuning for silent operation that keeps thermals in check
The battle between silence and cooling hits differently depending on where you live and how you run your machine. In places like Brisbane or Sydney, where summer evenings stay warm enough that plenty of Australians game with the windows thrown open, a screaming case fan becomes a constant companion rather than background noise you can ignore. Tuning fan curves lets you decide exactly when fans spin up, how fast they go, and how quickly they settle back down once the heat is gone.
Modern motherboards give you granular control over fan behaviour, but the default profiles rarely suit anyone who cares about either acoustics or performance. A well-tuned curve keeps your CPU and GPU within safe operating temperatures under sustained load while staying near inaudible during web browsing, document work, or watching streams. The rest of this guide walks through the practical steps for getting there without spending hours in trial and error.
What a fan curve actually controls
At its core, a fan curve is a mapping between temperature and fan duty cycle. You set a temperature point, and the motherboard or fan controller applies a corresponding percentage of the fan's maximum speed. PWM fans interpret that percentage as a duty cycle on the 25 kHz signal, while older 3-pin DC fans receive a reduced voltage that mimics the same effect. The result is the same in both cases: lower temperatures map to slower fans, higher temperatures map to faster ones.
The default curve built into most UEFIs is a conservative straight line. It aims to keep the CPU at around 70°C under load, which works for stock cooling but rarely matches the goals of someone who has invested in a tower cooler or AIO. Default curves also tend to ignore hysteresis, which means fans ramp up instantly when temperatures rise and stay ramped even after the temperature has dropped back to a reasonable level. That single behaviour is the source of most unwanted fan noise.
Picking realistic temperature targets for Australian conditions
Your target temperature should reflect the climate your PC actually lives in, not the lab testing environment a fan review might quote. In Adelaide, summer ambient temperatures regularly climb past 40°C, and even a well-cooled case can sit in a room running 28-32°C. Melbourne's fickle weather throws 15°C mornings and 35°C afternoons into the same week, which means a curve tuned for winter will struggle when a heatwave hits.
For a typical tower build running an AMD Ryzen 7 or Intel Core i7, aiming for a CPU target of 65-75°C under extended load gives you plenty of thermal headroom without forcing fans to ramp hard. GPUs generally handle higher temperatures, with 70-80°C considered normal for mid-range cards, though pushing for lower does extend component lifespan. If your case sits near a west-facing window or in a home office that traps heat, bump those targets up by 5°C so the fans do not have to work harder than necessary.
Dust is another local factor worth considering. Inland areas get fine red dust during dry spells, and bushfire season sends smoke and particulates into even suburban builds. Filters help, but clogged filters raise case ambient temperatures, which forces fans to work harder. A curve with a slightly higher target range gives you more headroom when filters need a clean.
Hysteresis and ramp rate for noise that does not pulse
Hysteresis is the gap between the temperature that triggers a fan to spin up and the temperature at which it slows back down. Without it, a CPU that hovers around 65°C under fluctuating load will see the fan bouncing between 30% and 60% every few seconds, which produces an irritating rise-and-fall whine. Setting hysteresis to around 5°C means the fan will not slow down until the temperature drops below 60°C, giving it room to settle.
Ramp rate controls how quickly the fan responds to temperature changes. Aggressive step-up rates are useful for protecting components under sudden thermal spikes, such as a benchmarking run that pushes all cores from idle to maximum in seconds. Aggressive step-down rates, however, are usually the enemy of quiet operation. Letting the fan take 10-15 seconds to ramp down after the temperature falls smooths out the entire noise profile.
The key parameters worth tweaking in your motherboard software:
- Minimum duty cycle: the floor below which a PWM fan will stall or buzz
- Hysteresis range: typically 3-8°C for the CPU and 5-10°C for case fans
- Ramp-up rate in degrees per second for sudden load spikes
- Ramp-down rate tuned to a slower, almost lazy decay
Trimming PWM ranges and using zero-RPM modes
Most PWM fans do not behave linearly across their full duty range. A fan rated for 500-2000 RPM will often stall below 20-25% duty and will not produce meaningful airflow below 30%. Many ASUS, MSI, and Gigabyte boards let you set a minimum duty cycle that overrides the curve at low temperatures, keeping the fan just above its stall point or idling it entirely. Setting this floor to around 30% prevents the buzzing and clicking that comes from a fan struggling to start.
Zero-RPM modes, often marketed as hybrid or silent modes on graphics cards and AIO pumps, shut the fan down completely below a threshold. They work brilliantly when paired with good case airflow and a CPU cooler that can handle idle heat on its own. They fail spectacularly when the case has poor airflow or when the rest of the system dumps heat toward a single component. Treat zero-RPM as a finishing touch, not a foundation.
Fan selection and why your curve can only do so much
No amount of curve tuning saves a fan that is wrong for its job. Static pressure fans push air through radiators, dense heatsink fins, and dust filters, while airflow fans move large volumes of air through open mesh panels. Australian retailers like PCCaseGear, Mwave, and Scorptec stock both categories, but the listings do not always make the distinction obvious. Pairing a high-airflow fan with a 240 mm AIO radiator will leave you wondering why coolant temperatures stay elevated under load.
For case fans, look for models that combine a high static pressure rating with reasonable noise output. Noise normalised to 30 dBA at one metre is a useful comparison metric, and most review sites publish curves that show RPM against decibels. A good 120 mm or 140 mm fan in the 25-30 dBA range at full speed gives you plenty of tuning room, because your curve will rarely need to push it past 70%.
Software tools, BIOS settings, and broader system cooling
Most modern UEFIs expose enough curve controls to tune without leaving the BIOS, but companion software from the motherboard vendor makes iterative testing far easier. ASUS Fan Xpert, MSI Center, Gigabyte SIV, and ASRock Fan-Tastic Tuning all support multiple curve points, per-fan headers, and external temperature inputs. Saving a profile to the UEFI after you have dialled it in is the safest way to lock your settings across BIOS updates.
For NVMe drives that run hot under sustained write loads, the same curve principles apply, and learning how fan curves interact with M.2 drive thermals can save you from throttling during large file transfers. There is a useful walkthrough on fan curves to keep your M.2 SSD cool under load that breaks down how a case fan positioned near the motherboard slot can drop drive temperatures by 15°C or more.
Finally, remember that case airflow direction matters more than most guides admit. Positive pressure keeps dust out but can trap heat around the GPU. Neutral pressure balances both but requires careful fan placement. Whichever you choose, let the case fans run slightly faster than they need to during normal use so that the CPU and GPU fans can stay conservative, and the overall noise floor stays low.
Validating the result with real testing
A curve that looks perfect on paper can disappoint in practice. Run a 30-minute stress test such as Cinebench R23 for the CPU and 3DMark Time Spy for the GPU, then watch the RPM and temperature graphs in HWiNFO64. What you want to see is steady temperatures with minimal RPM oscillation, not a fan graph that looks like a seismograph reading during an earthquake.
Listen for the transition points as well. A well-tuned curve produces a slow, almost imperceptible rise when the system goes from browsing to gaming, then a gradual drop back over a minute or two after the load ends. Spikes, clicks, and audible hunting are signs that the hysteresis or ramp-down rate still needs work. Iterate in small steps, save each profile, and live with it for a few days before declaring victory.
Common mistakes that send builders back to the drawing board:
- Setting the target temperature below what the cooler can reach at low fan speeds
- Ignoring the difference between CPU package temperature and individual core readings
- Using zero-RPM mode on case fans when the chassis relies on passive convection
- Forgetting that pump or AIO fans need their own dedicated curve points
The whole point of fan curve tuning is matching your machine to your room, your workload, and your tolerance for noise. A build that hums quietly through a 35°C Brisbane evening while exporting a long video is a small engineering project, and one that pays off every time you sit down to use it.