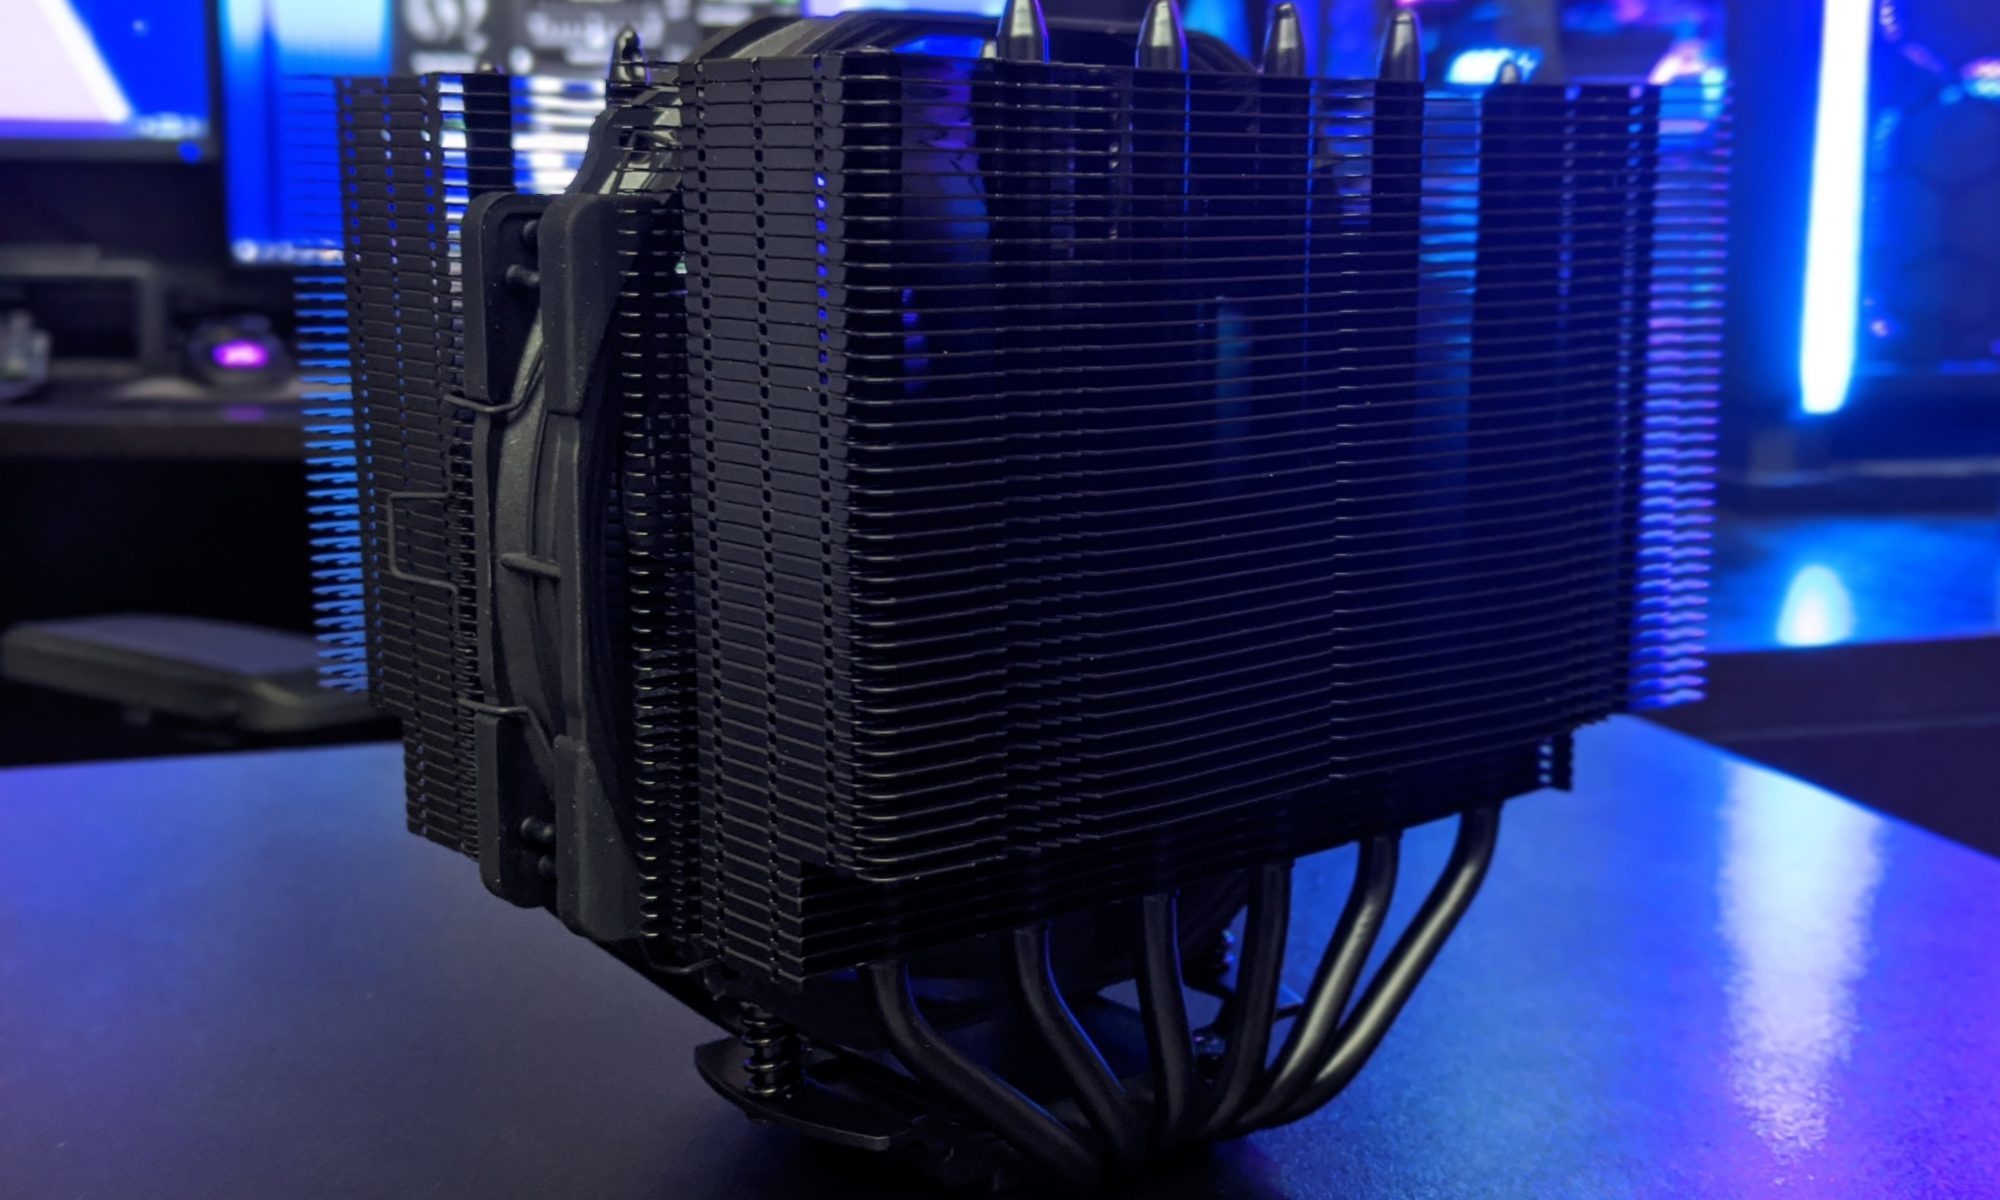
Fan hub vs direct motherboard connection for better control
A modern PC can have six or more case fans, a CPU cooler, a graphics card with its own fans, and sometimes extra cooling for storage or VRM areas. Connecting every fan directly to the motherboard gives excellent individual control, but it can quickly exhaust the available headers. A powered fan hub simplifies the wiring and keeps the build tidy, although it may reduce how precisely each fan can be managed.
The right choice depends on the type of fans, the motherboard’s headers, and how much control you want over speed and noise. A four-pin PWM fan behaves differently from a three-pin DC model, while some hubs pass through a control signal and others act as little fan controllers with their own limitations.
For Australian PC builders, the decision can also affect value. A hub may cost extra when buying from local retailers, and a high-airflow setup can be useful during a hot Brisbane afternoon or a dry summer in Adelaide. Checking performance, thermals and noise is central to the testing approach described by Hardware Hounds' background, rather than judging a component by its specifications alone.
How the two connection methods work
A direct motherboard connection runs each fan cable to an individual fan header. The motherboard supplies power, reads the tachometer signal and adjusts the speed through BIOS settings or software such as Fan Control and the board manufacturer’s utility. With separate headers, the front intake, rear exhaust and top-mounted radiator fans can each follow their own temperature source.
This arrangement offers the clearest information. You can see whether a particular fan has stopped, set different minimum speeds, and create a curve that responds to CPU, GPU or motherboard temperature. It is especially useful for a workstation that stays quiet during light loads but needs stronger airflow during rendering or long gaming sessions.
A fan hub usually receives a PWM control signal from one motherboard header while drawing fan power from SATA or another dedicated power connector. The hub then distributes the same speed command to several connected fans. Many models report the RPM of only one fan, so the motherboard may show a single tachometer reading even though four or eight fans are running.
That shared control is not automatically a disadvantage. Matching fans in the same airflow group often benefit from identical behaviour. A hub can also prevent a motherboard header from carrying too much current, which matters when several high-speed fans are connected. The important detail is whether the hub is genuinely PWM-compatible and powered independently, rather than being a passive splitter with a row of connectors.
What control and feedback you really get
Four-pin PWM fans are usually the easiest to control. Their power feed remains relatively stable while the fourth pin receives a pulse-width signal that tells the motor how fast to run. A motherboard can normally set a reliable minimum speed, stop a compatible fan at idle, and ramp it smoothly as temperatures rise.
Three-pin fans use DC voltage control instead. The motherboard lowers or raises the voltage to alter fan speed, and some boards handle this very well. Others default to a fixed 12-volt output unless the header is manually switched from PWM mode to DC or voltage mode. A hub designed only for PWM fans may leave three-pin models running at full speed.
Direct connections are preferable when your fans have different purposes. A rear exhaust fan may need a conservative curve, while a top radiator fan could respond quickly to CPU temperature. Separate control also helps identify noise sources. If a bearing starts rattling or a fan produces an annoying tonal hum, individual monitoring makes diagnosis much easier.
A hub generally treats its connected fans as a group. That is ideal for three front intake fans that should rise together, or a bank of radiator fans that share the same thermal job. It is less suitable when one fan needs a low-speed silent profile and another needs aggressive cooling. RGB or ARGB lighting should also be considered separately, because fan-speed control and lighting control use different connectors and standards.
Electrical limits, cables and compatibility
Motherboard fan headers commonly have a current limit, often around 1 amp, though the exact figure depends on the board. A single ordinary case fan is rarely a concern. Several powerful 120 mm or 140 mm fans, especially models with high startup current, can approach that limit through a splitter. A SATA-powered hub moves the main electrical load away from the header.
Read the fan label before connecting anything. The current rating is normally printed on the frame, box or product page. Add the running current of the fans attached to a splitter, and allow some margin for startup. A powered hub is still not magic: its SATA connection and internal circuit have their own limits, and cheap units may use thin cables or poorly designed connectors.
The motherboard header also needs to support the control method used by the hub. A standard PWM hub generally has one cable from the hub to a four-pin motherboard header. That cable carries the speed command and often the tachometer signal, while SATA provides power. If a product description says “fan controller” but does not clearly explain PWM pass-through, speed reporting or power input, treat it cautiously.
Avoid confusing a fan hub with a proprietary ecosystem controller. Some premium systems use special plugs, USB connections or software bridges that do not accept standard four-pin fan cables. Compatibility can become frustrating when a case includes a built-in controller with a non-standard connection. The motherboard manual and the hub’s wiring diagram should be checked before buying.
Choosing for different Australian builds
A direct connection suits a compact gaming PC with two or three case fans and a motherboard that has enough headers. It is also a strong choice for a quiet home office machine, where the ability to tune each fan below its audible threshold matters more than cable simplicity. A small micro-ATX board may have fewer headers, but the lower fan count often keeps the arrangement manageable.
A powered hub makes more sense in a large airflow-focused case, a workstation with multiple radiator fans, or a build with six matching fans. It reduces cable clutter behind the motherboard tray and avoids loading one header with several motors. In a warm Sydney summer, extra airflow can protect boost clocks and reduce the need for fans to spin at abrupt, noisy speeds.
Australian conditions can change the practical balance. A gaming PC in Darwin may face high ambient humidity and heat for much of the year, while a Melbourne setup can move between cool winter rooms and warm summer afternoons. Dust is another consideration in homes near construction, rural areas or busy roads. A hub does not replace cleaning, but coordinated fan control can make a filtered, positive-pressure case easier to tune.
Price and availability also matter. Australian retailers frequently list fans, hubs and controllers at different prices from US recommendations, with GST included and shipping sometimes adding a surprising amount to a small order. A hub bundled with a case can be good value, whereas buying a separate premium controller for three fans may be hard to justify. For Linux users who prefer straightforward hardware control, discussions around open-source setups can be useful alongside Ubuntu Podcast coverage, though motherboard support still varies by model.
Useful checks before wiring
- Confirm whether each fan is three-pin DC or four-pin PWM
- Add fan current ratings before using a splitter
- Check the motherboard header mode and current limit
- Verify whether the hub reports one RPM signal or several
Tuning the system after installation
Start in the motherboard firmware rather than relying immediately on desktop software. Set the header to PWM for four-pin fans or DC mode for three-pin fans, then run the board’s fan calibration routine if available. This establishes the minimum usable speed and prevents fans from repeatedly starting and stopping at low temperatures.
For direct connections, assign each header a logical job. Front intake fans can respond to motherboard or GPU temperature, rear exhaust can follow the warmer of CPU and system readings, and radiator fans can track the CPU package temperature. The exact labels differ between boards, so the most useful sensor is the one that reflects the heat your fan is meant to remove.
With a hub, connect fans performing the same role and give the group a gradual curve. A low starting point around 25 to 35 percent can keep idle noise controlled, followed by a steady increase rather than a sudden jump. If the hub reports only one RPM value, check that the displayed speed changes when the group responds. A fan that is physically stopped may not be obvious from software alone.
Noise testing should happen at the desk where the PC is actually used. Listen at idle, during a game and under a sustained workload, because a curve that looks smooth on a graph can still produce an irritating hum. Record temperatures after the case has reached equilibrium; a short benchmark run may miss heat buildup around the graphics card and motherboard.
Where each approach fits best
- Direct headers for mixed fan types and independent temperature curves
- A powered PWM hub for several matching case or radiator fans
- A passive splitter only for a small number of low-current fans
- A proprietary controller when its ecosystem features are genuinely needed
The best arrangement is often a hybrid. Keep the CPU cooler or radiator fans on dedicated motherboard headers, connect grouped case fans to a powered PWM hub, and reserve another header for a rear exhaust fan if independent control is useful. This provides meaningful feedback without filling the case with tangled cables.
For most builders, a direct motherboard connection delivers the strongest control per fan. A quality powered hub wins when the system has many fans, repeated airflow roles or limited motherboard headers. The deciding factor is less about the number of connectors and more about whether the wiring preserves safe power delivery, predictable PWM behaviour and a fan curve that suits the room, workload and noise tolerance.