How Motherboard BIOS Flashback Can Recover a Bricked Board: Step by Step
Motherboard BIOS Flashback is the emergency escape hatch for a PC that stopped posting after a failed firmware update. It can rewrite the board’s BIOS from a USB drive without loading an operating system, so a corrupted update can be repaired without immediately replacing expensive hardware.
The process depends on a healthy onboard flash controller, the exact BIOS image and uninterrupted power. It is not universal, and a physically damaged BIOS chip cannot be fixed by software. The steps below cover the common recovery path used by modern enthusiast motherboards.
What BIOS Flashback Can and Cannot Recover
BIOS Flashback uses an onboard boot ROM and flash controller to copy firmware directly into the motherboard’s SPI flash chip. Because that controller can operate before the processor and memory initialise, many boards can update the BIOS with no display output and, usually, without a working CPU, RAM or graphics card. Related features carry names such as BIOS FlashBack, Q-Flash Plus, Flashback and Instant Flash.
The recoverable situation is commonly called a soft brick: an interrupted update, power loss during flashing or an incorrect BIOS file has left the firmware unusable, while the board itself remains electrically sound. A hard brick is different. A cracked BIOS package, failed flash controller, damaged socket or severe power-surge damage will not respond to any software-based recovery method.
Before assuming the firmware is at fault, check the motherboard’s diagnostic LEDs. A CPU, memory or graphics-card fault can also prevent the power-on self-test from displaying anything. Plugging in known-good RAM, using the correct display output and observing the Q-LED pattern may reveal a simpler hardware problem.
Identify the Board and Exact BIOS
Record the full model name, revision and any suffix printed on the motherboard, its packaging or purchase invoice. Boards sharing a chipset can still require different BIOS images because of different power circuitry, memory layouts and onboard peripherals. A revision-B board may also contain revision-B firmware that is incompatible with an earlier revision.
Download the BIOS package only from the manufacturer’s official support page. Extract the archive and locate the actual .CAP, .ROM or .BIO file, then compare its name and size with the instructions. If a checksum is supplied, verify it. Read the manual for the Flashback button location, supported USB formats and any required filename change; a valid BIOS file can still be rejected if it is renamed incorrectly.
Pre-Flash Safety Checks
Gather the essentials before disconnecting or reconnecting any power cables:
- Confirm the exact motherboard model and revision.
- Download the matching BIOS file from the official support page.
- Prepare a genuine USB drive that can be reformatted.
- Use a power supply and cables known to work with this board.
Make the physical connections and working conditions equally deliberate:
- Connect the 24-pin ATX cable and the CPU EPS power connector where fitted.
- Leave the CPU and memory installed unless the manual says otherwise.
- Protect exposed components from static discharge while the case is open.
- Use a surge-protected outlet, and a UPS if power interruptions are common.
Do not continue if the model is uncertain, the drive is unreliable or the PSU shows signs of damage. A surge protector cannot keep the flashing process alive during an outage, whereas a UPS supplies battery power long enough for the update to finish or shut down cleanly.
Prepare the USB Recovery Drive
Format a small USB drive with a single FAT32 partition. FAT32 provides broad compatibility with motherboard recovery utilities and avoids the driver and file-system quirks associated with some exFAT devices. Avoid cheap flash drives, card readers and multi-card hubs, all of which can disappear briefly from the controller and interrupt a firmware write.
Copy one extracted BIOS file to the root of the drive, where it can be seen without entering a folder. Remove other BIOS images and large files so the recovery controller cannot select the wrong image. Some manufacturers require a particular filename, while others scan the root automatically. Follow the manual rather than renaming files on assumption, and confirm that the selected file matches the exact board revision.
Flash the BIOS Without a Working Display
Begin with the PC shut down and the PSU switched off. Connect the ATX and EPS cables, then insert the prepared USB drive into the port marked for BIOS recovery, usually one of the rear USB ports. The processor, memory and graphics card can remain fitted for the flash itself, although their presence does not guarantee that the system will later display a successful POST. Switch on the PSU and press the case power button if the board’s instructions require it.
Press or hold the Flashback button for the period specified by the manufacturer. Many implementations use roughly a three-second hold, while others expect a brief press. The recovery LED should begin blinking, confirming that the controller has found the drive and started writing. If nothing happens, avoid repeatedly holding the button; check the file, port and power connections before another attempt.
Watch the recovery indicator rather than the screen. A black monitor is normal because the system may never initialise its display output during the update. The process commonly takes one to five minutes, although older boards and large BIOS packages can take longer. Fans may start, stop and restart, and the board may reboot automatically. Keep the USB drive and power connected until the controller stops flashing and the board settles.
Handle a Failed Recovery Attempt
If the indicator never blinks, shut the system down and reseat the USB drive, try another rear USB port and test with a different known-good drive. Recheck the BIOS filename and board revision, then repeat the button sequence with stable power. Avoid power-cycling the board repeatedly, because another interruption can leave the flash chip in a less recoverable state.
If the LED blinks and then becomes steady, wait several more minutes before assuming failure. Some boards complete background work after the visible flashing stops. If the board repeatedly reboots without completing, repeat the recovery with the correct file and a fresh USB drive. Once Flashback has begun reliably, replacing the BIOS chip or flash controller is unlikely to help; the onboard programming circuit itself may be damaged.
A second pair of eyes in a community such as contradiction of sorts can help when the symptoms are ambiguous. Include the exact board model, revision, PSU details and LED behaviour rather than simply describing the PC as dead. Australian builders often call a board “bricked proper” when it gives no POST, but that description does not distinguish a recoverable firmware problem from a damaged processor socket.
Verify the Repair and Australian Market Conditions
Reconnect the display to the correct graphics output, fit one memory module and attempt a POST. Clear CMOS if the board starts but detects memory or devices incorrectly. Once it boots, load the optimised BIOS defaults, confirm fan control and memory training, then re-enable features such as XMP or EXPO carefully. Apply any recommended Intel ME or AMD AGESA update bundled with the BIOS release, and save a BIOS profile to USB if the board supports it.
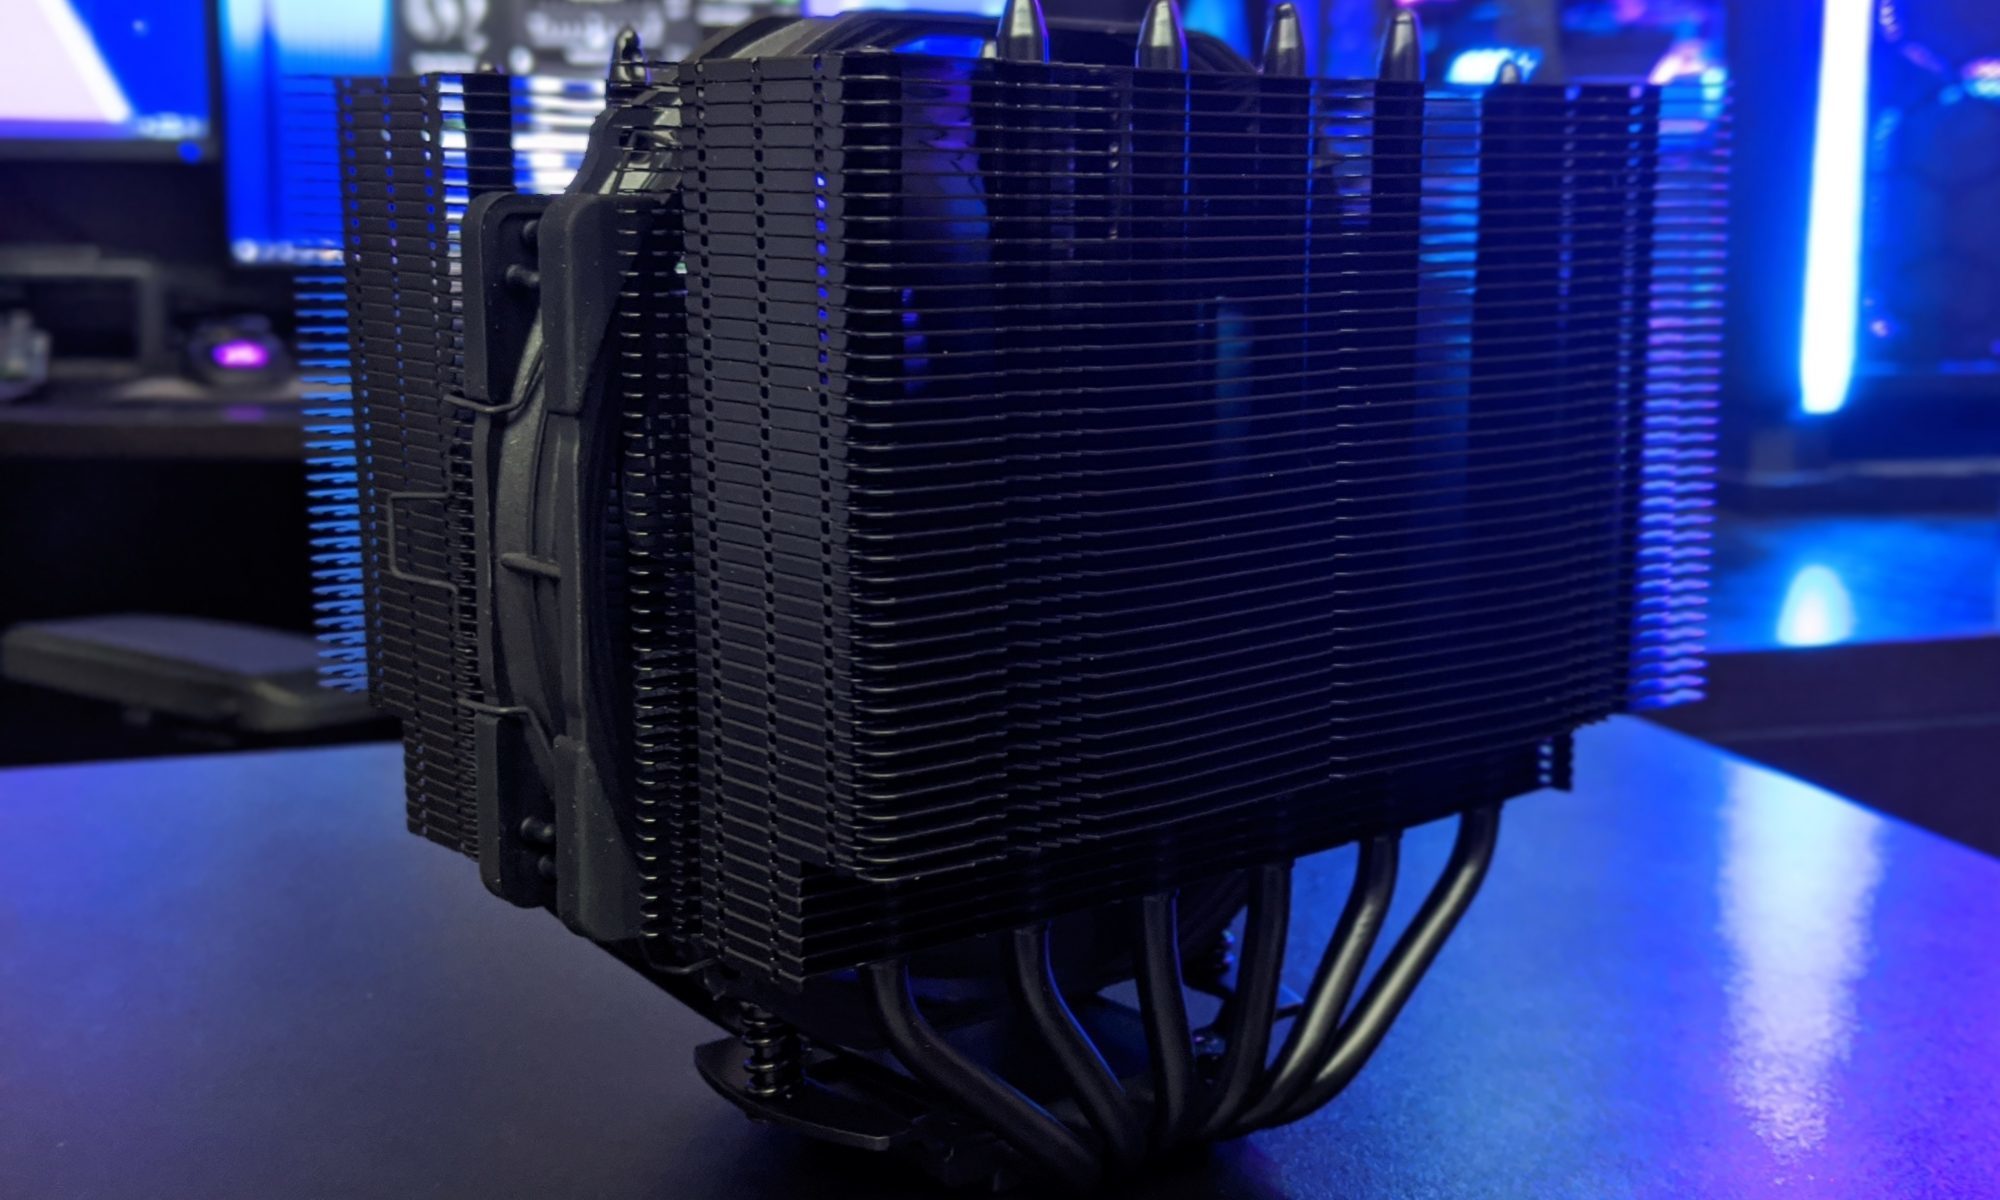
Before stress testing, verify CPU temperatures, fan curves and case airflow. Hardware Hounds’ CPU cooler charts provide useful comparisons for thermals and noise, particularly when deciding whether an aftermarket cooler is worthwhile after the recovery. A stable POST does not guarantee that boost clocks or memory overclocks are stable, so test those settings separately from the basic firmware repair.
Most Australian computer-parts listings quote prices in Australian dollars with GST included, making comparisons with overseas dollar prices more meaningful than relying on an exchange-rate headline. Australian Consumer Law also applies to purchases from local retailers. A board that was defective when supplied may qualify for a warranty remedy, while damage caused by a failed user update can be treated differently. Keep the invoice, BIOS download evidence and recovery steps when raising a warranty claim.
Australian mains power operates at 230 volts, so use the manufacturer-specified PSU, intact cables and a suitable protective outlet. Hot summer conditions across Sydney and Brisbane, or a dusty Melbourne garage, can complicate post-recovery thermal testing even though they rarely cause the original flash failure. Work in a ventilated, reasonably cool room and monitor temperatures under load. If the Flashback controller no longer responds, the BIOS hardware is the primary suspect; if it flashes successfully but POST still fails, troubleshoot the CPU, memory and display path instead.