Building a Small Form Factor PC That Fits Inside a Carry-On
Australian PC builders have always carted their hobby across long distances. Whether you're flying to PAX Australia at the Melbourne Convention and Exhibition Centre, shifting between share houses in Brisbane and Sydney, or chasing cooler winter temps down in Hobart, a compact build takes the sting out of every trip. A small form factor rig that slips into a carry-on skips checked baggage fees, dodges rough freight handling, and removes the awkward scramble for a friend's spare peripherals.
The trade-off is real. Cramming full performance into a suitcase-friendly shell tightens every component choice. Airflow becomes a design problem, cable management turns into origami, and the humble power supply dictates more of your options than you'd expect. The payoff, though, is a portable machine that keeps pace with a mid-tower — built from off-the-shelf parts sourced locally through Scorptec, Mwave, PCCG, and Centre Com.
Picking a Case That Clears Carry-On Limits
Carry-on dimensions are tighter than most builders assume. Qantas permits bags up to 56 cm long, 36 cm high, and 23 cm wide including handles and wheels, while Virgin Australia and budget carriers shave a little off each axis. Grab a tape measure and check the longest case dimension against your preferred airline before ordering — a 30 cm chassis offers nothing if the tallest spine measures 32 cm.
Mini-ITX cases in the 12 to 20 litre range hit the sweet spot. The Cooler Master NR200, SSUPD Meshlicious, and NZXT H1 cover mainstream budgets, while the NCase M1 and Louqe Raw S1 cater to builders chasing premium-feeling aluminium. Sliger and Mechanic Master ship similar footprints through Mwave with noise-dampened panels. Anything above 25 litres will require a personal item tucked beneath the seat in front on longer routes.
Power Supply Choices That Travel Well
The power supply ends up being the most defining part of any small form factor build. A chunky ATX unit simply will not fit beneath a GPU in most Mini-ITX cases, which is why SFX and SFX-L form factors exist. Modern 80 Plus Gold or Platinum models from Corsair, Silverstone, and Cooler Master weigh roughly half an equivalent ATX unit and still deliver enough headroom for high-end CPU and GPU pairings.
For a gaming build running an RTX 4070 Super, a quality 750W SFX PSU handles the new 12VHPWR connector without a bulky adapter dongle, and a dedicated PSU guide covers the best ATX 3.0 candidates sitting on local shelves. Modular cabling is essentially mandatory — every spare SATA or Molex lead is dead weight that has to be hidden somewhere awkward in a tight case.
Components That Earn Their Millimetres
The motherboard is dictated by Mini-ITX at 170 mm square. B650 boards from ASRock, Gigabyte, and MSI have matured to the point where you don't sacrifice rear I/O for going small, and B760 Intel boards suit builders who'd rather stay on the blue team. Watch VRM quality — a small case with restricted airflow punishes weak voltage regulation more than a roomy mid-tower does.
For the CPU, AMD's Ryzen 7 7800X3D remains the efficiency champion, drawing under 100 W in most titles. The Ryzen 5 8600G APU works when you want to skip the discrete GPU entirely — its Radeon 760M graphics handle esports at 1080p and shrink the build further. GPU length is the next hard limit, with most sub-20 L cases topping out near 320 mm; the RTX 4060 and 4070 reference cards fit comfortably, alongside AMD's RX 7700 XT and 7800 XT.
Use low-profile DDR5 — tall heat-spreaders clash with tower coolers, and a broken DIMM in transit is worse than a small performance dip. Two 16 GB sticks of DDR5-6000 keep speeds reasonable. Storage stays M.2 NVMe only — a 1 TB boot drive and optional 2 TB second slot — since spinning rust adds shock risk not worth taking on the road.
Thermals When the Outback Heat Hits
Australia's climate is unkind to small enclosures. Brisbane summers push ambient temperatures past 33 °C, Perth's dry 40 °C afternoons are not unusual in February, and even Melbourne swings from an 8 °C morning to a 36 °C afternoon on the same weekend LAN. A cramped build with poor airflow turns into an oven under those conditions, so thermal design cannot be an afterthought on this side of the world.
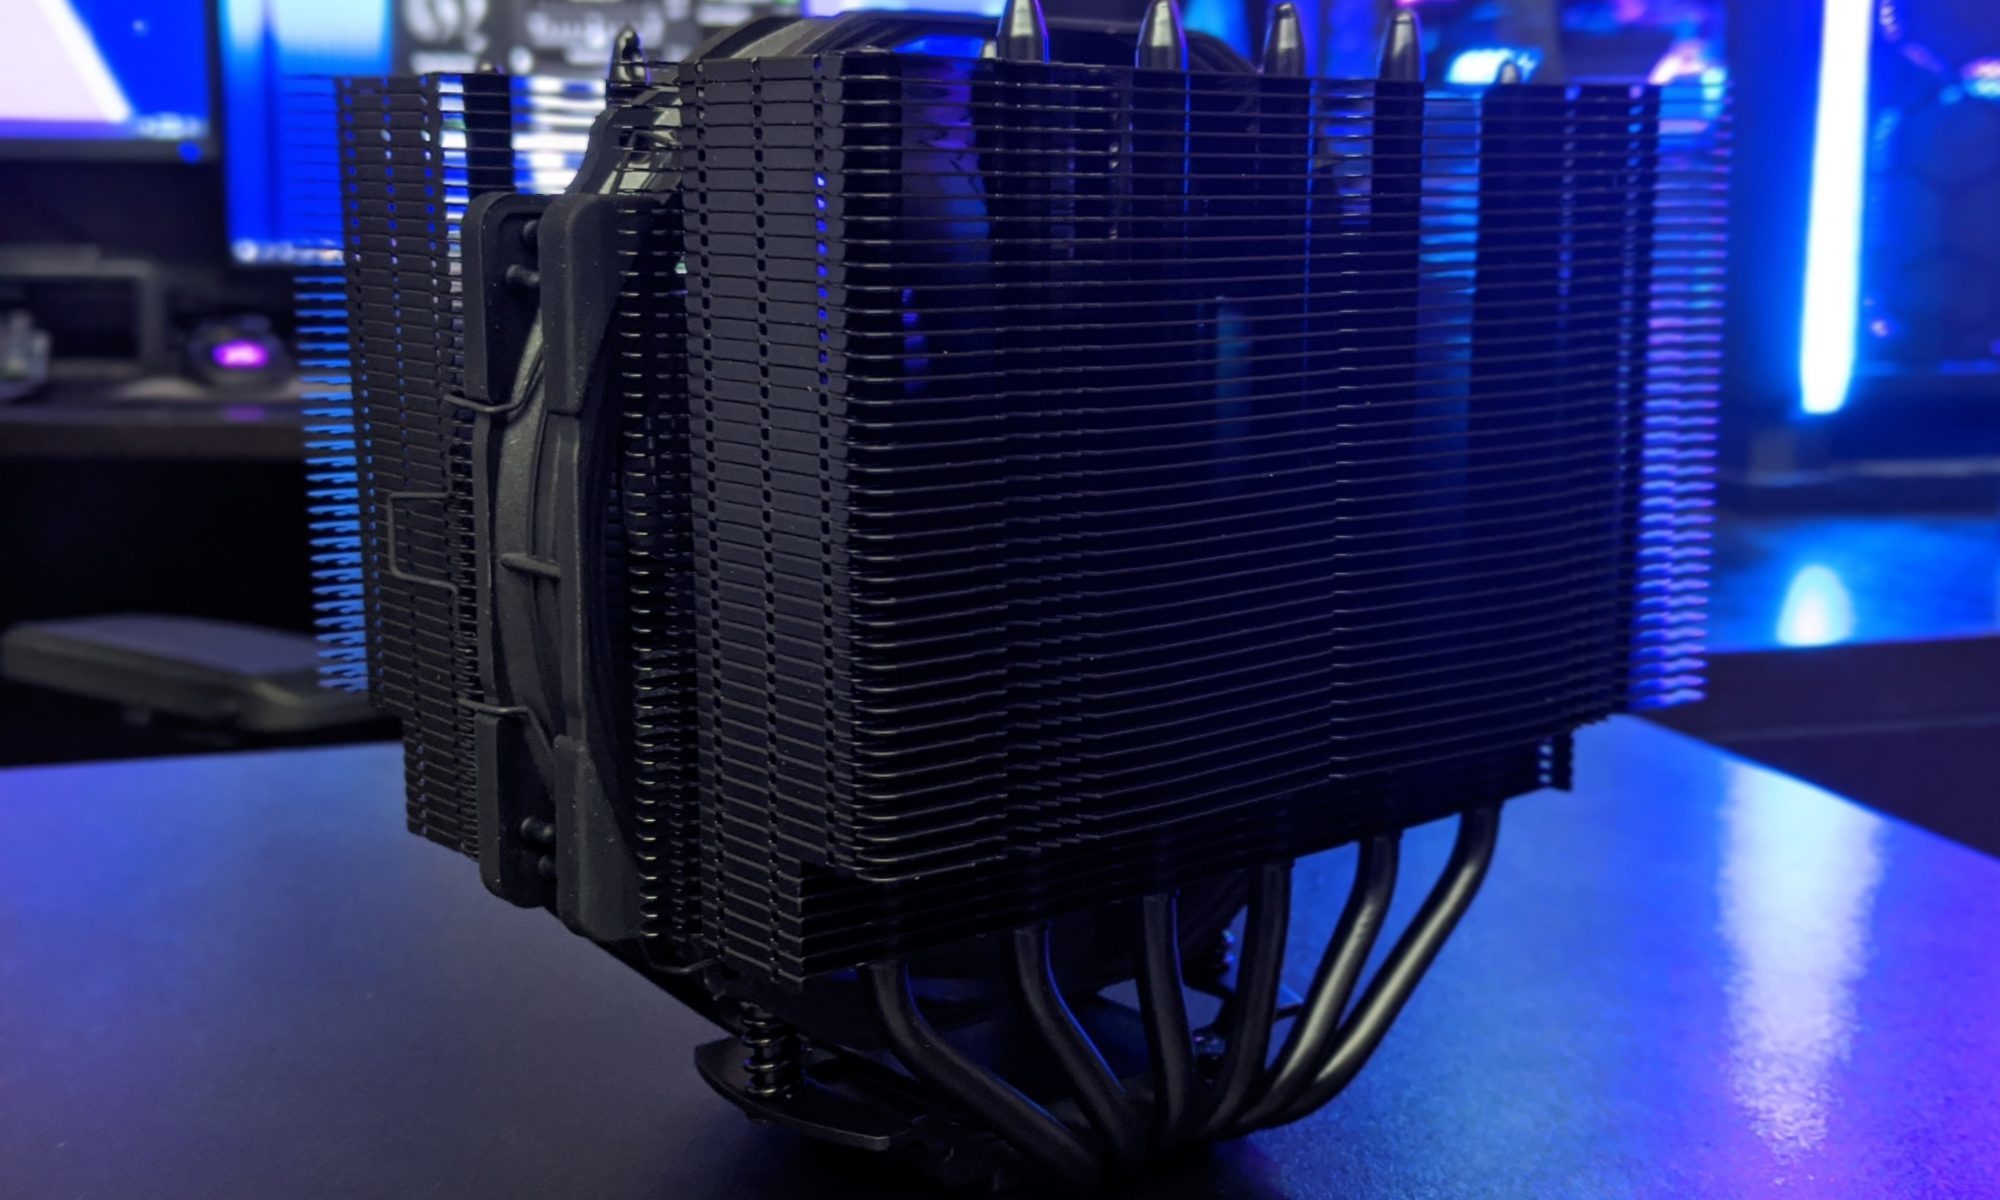
Prioritise mesh panels over tempered glass. Sandwich-layout cases — motherboard and GPU on opposite sides of a shared spine — run cooler than stack layouts because each component has its own airflow path. Use the largest low-speed fans your case accepts, usually 140 mm, rather than high-RPM 120 mm spinners that drone in hotel rooms. A tower cooler from Noctua's NH-C14S or Thermalright's AXP90 will outperform any AIO at this volume, with no risk of pump failure mid-flight.
Undervolt the CPU through BIOS or Ryzen Master. A Ryzen 7 7800X3D at –30 mV sees temperatures drop 6 to 8 °C with no perceptible performance loss. Apply a similar offset to the GPU through MSI Afterburner and set a fan curve that ramps past 75 °C. Australians who travel between November and March will thank themselves later.
Assembly Inside a Matchbox
Assembly order matters when every gap is sealed by another component. Install the CPU, RAM, and M.2 drives onto the motherboard outside the case, then fit the cooler before dropping the entire board into the chassis. This avoids the painful experience of slotting a 25 mm tall cooler into 30 mm of clearance after the motherboard is already screwed down.
Plan PSU cabling before you start: one 24-pin, one 8-pin EPS, one 12VHPWR, and the minimum front-panel connectors. Custom-length cables from CableMod keep the build tidy without bundles of excess wire stuffed into a nook. A magnetic screwdriver is worth the outlay — dropping a screw inside a finished build feels like defusing a bomb.
Run a POST test on the bare motherboard before installing the GPU to confirm RAM and CPU behaviour. Burn the system in with Cinebench and Furmark for at least an hour before closing the panel — small form factor thermals drift upward as thermal paste settles and mounting pressure redistributes.
BIOS, Drivers, and Burn-In
Before the system leaves the workbench, dive into the BIOS and lock down settings that matter for a portable box. Disable fast-boot, set the machine to halt on all errors rather than rebooting into recovery, and lock PCIe configuration so the GPU always enumerates in the first x16 slot. These tweaks reduce the chance of a corrupted boot after a rough baggage handling incident.
Capture screenshots of every working configuration — RAM timings, fan curves, XMP or EXPO profiles — and store them on a USB stick in the carry-on. Replicating a stable undervolt in a hotel room after a BIOS reset is far easier when the previous numbers are at hand.
Flying With Your Tiny Rig
Australian customs and biosecurity treat personal electronics politely. There are no duties on used laptops or components brought in for personal use, though you should be ready to declare anything that looks commercial. The bigger concerns are physical handling. Remove the GPU and any heavy add-in card, pack each in its anti-static bag wrapped in a t-shirt or bubble wrap, and slot them into separate compartments — a GPU slammed into its PCIe slot during turbulence is the kind of souvenir nobody wants.
Photograph the finished build once you finish assembly; the reference helps during reassembly. Finally, check the power at every stop. Australian sockets deliver 230 V at 50 Hz through a Type I plug, and a quality SFX PSU handles the full range without issue, but a surge from a clapped-out extension lead at a regional airport in Manila or Bali is a real risk worth a small surge protector for.