How to Choose a PC Case with Good GPU Clearance and Airflow
A graphics card can determine far more than whether it physically fits inside a case. Modern GPUs are longer, thicker, and heavier than previous generations, while their coolers often depend on several unobstructed intake fans. A case that accepts the card on paper may still create a cramped installation with poor temperatures, excessive fan noise, or difficult cable routing.
Good GPU clearance is therefore a combination of dimensions and ventilation. Builders need to check card length, slot thickness, power-connector space, front radiator placement, and the position of intake fans. The best case gives the graphics card enough room to breathe while leaving practical space for cooling hardware and future upgrades.
Start with the graphics card dimensions
The first specification to find is the GPU’s official length, usually listed in millimeters. Measure from the rear bracket to the furthest point of the shroud, including any protruding cooler components. Then compare that figure with the case’s maximum GPU length, rather than assuming a general mid-tower label means the fit will be comfortable.
A few millimeters of stated compatibility is rarely ideal. Front-mounted fans, radiators, drive cages, and cable channels can reduce usable length inside the main chamber. A card listed at 340 mm may technically fit in a case rated for 345 mm, but installation could require removing a fan or bending power cables sharply against the side panel.
Depth and thickness deserve equal attention. A two-slot graphics card may occupy three or more expansion slots once its cooler and support bracket are installed. Check the manufacturer’s slot count and leave room for airflow between the GPU and the power supply shroud or adjacent expansion card.
Account for power connectors and cable bend
The power connector is part of the GPU clearance calculation. Cards using a 12V-2x6 or similar high-power connector need space for the plug and its cable bend near the side panel. Forcing the cable immediately sideways can put stress on the connector and make the side panel difficult to close.
Cases with a generous width measurement do not always provide generous connector clearance. A side-mounted drive cage, narrow cable channel, or glass panel can consume the extra room. Look for a case with a broad central chamber and a cable-management space of roughly 25 mm or more behind the motherboard tray.
Power supply orientation can affect the same area. In compact dual-chamber cases, the PSU may sit beside or behind the graphics card, changing how cables approach the connector. Before buying, inspect photographs of completed builds using similarly large GPUs rather than relying solely on the manufacturer’s maximum dimensions.
Read the airflow layout before the specification sheet
GPU clearance is useful only when the card receives cool intake air. A front panel made from solid glass or tightly restricted plastic can limit the volume of air reaching the graphics card, even if several fans are included. Mesh panels generally offer a better starting point, though the quality and open area of the mesh still vary.
For a conventional tower, prioritize two or three front intake positions, a rear exhaust, and at least one top exhaust location. The front fans should sit opposite the graphics card rather than being blocked by a tall drive cage. Some cases offer adjustable fan rails, allowing the intake position to be lowered or raised for a better match with the GPU cooler.
Bottom intake support can be valuable in wide cases and compact designs where the graphics card sits close to the power supply shroud. These fans can feed air directly into the GPU’s lower fans, but they need dust filters and enough clearance from the floor. Avoid placing bottom fans directly against a solid shroud or a dense cable bundle.
Compare clearance specifications carefully
Manufacturers do not always measure GPU clearance in the same way. One brand may quote the maximum length with front fans installed, while another may provide a larger number that assumes the front of the case is empty. If a radiator is installed at the front, its thickness and fan depth can reduce GPU space by 50 mm or more.
Use the specifications as a starting point, then verify the layout diagram or manual. Pay attention to footnotes stating “without front radiator,” “with drive cage removed,” or “in vertical GPU configuration.” These details often explain why two cases with similar external dimensions have very different real-world compatibility.
| Clearance area | Comfortable target | Why it matters |
|---|---|---|
| GPU length | 20–30 mm beyond card length | Allows for fans, radiator changes, and installation |
| GPU thickness | One free slot beside the card where possible | Improves intake airflow and leaves expansion flexibility |
| Power-connector bend | 35–40 mm of side-panel space | Reduces strain on high-power cables |
| Front intake depth | 25–30 mm for standard fans | Prevents the GPU from sitting against the fan frame |
| Bottom GPU clearance | 20 mm or more | Helps lower intake fans move air effectively |
| Rear exhaust position | Directly behind the GPU area | Removes heated air from the graphics card cooler |
A case’s internal layout also determines whether the GPU receives direct airflow or recirculates its own exhaust. In a traditional horizontal layout, front-to-back airflow is usually predictable. In a vertical GPU mount, the card may sit close to the glass panel, restricting its intake even when the advertised clearance looks generous.
Balance GPU space with CPU cooling
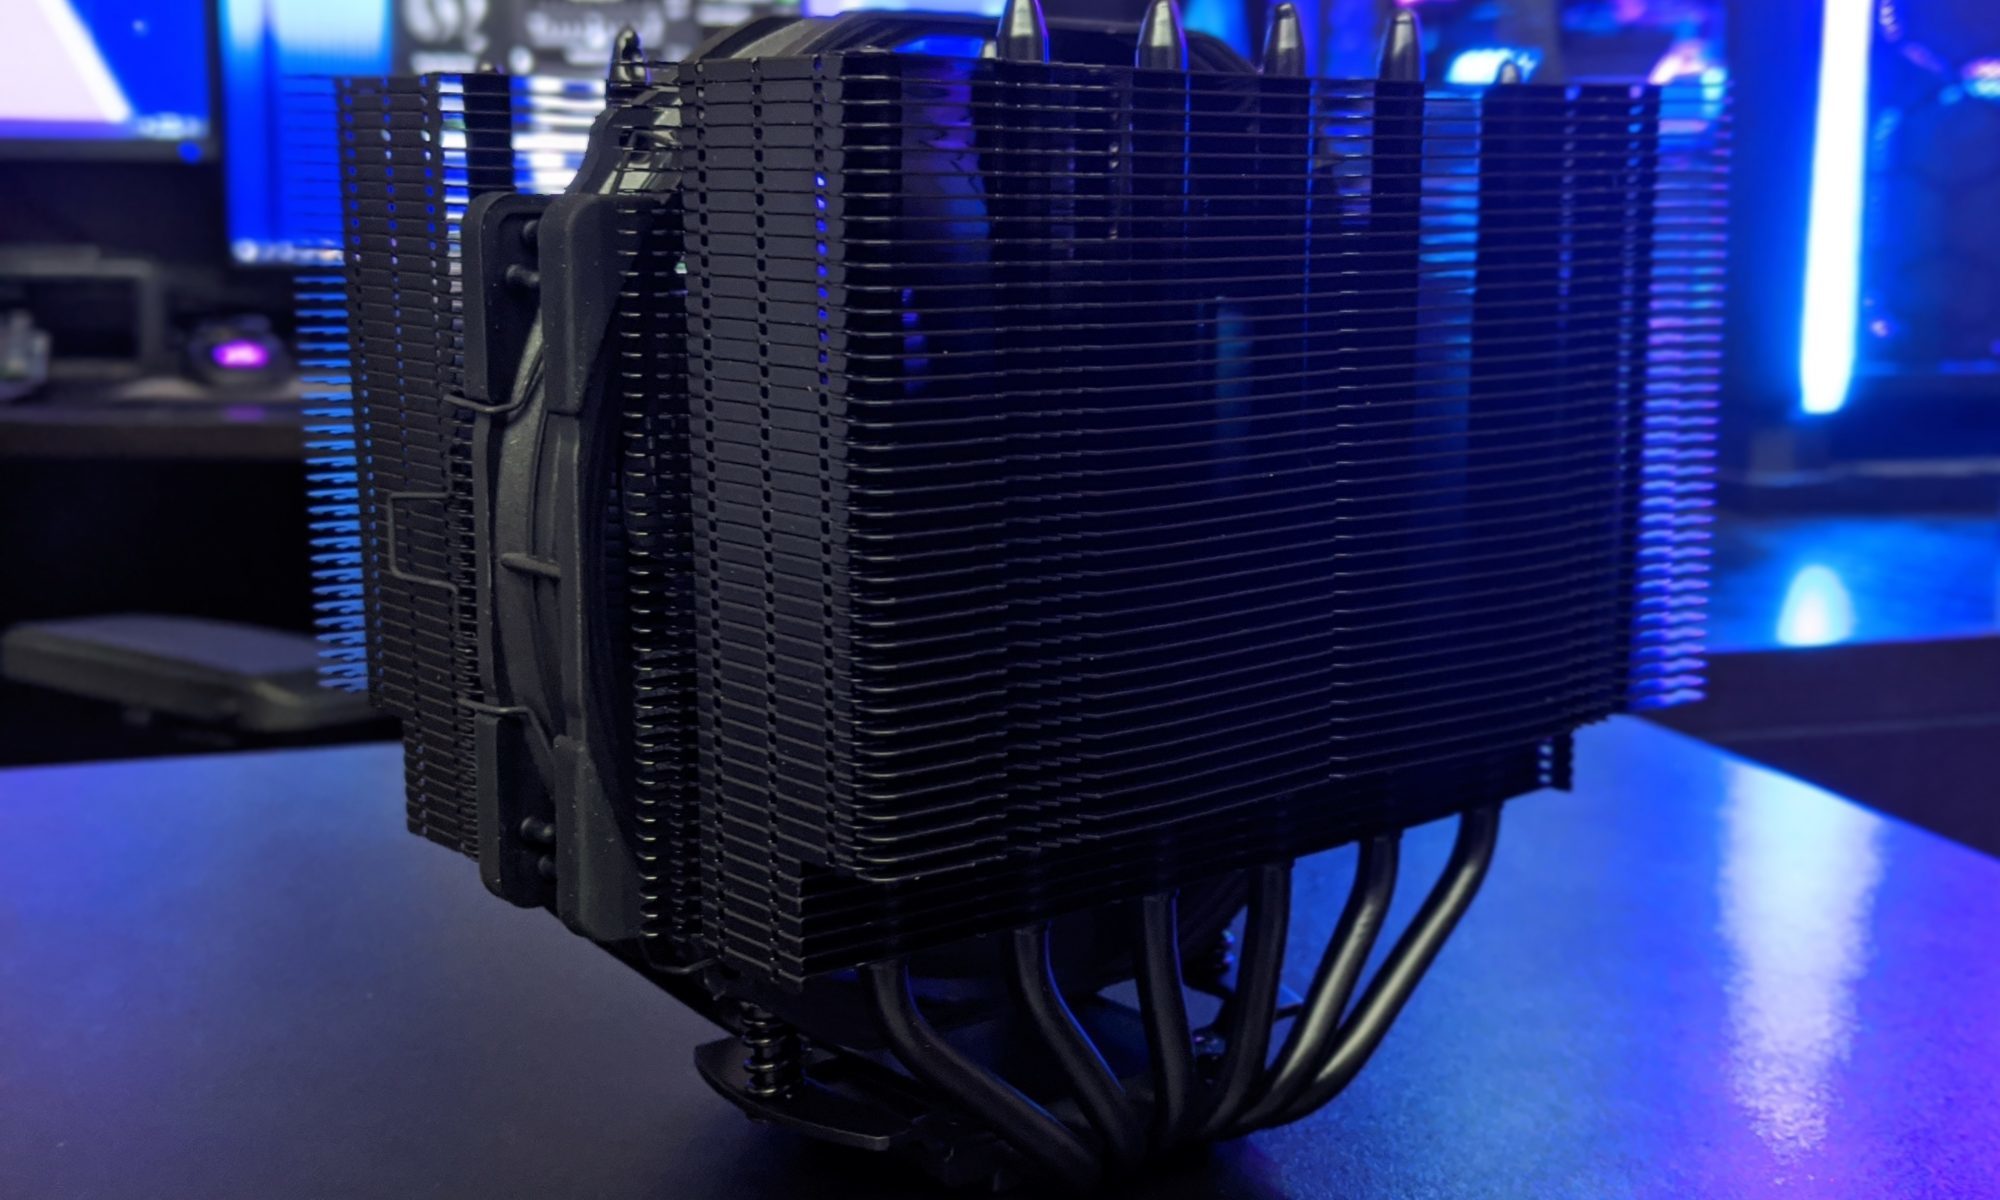
Large graphics cards and large CPU coolers compete for space in many cases. A tall air cooler may overhang the first RAM slot, while a wide GPU can limit access to motherboard headers and lower expansion slots. A liquid cooler can free up vertical CPU clearance, but a front-mounted radiator may reduce the length available for the graphics card.
Before choosing a case, compare the maximum CPU cooler height with the cooler you intend to use. Hardware Hounds’ CPU cooler charts can help compare cooler dimensions and thermal performance before that decision affects the rest of the build. A cooler that fits the processor socket may still be a poor match for a narrow chassis.
Memory height is another overlooked variable. Tall RGB modules can interfere with a top radiator or fan, particularly on boards where the DIMM slots sit close to the CPU socket. Builders using a Ryzen platform should check compatible RAM kits alongside cooler and case measurements, rather than treating memory clearance as a separate concern.
Choose the right case layout
Mid-tower cases offer the broadest compatibility, but size alone does not guarantee good GPU airflow. Look for an open motherboard tray, a removable front fan bracket, and a power supply shroud that does not rise too far into the main chamber. These features make it easier to position intake fans opposite the GPU.
Dual-chamber cases can provide excellent cable management and a clear airflow path, especially when the power supply and storage drives move behind the motherboard. However, their side intake layouts vary significantly. Some rely on narrow vents beside the front or rear chamber, which may produce more noise and less airflow than a conventional mesh front.
Compact cases require stricter measurement. In a small-form-factor build, GPU length, thickness, power connector placement, and CPU cooler height can interact so closely that changing one component forces changes elsewhere. Prioritize detailed compatibility charts, removable brackets, and independent reviews that include temperature and noise testing.
Plan the fan setup around the GPU
A case with good airflow does not need every fan position filled, but the intake and exhaust balance should be intentional. Two strong front intakes and one rear exhaust are often enough for a standard gaming system. Adding a top-rear exhaust can help remove CPU heat, though a top-front exhaust may pull cool air out before it reaches the graphics card.
Fan quality and pressure characteristics matter when filters or restrictive panels are involved. High-static-pressure fans are useful behind dense filters and radiator fins, while airflow-focused fans suit open mesh panels. Keep the front intake path clear of unused drive cages and route cables away from the GPU’s lower fans.
Positive internal pressure, where intake airflow slightly exceeds exhaust airflow, can reduce dust entering through gaps. It also gives the graphics card a steadier supply of fresh air. Monitor GPU hotspot temperature, core temperature, and fan speed after assembly; a sensible layout should reduce noise without depending on an aggressive fan curve.
Use a clearance-first buying checklist
Before ordering a case, record the exact dimensions of the graphics card, CPU cooler, radiator, memory, and power supply cables. Then compare those measurements with the case manual and build examples. This process takes a few minutes and prevents expensive compromises after the components arrive.
- Leave at least 20 mm of GPU length beyond the published card measurement when possible.
- Confirm clearance with the intended front fans or radiator installed.
- Reserve room for the power connector and its side-panel cable bend.
- Choose a mesh intake path positioned directly in front of the GPU.
- Check that the case supports the desired CPU cooler, memory height, and future GPU thickness.
Build quality also matters. A removable front panel, accessible fan brackets, and a sturdy GPU support can make installation easier and protect a heavy graphics card over time. Tool-less panels and generous cable-routing cutouts are practical advantages when working around a large cooler.
The right case turns GPU clearance into usable cooling capacity rather than a narrow compatibility claim. Measure the card, study the airflow path, allow room for power cables, and consider how the CPU cooler and front radiator will alter the interior. Once those details are verified, choose the chassis that gives the graphics card open intake space and a clear route for hot air to escape. Start with the dimensions, validate the layout, and build around predictable airflow.