Choosing a CPU Cooler for Thermal Headroom and Case Fit
A CPU cooler has two jobs: remove enough heat to keep the processor within safe operating limits and do so without creating excessive noise. The right choice depends on far more than a manufacturer’s TDP number. Boost behavior, power limits, ambient temperature, case airflow, socket compatibility, and physical clearance all affect real-world results.
A cooler that looks powerful on paper can perform poorly in a compact chassis, while a modest tower cooler may handle a mainstream processor comfortably in a well-ventilated case. Thinking in terms of thermal headroom makes the buying decision more reliable than matching a cooler’s advertised rating to the CPU’s listed wattage.
The goal is to leave enough capacity for sustained workloads, warm rooms, dust buildup, and future upgrades. At the same time, clearance measurements prevent a cooler from interfering with tall memory modules, side panels, motherboard heatsinks, or a top-mounted radiator.
Start with the processor’s real power draw
Thermal Design Power is useful as a general reference, but it is not a universal measurement of how much heat a CPU will produce in every workload. Intel processors may run above their base power under motherboard-enhanced limits, while AMD chips can use package power tracking values that exceed the nominal TDP. Some boards also remove default restrictions to increase sustained performance.
Check independent testing for package power during extended rendering, code compilation, or stress testing. Gaming loads are often lighter, although a powerful graphics card can raise internal case temperatures and reduce the cooler’s available capacity. A processor that draws 90 watts in games may consume considerably more during all-core workloads.
Consider the difference between peak and sustained heat. Short bursts are easy for most modern coolers to absorb, but a long workload exposes the limits of the heatsink, heat pipes, pump, radiator, and case ventilation. Buyers who regularly render video or run virtual machines should prioritize continuous cooling capacity rather than brief benchmark performance.
Build in useful thermal headroom
A practical target is to choose a cooler capable of handling roughly 30 to 50 percent more sustained heat than the processor is expected to produce. This margin is not a strict engineering rule, but it gives the system room for high ambient temperatures, reduced fan speeds, aging thermal paste, and background heat from other components.
For example, a CPU that sustains 120 watts should not be paired with a cooler that barely manages 125 watts in ideal conditions. A larger dual-tower air cooler or a quality 240 mm liquid cooler would provide a more comfortable buffer. A 360 mm radiator may be justified for high-power chips, frequent workstation loads, or a quieter fan curve.
Cooler makers often publish TDP compatibility figures, but these figures are difficult to compare directly. Testing methods, fan speeds, contact pressure, room temperature, and processor assumptions vary between brands. Treat the stated rating as a starting point, then compare independent thermal results from reputable hardware testing.
| CPU workload profile | Sensible cooling approach | Recommended headroom | Main clearance concern |
|---|---|---|---|
| 65–90 W gaming or office use | Compact tower or quality low-profile cooler | 25–40% | RAM and side-panel height |
| 90–140 W mixed workloads | Mid-size tower or 240 mm AIO | 30–50% | CPU socket and front radiator space |
| 140–200 W sustained rendering | Dual-tower cooler or 280/360 mm AIO | 40–60% | Radiator thickness and motherboard area |
| High-power enthusiast CPU | Premium dual tower or large AIO | 50% or more | Case airflow and radiator placement |
| Small-form-factor system | Low-profile cooler matched to power limits | 20–35% | Total cooler height and turbulence |
Measure the case before choosing a cooler
For air cooling, the most important specification is maximum CPU cooler height. This measurement is usually listed by the case manufacturer in millimeters and describes the distance from the motherboard surface to the side panel. Compare it with the cooler’s full height, not just the heatsink dimensions. Fan clips and raised fan positions can add several millimeters.
Leave a small safety margin rather than selecting a cooler that exactly matches the published limit. Manufacturing tolerances, a convex side panel, or an offset motherboard tray can turn a theoretical fit into an installation problem. A clearance buffer of 3 to 5 mm is a sensible minimum when the case specification is accurate.
Memory clearance deserves equal attention. Large front fans on dual-tower coolers may cover the first DIMM slots, forcing the fan upward and increasing the overall height. Check the manufacturer’s RAM clearance diagram and measure the height of the installed modules, especially if they have decorative heat spreaders or RGB diffusers.
Match cooler design to the chassis
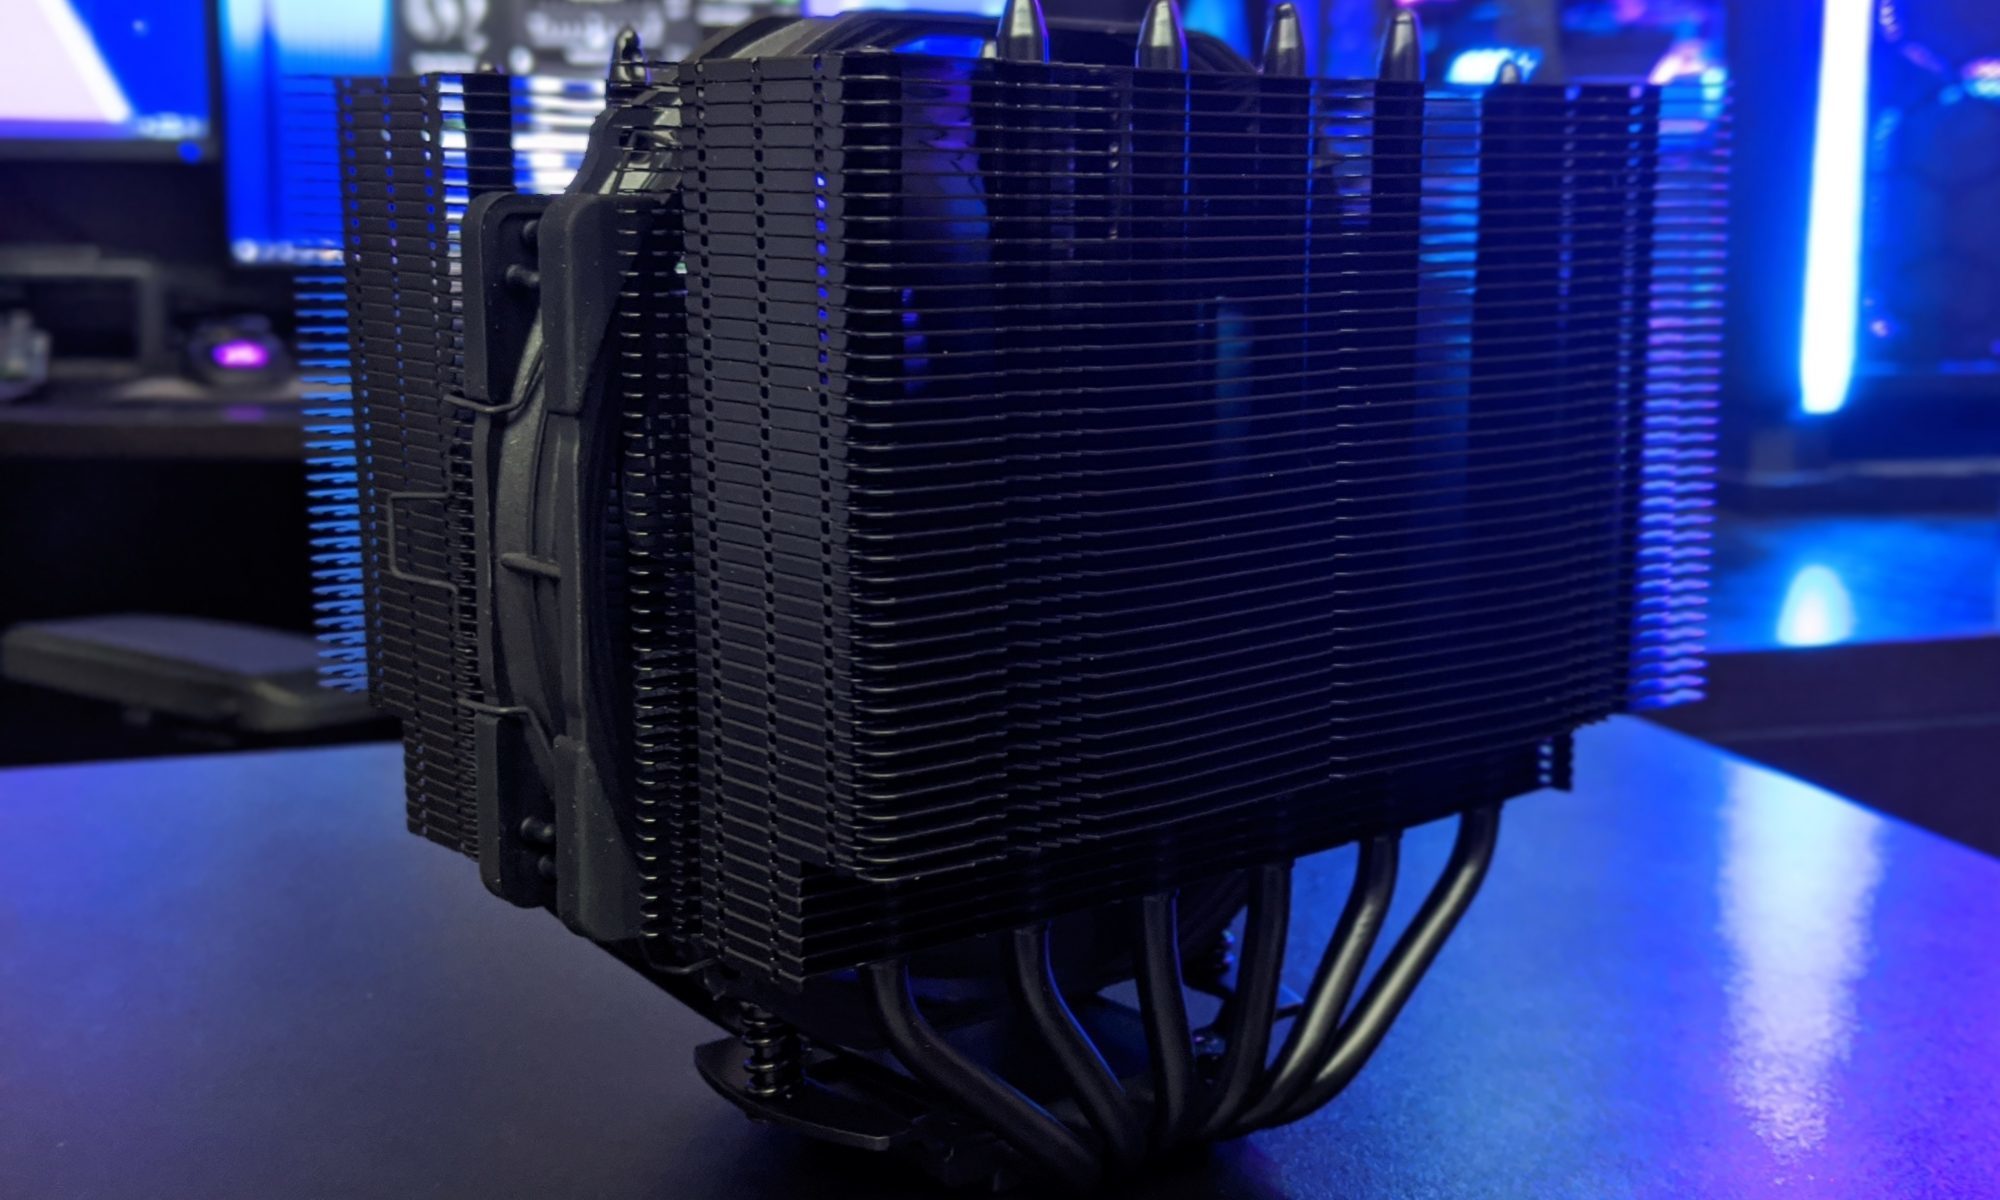
Air coolers are often the simplest and most dependable option. A single-tower cooler with a 120 mm fan can handle many mainstream processors while keeping installation and maintenance straightforward. Dual-tower models add surface area and heat pipes, making them suitable for high sustained loads, but they require more room around the socket.
Liquid coolers can move heat away from the CPU socket and place the radiator in a location with better access to exhaust airflow. A 240 mm radiator is a common balance between capacity and compatibility, while 280 mm models can deliver strong thermal performance at lower fan speeds. Their drawbacks include pump noise, installation complexity, radiator clearance, and the possibility of pump or seal failure over time.
Radiator dimensions are not limited to the stated size. A 240 mm unit may require space for two 120 mm fans, the radiator itself, and sometimes additional clearance for tubing or motherboard heatsinks. Top mounting can conflict with tall VRM covers or memory modules, while front mounting may reduce graphics card space and bring warmer air into the case.
Before buying a liquid cooler, check whether the chassis supports the radiator at the desired position and whether the motherboard has enough room for the pump block. Also verify that the cooler includes the correct mounting hardware for the CPU socket. An adapter bracket can be available for newer platforms, but it should not be assumed.
Balance temperatures, acoustics, and airflow
A cooler’s maximum thermal performance is only one part of the experience. Fans running at full speed can keep temperatures low while producing an unpleasant tone. A cooler with greater thermal capacity can often maintain the same CPU temperature at lower revolutions per minute, improving acoustic comfort during long work sessions.
Case airflow changes cooler behavior significantly. A front-to-back airflow path generally benefits tower coolers, while restricted front panels can make both air and liquid systems work harder. Mesh intake panels, sensible fan placement, and a clear exhaust path often improve CPU temperatures more effectively than moving from one premium cooler to another.
Dust filters, cable bundles, and crowded graphics card layouts also affect internal temperature. If the graphics card exhausts substantial heat into the case, CPU cooling capacity should be judged under combined system load rather than with the processor tested alone. Monitoring CPU package temperature, clock speed, fan speed, and internal case temperature can reveal whether the limitation is the cooler or the chassis.
Power delivery and overall system stability matter as well. High sustained CPU loads place additional demands on the power supply, particularly in a system with a powerful graphics card. When validating a new build, use a careful guide to power supply testing so thermal troubleshooting is not confused with unstable voltage or inadequate capacity.
Check installation details before purchase
Socket support should be confirmed using the cooler manufacturer’s compatibility list, not only a retailer’s filter. New CPU platforms can require revised brackets, backplates, or mounting spacers. Some coolers support a socket mechanically but lack ideal contact pressure or provide limited installation guidance for that platform.
Motherboard layout can also create unexpected conflicts. Large heatsinks may overlap the primary PCIe slot, interfere with tall VRM heatsinks, or make access to the EPS power connector difficult. In compact cases, even attaching the CPU cooler after installing the motherboard can be awkward, so planning the assembly order saves time.
For liquid cooling, inspect pump-header and fan-header requirements, tube orientation, and the location of the radiator. A front radiator may need to be mounted with tubes at the bottom or top depending on the case and pump position. Avoid arrangements that place the pump at the highest point in the loop, since trapped air can increase noise and reduce service life.
Use a practical cooler selection checklist
A short checklist helps turn specifications into a dependable purchase decision:
- Estimate sustained CPU package power from independent reviews rather than relying on the nominal TDP alone.
- Select at least 30 percent thermal headroom for general use and more for workstation workloads or warm environments.
- Compare cooler height with the case limit, leaving room for fan clips, raised fans, and side-panel tolerances.
- Verify RAM, VRM heatsink, PCIe slot, radiator, and graphics card clearance before ordering.
- Choose a design that supports the desired noise level, airflow pattern, and maintenance expectations.
Price should be judged against the complete platform rather than the cooler in isolation. A lower-cost air cooler may be the best value for a locked or efficiency-focused processor, while a premium cooler can make sense when it enables lower fan speeds on a high-power chip. Spending extra for a large radiator in a restricted case will not solve poor airflow.
After installation, confirm contact and performance with a repeatable workload. Record idle temperature, gaming temperature, sustained all-core temperature, fan speed, and room temperature. If results are unexpectedly high, check mounting pressure, thermal paste application, fan direction, and power limits before replacing hardware.
A well-matched cooler should keep the processor within its intended temperature range without constantly operating at maximum fan speed. Review the CPU’s actual power behavior, calculate meaningful headroom, and measure every relevant clearance before purchasing. Then use independent cooler testing and real workload data to select the model that fits both the performance target and the physical shape of the build.