Safely removing liquid metal paste from a CPU IHS
Liquid metal compounds such as Thermal Grizzly Conductonaut or Coolaboratory Liquid Metal Pro deliver thermal conductivity figures that traditional silicone-based greases simply cannot match, often shaving five to ten degrees off CPU temperatures under sustained load. That performance comes with a real trade-off: the alloy (typically a gallium-indium-tin mix) is electrically conductive, corrosive to bare aluminium, and stubborn to remove once it has mated with a polished copper surface. Anyone who has repasted a Ryzen 9 7950X or an Intel Core i9-14900K and left the old residue behind knows how easily a stray smear can short adjacent components on the motherboard or socket. The process of cleaning liquid metal off a CPU IHS safely is therefore less about speed and more about methodical containment. Learn more about Hwhound.com.
In Australia, builders shopping at retailers like Scorptec, Mwave, PC Case Gear or Umart will find that most cleaning kits ship with alcohol wipes and cotton tips, but the local climate throws its own variables into the mix. Coastal humidity in Sydney or Brisbane can slow evaporation of isopropyl alcohol, while a Perth or Adelaide garage workshop in summer can leave solvents flashing off so quickly that streaks form before the cloth lifts them. Working in a controlled, well-lit space, ideally with an RCM-compliant anti-static mat and a 230V grounded outlet for any nearby equipment, keeps the job predictable from start to finish. Learn more about Hinh Nen Chu De The Thao 50 Anh Bong Da Bong Ro Dinh Cao.
Why liquid metal behaves differently on copper
Standard thermal paste is a non-conductive ceramic or silicone slurry that can usually be wiped away with a paper towel and a bit of effort. Liquid metal is neither of those things. The gallium alloy bonds microscopically with the copper of the IHS, and a thin layer of gallium-copper alloy forms wherever the two surfaces contact. That diffusion is what enables the superb thermal transfer, but it also means that simple wiping will leave an uneven, slightly dark residue on the copper that does not truly disappear without chemical or abrasive intervention.
The corrosive behaviour is another concern. Gallium eagerly attacks aluminium, so any nickel plating, anodised cooler fins, or aluminium mounting hardware that receives even a fingertip smear can pit, stain, or fail over the course of months. Dropping a gallium splash onto an X670E motherboard near the AM5 socket contacts could result in a failure that is far more expensive than the thermal paste itself. This is why seasoned Australian builders talk about liquid metal almost like a laboratory chemical: respectful, contained, and never used on a surface that cannot be replaced cheaply. Many community members at Hardware Hounds recommend reserving liquid metal for delidded direct-die setups or premium IHS-to-block contact patches where the cost of contamination is fully understood up front.
Preparing the workspace and gathering supplies
A clean repair begins before any tools touch the CPU. The workbench should be wiped down, ideally with a lint-free microfibre, and a sheet of white paper or a clean ceramic tile laid out to catch any drips. Lighting matters more than people expect: a cheap LED magnifying lamp from a Bunnings electrical aisle can be the difference between spotting a three-millimetre smear and missing it entirely. Anti-static precautions remain essential, including a grounded wrist strap clipped to a bare metal part of the case or workshop bench.
The core toolkit for removing this conductive compound is straightforward. Quality paper coffee filters or lint-free wipes from a chemist absorb the alloy far better than cotton buds, which can shed fibres into the socket. Isopropyl alcohol at 90 percent concentration or higher is the standard solvent, and is available from electronics specialists such as Altronics or Jaycar in 250 ml bottles. A soft abrasive is occasionally needed for stubborn residue, and nothing does this job better than a dedicated thermal paste eraser or a piece of microfibre wrapped around a fingernail with a drop of alcohol. Gloves are advisable, both to keep skin oils off the IHS and to prevent transference of the gallium alloy to anything else in the room, including door handles or a glass of cold water on a hot Melbourne afternoon.
Removing the bulk material without spreading it
Before applying any solvent, the priority is removing as much of the metal as possible while it remains pooled. Tilting the CPU or the cooler base slightly over a paper towel allows gravity to pull the bulk toward a corner where it can be blotted, rather than smeared. Some Australian forum regulars on the Hardware Hounds community use a wooden toothpick or a plastic spudger from an old smartphone repair kit to nudge the puddle onto a folded coffee filter; metal tools should be avoided because they themselves become contaminated.
Once the visible bead is gone, the next step is the first solvent pass. Fold a fresh coffee filter into a pad, dampen it generously with isopropyl alcohol, and wipe in a single direction across the IHS rather than scrubbing in circles. A circular motion risks pushing residue into the IHS etchings, the engraved model and batch text, where it becomes harder to lift. Fold the filter again to expose a clean surface, dampen, and repeat. Two or three passes are usually enough to make a noticeable difference on a CPU like the Core i7-14700K or the Ryzen 7 7800X3D. Patience here pays off; rushing with a soaked wipe just dilutes the alloy and drags it across surfaces that were previously clean.
Cleaning residue from the IHS and the cooler base
After the bulk pass, a faint grey or rainbow-tinted film often remains on the copper. This is the diffused alloy layer, and lifting it requires gentle abrasion paired with solvent. A thermal paste eraser, rubbed in straight strokes across the surface, gradually picks up the discolouration while leaving the IHS finish intact. For a nickel-plated IHS, such as those found on many Intel Core CPUs, an eraser is gentler still and rarely needed; a careful solvent wipe is usually sufficient.
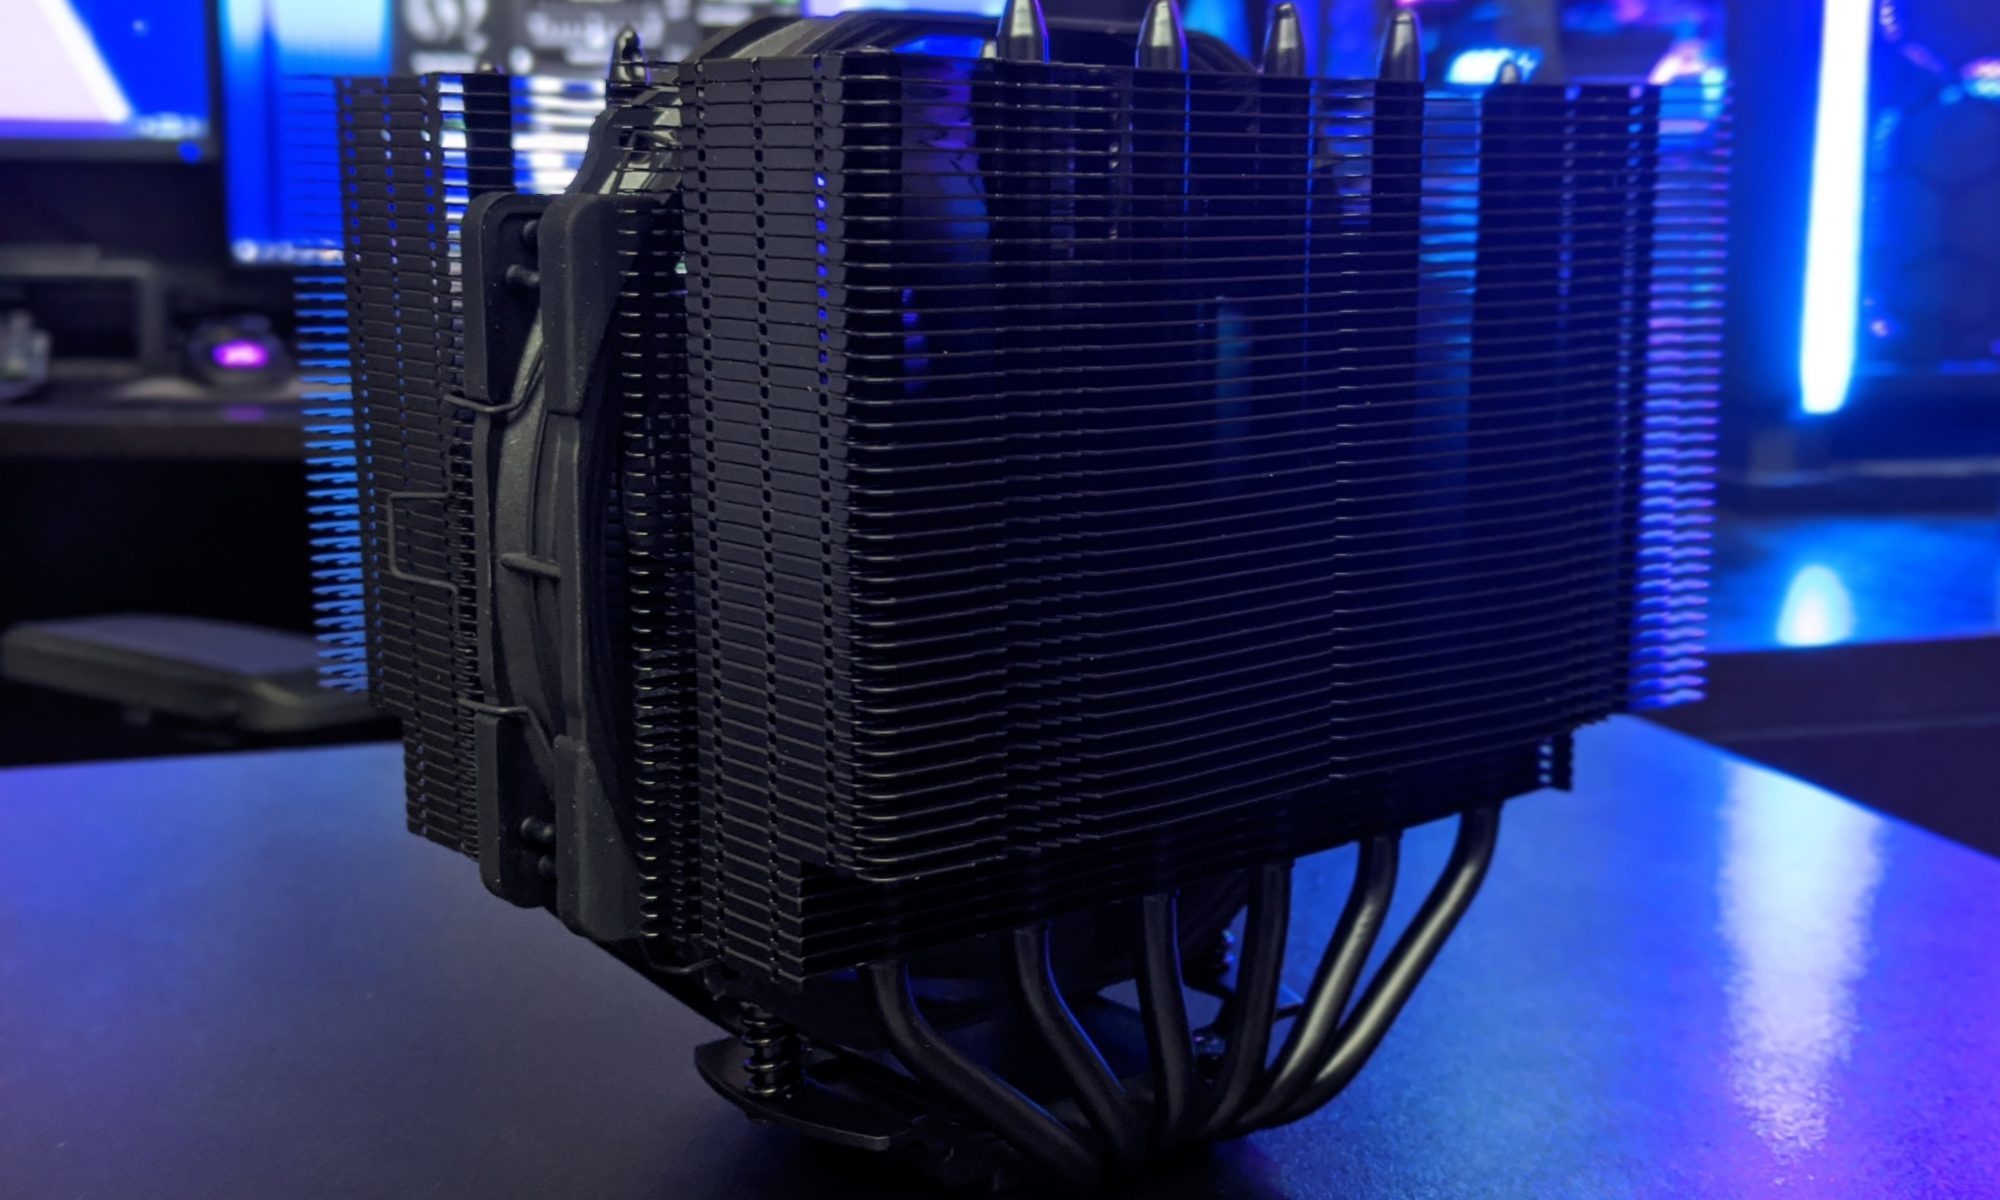
The cooler base deserves identical treatment. Whether it is a nickel-plated cold plate on an Arctic Liquid Freezer III, a copper base on a Noctua NH-D15, or the contact surface of an NZXT Kraken pump, any residue left behind will eventually transfer back to the CPU on the next mount. While the eraser or alcohol pad is idle, the workspace can feel a little quiet; some enthusiasts in Brisbane have mentioned queueing up a few sports-themed backgrounds on a second monitor to give their eyes a break between passes, which is a fair place to visit if waiting for a layer to dry. Once both surfaces look clean under the magnifying lamp, finish with a dry lint-free cloth to pick up any remaining alcohol film before reassembly.
Inspecting, protecting and reassembling the system
Thorough inspection separates a professional reseating from a future short. The IHS should catch the light evenly, with no dark halos around the edges and no shiny spots where residue has pooled in micro-scratches. A torch held at a low angle reveals imperfections invisible under ceiling lighting. A final swab with a freshly alcohol-dipped cotton bud around the perimeter of the IHS edge catches any alloy that crept sideways during the bulk removal.
If the CPU is being paired again with a traditional paste such as Thermalright TFX or Noctua NT-H2, barrier tape is not required. When returning to liquid metal for the next mounting cycle, a thin barrier of nail polish, JB Weld, or purpose-made polymer around the SMD components near the IHS prevents the alloy from wicking onto the motherboard. A pea-sized drop, no larger than a grain of rice, is then spread thinly with the supplied cotton bud, taking care that the alloy stays squarely on the copper. Re-mount the cooler with fresh thermal paste torque values in mind, plug the 230V power lead back in, and boot into the BIOS to confirm that temperatures settle within the expected range under a Cinebench loop.
Habits that make liquid metal handling less risky
- Choose a well-lit, low-humidity workspace and lay a washable surface protector before opening any tubes.
- Wear nitrile gloves, keep paper towels close, and change them frequently rather than reusing a contaminated sheet.
- Label the cleaning tools and store them in a sealed bag separate from general workshop consumables.
- Reserve liquid metal for direct-die or premium IHS contact surfaces, and avoid it entirely on aluminium coolers.
- Inspect both the CPU and the cooler base under angled light after every cleaning pass, and never reassemble while any film remains.
- Keep a tube of high-percentage isopropyl alcohol on hand for spot cleans between full repastes.
- Photograph the IHS and socket area before mounting so any future contamination can be compared against a clean baseline.