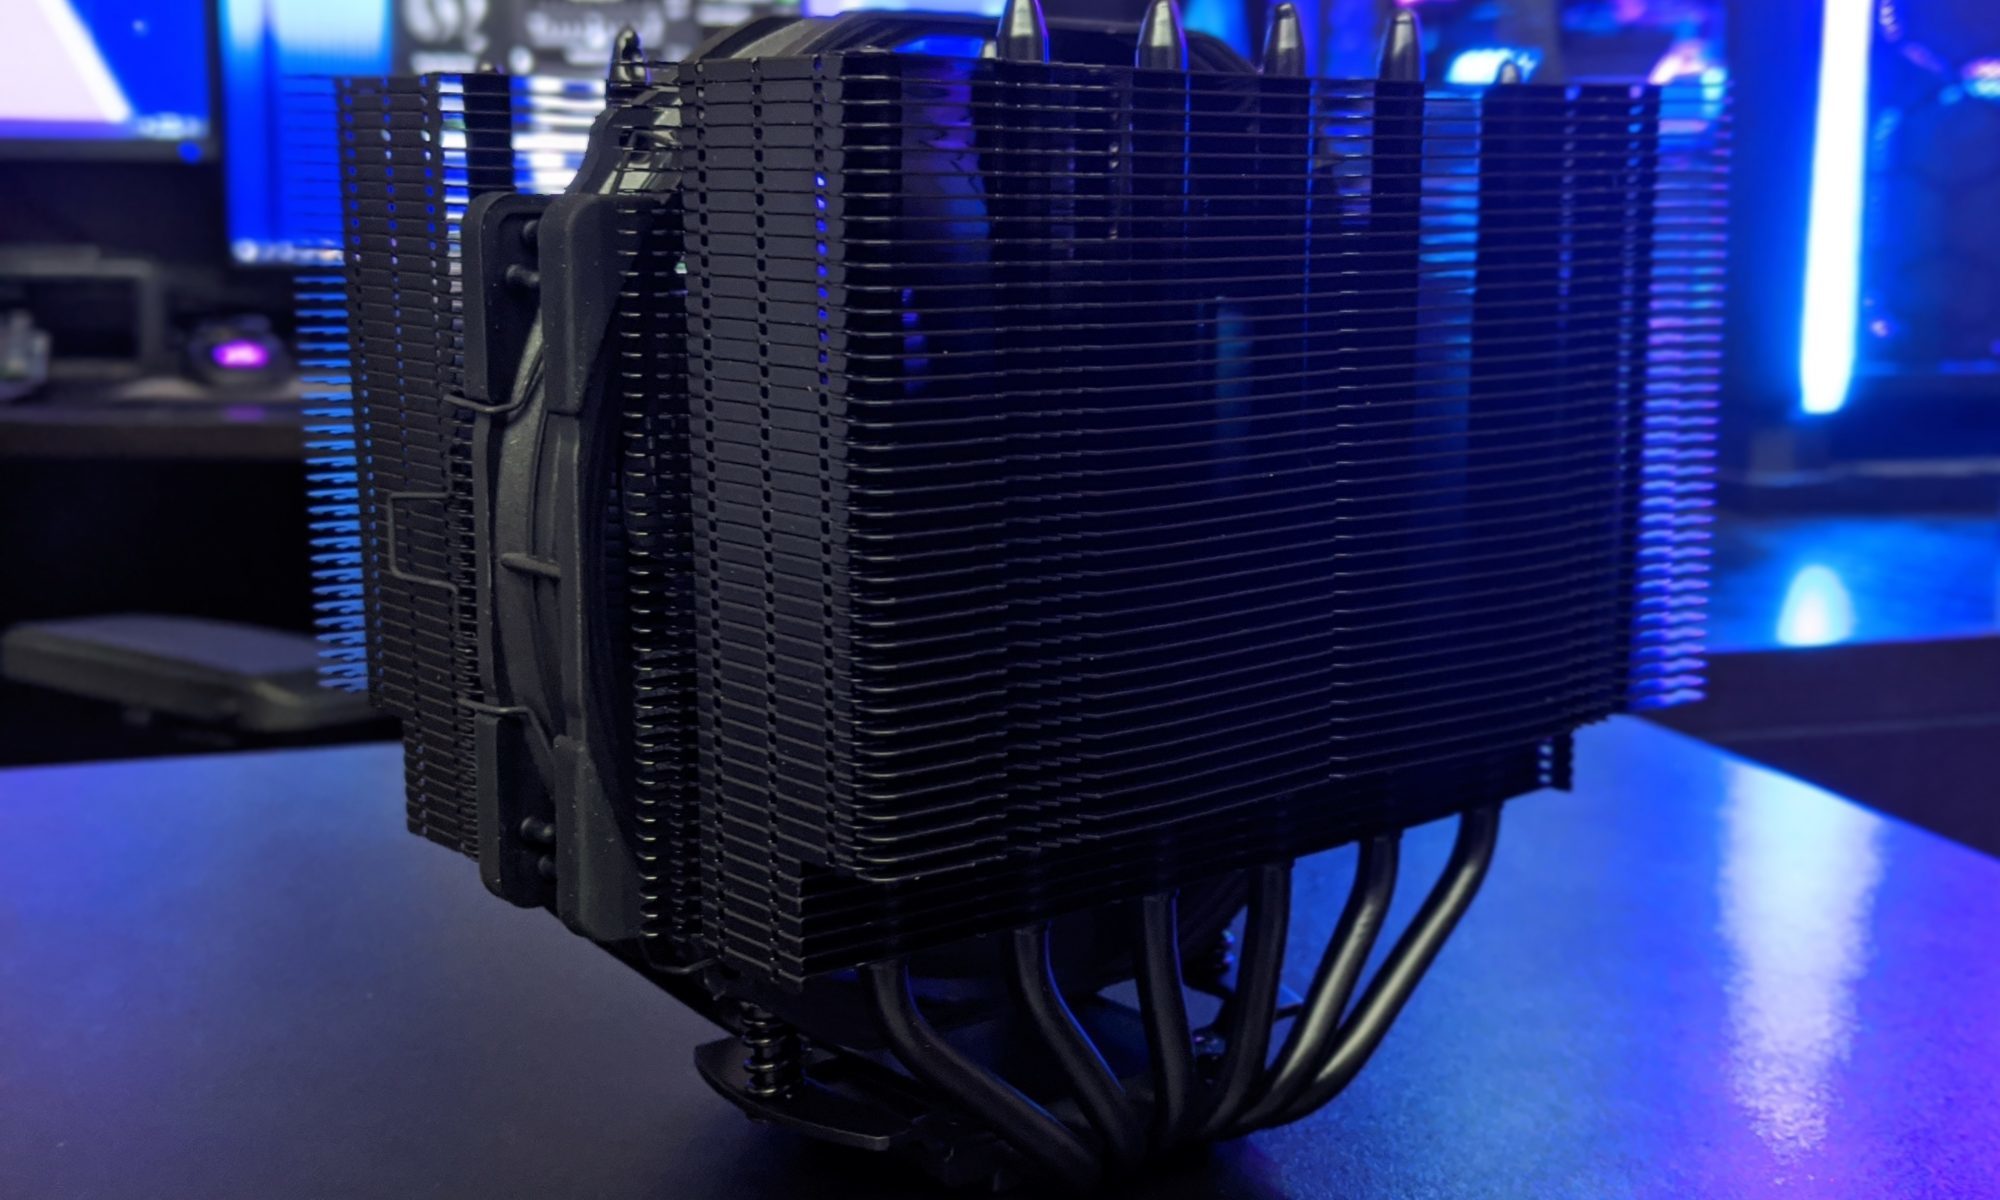
How to clean your GPU heatsink and fans without damaging them
A graphics card gradually collects dust in the gaps between its heatsink fins, around the fan hubs and along the shroud. That layer restricts airflow, raises temperatures and can make the fans ramp up loudly during games. In a warm Australian summer, a cooler that was once barely audible may begin sounding like a small vacuum cleaner.
Cleaning a GPU is straightforward when you control the air pressure, prevent the fans from spinning freely and avoid contact with sensitive components. The aim is to remove compacted dust without bending the fin stack, stressing the fan bearings or creating static and moisture hazards.
Prepare a safe, dry workspace
Shut down the computer normally, switch the power supply off at the rear and remove the mains cable. Press the case power button for a few seconds after unplugging it to discharge residual power. Move the system to a hard, well-lit surface rather than cleaning it on carpet. A garage or balcony can work well, provided the area is dry and protected from wind-blown grit.
Static electricity is less of a concern than careless handling, but basic precautions still matter. Touch the bare metal of the case before removing the graphics card, or use an anti-static wrist strap connected to the case. Hold the GPU by its edges and metal bracket, never by the fans, exposed circuit board or gold contacts.
You will need compressed air, a soft anti-static brush and a clean microfiber cloth. Canned air is convenient, while an electric air duster can provide stronger airflow for stubborn dust. If you use one, start at a distance and choose a lower setting. Do not use an air compressor without a moisture trap and regulator, as high-pressure air or condensed water can damage the card.
Remove the graphics card carefully
Take a photo of the cable and slot arrangement before disconnecting anything. Unplug the PCIe power leads by pressing their release tabs, remove the case screws holding the bracket and release the small plastic latch at the end of the motherboard’s PCIe slot. Support the card with both hands as you lift it straight out.
Large modern GPUs can be surprisingly heavy, particularly three-slot models with substantial vapour chambers or extended heatsinks. Do not twist the card against the slot, and avoid placing it fan-side down on a hard bench. Set it on its anti-static bag, the cardboard packaging it arrived in or a clean towel.
Before cleaning, inspect the card under bright light. Look for oily residue, corrosion, a loose fan cable, damaged blades or a heatsink that appears to have shifted. Coastal areas such as Brisbane, Sydney and Perth can expose equipment to humid, salty air, so white or green residue deserves more caution than ordinary grey dust. Corrosion is a reason to stop and seek professional service rather than brushing aggressively.
Blow dust out of the heatsink
Hold the GPU so dust exits through the heatsink instead of travelling deeper into the shroud. Use short bursts of air from the exhaust side, then move to the intake side and repeat. Keep the nozzle several centimetres away from the fins. A rapid series of controlled bursts is safer than holding the trigger continuously.
Prevent every fan from spinning while you clean. Insert a cotton swab, plastic pick or a folded piece of card between two blades, taking care not to put pressure on the hub. A free-spinning fan can generate a small electrical current and may overspeed its bearings. The greater risk is mechanical: sudden acceleration and deceleration can wear the bearing or crack a blade.
Work from multiple angles, including the edge of the fin stack and the space around the fan frame. Use the soft brush to loosen packed lint, but keep its strokes light and directed outwards. Never force a brush between tightly packed fins, as aluminium fins bend easily and flattened sections reduce cooling performance.
Clean fan blades and the shroud
Once loose dust has been blown away, wipe the accessible fan blades with a dry microfiber cloth or a barely damp cotton swab. Hold each blade near its outer edge while wiping so the force is not transferred to the central bearing. Allow any moisture to evaporate completely before reconnecting the card.
Avoid household sprays, glass cleaner, alcohol poured directly onto the GPU and general-purpose lubricants. Liquid can travel through the fan hub or settle under surface-mounted components. WD-40 and similar products are especially unsuitable for this job because they leave residue and can attack some plastics or adhesives.
For marks that do not shift with a dry cloth, put a tiny amount of 90% or higher isopropyl alcohol on the cloth rather than applying it to the card. Keep it away from labels, foam pads and cable connections. The cloth should feel almost dry, and the card should remain disconnected until all solvent has fully flashed off.
Decide whether deeper disassembly is needed
Most graphics cards benefit from external cleaning alone. Removing the cooler exposes the PCB, thermal pads and fan connectors, and it can void a manufacturer or retailer warranty. Australian buyers should check the warranty terms and their receipt before undoing screws; a card purchased through a local retailer may have a different return process from a parallel-import model.
Deep cleaning becomes reasonable when the heatsink is visibly blocked, a fan rattles, or temperatures remain abnormal after the exterior has been cleared. If you remove the heatsink, record the position and thickness of every thermal pad. A pad that is folded, displaced or replaced with the wrong thickness can prevent proper contact with memory chips and voltage-regulation components.
The GPU die should be cleaned only when the cooler is already off and fresh thermal compound is required. Use lint-free material and high-purity isopropyl alcohol, applying gentle pressure without scraping the exposed silicon. Choosing replacement compound involves more than its advertised conductivity, so this guide to thermal paste properties is useful when comparing viscosity, application behaviour and long-term stability.
Reinstall and verify cooling performance
After cleaning, check that no brush fibres, cotton strands or dust clumps remain inside the fan path. Confirm that each fan spins freely with a gentle nudge, without grinding or side-to-side movement. Do not add oil unless the fan manufacturer specifically provides a service point; sealed GPU fans are generally designed to be replaced rather than lubricated.
Reinstall the card squarely into the PCIe slot and secure its bracket before connecting the power cables. Make sure every PCIe connector is fully seated. If the card is heavy, use the case’s support bracket or an aftermarket support to prevent long-term sag. A poorly supported GPU can put unnecessary strain on the slot and make removal more difficult later.
Boot the system and monitor temperatures with a trusted utility while running a game or benchmark. Compare the result with the card’s previous behaviour under similar room conditions. A small improvement is normal, while a sudden temperature increase, fan fault or unusual buzzing calls for shutdown and inspection.
Dust returns faster in homes with pets, open windows or evaporative cooling, and inland Australian conditions can be particularly dry and dusty. Checking the case filters every few months and cleaning the GPU when airflow becomes restricted keeps the heatsink effective without repeated invasive work. Done carefully, the process restores quieter operation while preserving the fans, fins and warranty position.