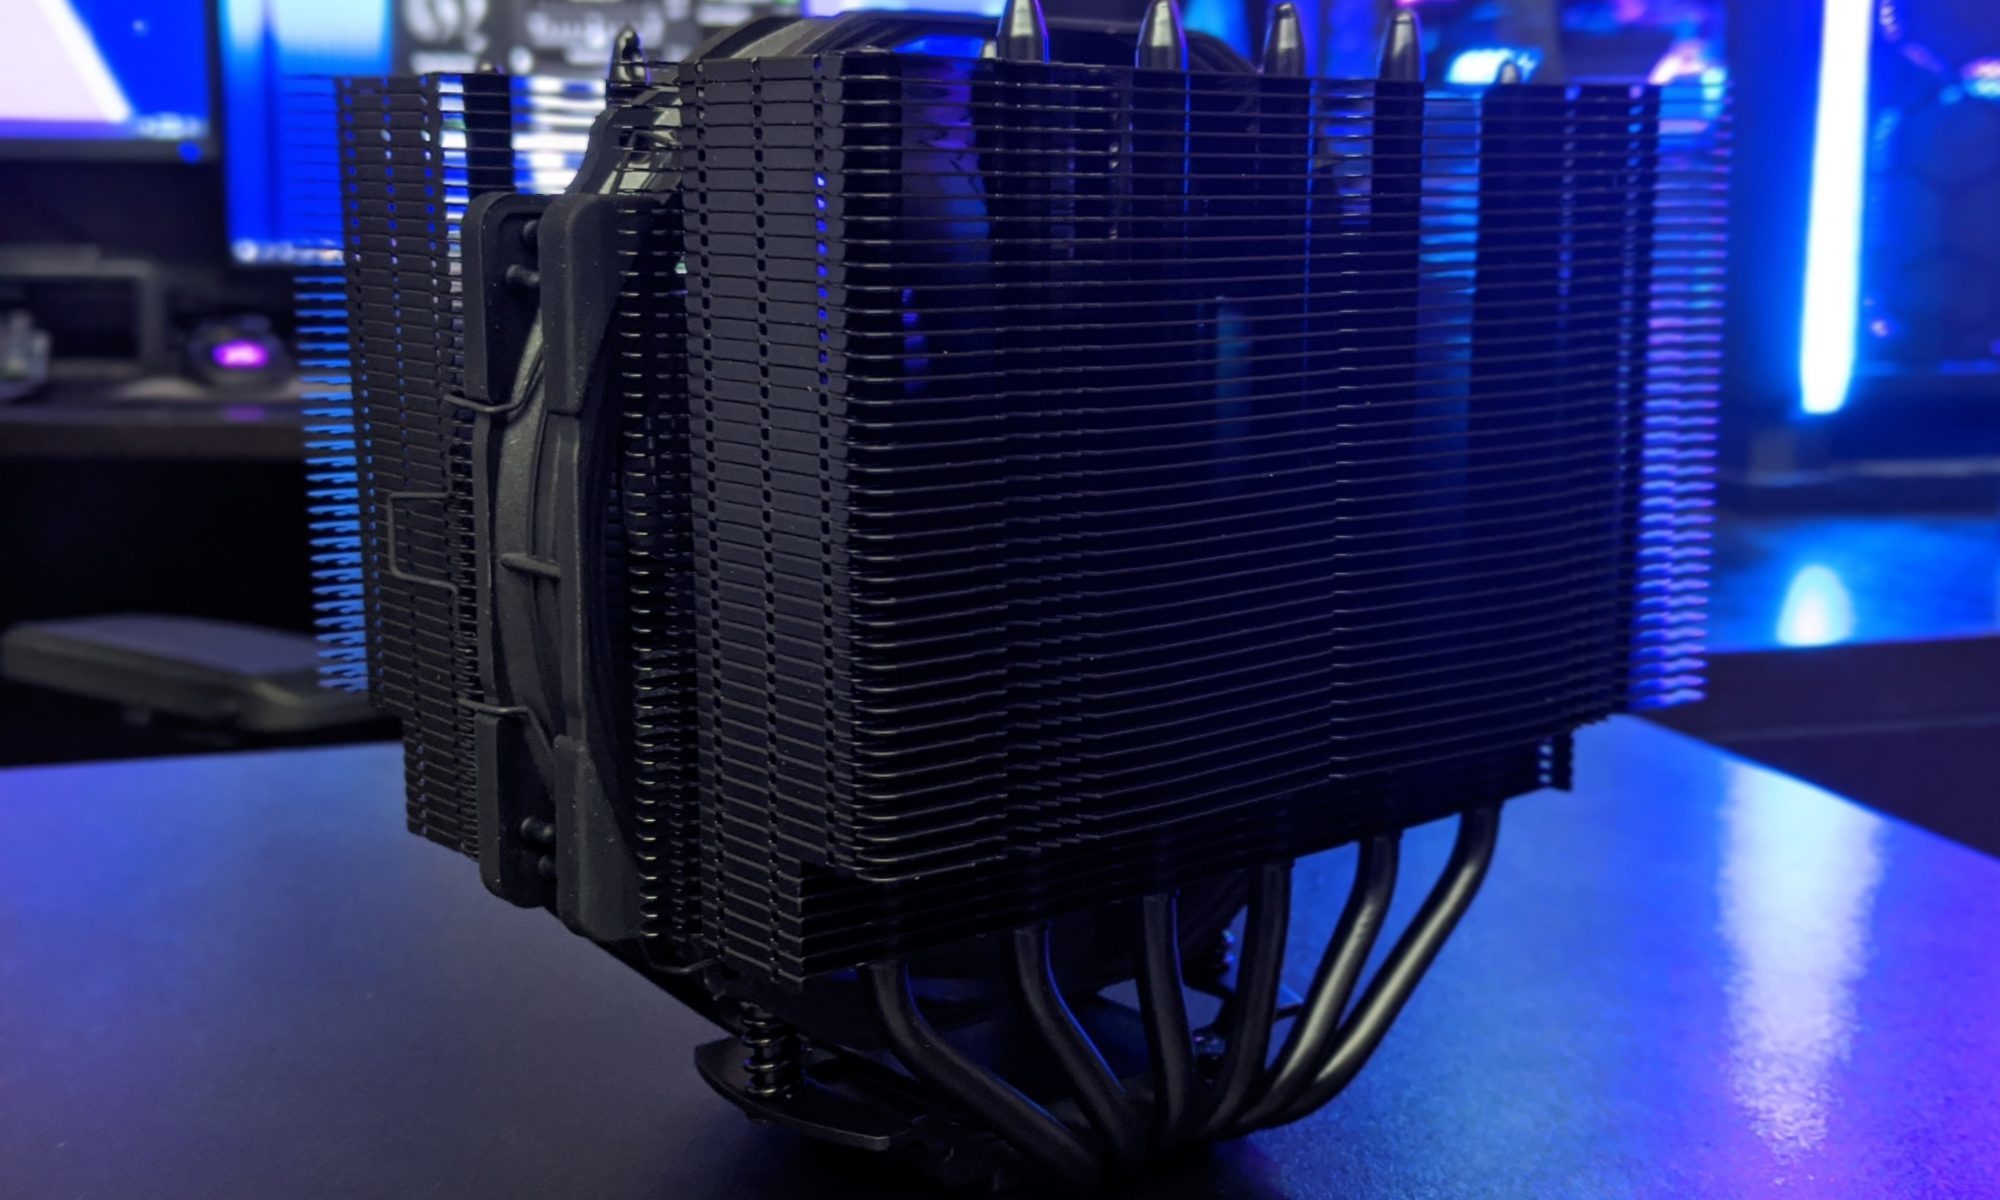
How to clean your PC case fans without removing them
Dusty case fans restrict airflow, raise internal temperatures, and can turn a quiet computer into a constant source of mechanical noise. The good news is that routine cleaning does not require disconnecting every fan or taking the entire system apart. With the right tools and a careful sequence, you can remove most surface dust while the fans remain mounted.
The process is especially useful for front intake fans, top exhaust fans, and radiator-mounted fans that are awkward to access. It also gives you a chance to inspect fan blades, filters, cable routing, and signs of bearing wear before a small cooling problem becomes a larger hardware issue.
Cleaning is safest when the computer is fully powered down and disconnected from mains power. A few minutes of preparation prevents accidental fan movement, static-related mishaps, and dust being pushed deeper into the case.
Prepare the computer and your workspace
Shut down the operating system normally, switch off the power supply, and unplug the power cable. Press the case power button for several seconds after unplugging it to discharge residual power. Move the PC to a well-ventilated location, preferably outdoors or near an open window, since the first burst of air may release a surprising amount of dust.
Place the case on a stable surface and remove the side panels if they can be taken off without disturbing installed hardware. You generally do not need to remove the front panel, graphics card, CPU cooler, or power supply. If a front dust filter slides out easily, remove that filter separately and clean it away from the computer.
Use a flashlight to inspect the fans before starting. Look for thick buildup on the leading edges of the blades, dust packed into the surrounding grille, and cables that could be caught by a brush or spinning fan. If a fan has a grinding sound, excessive wobble, or a blade that does not rotate smoothly by hand, cleaning may not solve the underlying problem.
Choose tools that will not harm the fans
A can of compressed air is the fastest option for loose dust, while a soft anti-static brush is better for compacted deposits. A clean microfiber cloth can collect dust from accessible blade surfaces. Cotton swabs and a small amount of high-percentage isopropyl alcohol can help with oily residue, but liquid should never be sprayed directly onto a fan or any component.
Avoid household hair dryers unless they have a genuinely cool, low-pressure setting. Hot air can soften adhesives and push dust into sensitive areas. A powerful air compressor can also damage fan bearings or launch debris into the motherboard, so use a regulator and moisture trap if you choose one.
Do not press a vacuum nozzle directly against circuit boards or fan motors. Vacuum cleaners are useful for collecting dust from the surrounding work area and filters, but their static risk and strong suction make them a poor primary tool inside a powered-down PC.
Clean mounted fans in a controlled sequence
Hold each fan blade still with a plastic stick, a wooden coffee stirrer, or one finger placed carefully against the frame. Do not use a metal screwdriver near the blades or motor. Preventing free spinning matters because compressed air can drive a fan far faster than its normal operating speed, potentially stressing the bearing or generating unwanted electrical feedback.
Blow short bursts from the clean side of the fan toward the dusty side. For an intake fan, this usually means directing air from inside the case toward the front grille; for an exhaust fan, work from the interior toward the rear or top opening. Keep the can upright and several centimetres away from the fan so that liquid propellant does not escape onto the hardware.
After the loose dust is gone, use a soft brush to loosen material stuck along the blade hubs and frame corners. Brush toward the open case area rather than deeper into the chassis. Follow with another short burst of air, then wipe reachable blade surfaces with a dry microfiber cloth. Rotate the blade manually between passes so every section is exposed without allowing it to freewheel.
| Cleaning method | Best use | Main advantage | Important caution |
|---|---|---|---|
| Short bursts of compressed air | Loose dust on blades and grilles | Fast and effective | Hold blades still and keep the can upright |
| Soft anti-static brush | Caked dust and narrow gaps | Reaches corners and frame edges | Use light pressure around the motor hub |
| Microfiber cloth | Final wipe on accessible blades | Removes residue and fine particles | Avoid snagging blades or fan cables |
| Isopropyl alcohol on a swab | Sticky or oily deposits | Cleans marks that dry tools cannot remove | Never pour or spray liquid into the fan |
| Vacuum near the case | Dust released onto the work surface | Keeps debris from spreading | Do not press the nozzle onto components |
Deal with filters, grilles, and radiator dust
A fan may be clean while its filter is completely blocked. Remove magnetic, slide-out, or clip-on filters and clean them separately. Shake loose dust outdoors, brush both sides, or rinse washable plastic filters under lukewarm water if the manufacturer permits it. Let a washed filter dry completely before reinstalling it; even a small amount of moisture near electronics is unacceptable.
Use compressed air or a brush on fixed metal grilles, working from the component side toward the outside where possible. If the grille is behind a radiator, use short bursts and avoid bending the radiator fins. A narrow nozzle can concentrate airflow, but keep it far enough away to prevent fin damage.
Radiators collect dust between their fins, reducing the amount of air that reaches the cooling surface. If your system uses a top-mounted liquid cooler, clean the exposed fan side and radiator face gently. Builders comparing replacement options can also review these 140mm radiator fans when a noisy or worn fan needs to be replaced rather than merely cleaned.
Clean around the rest of the system
Once the case fans are clear, inspect nearby areas where dust accumulates. The graphics card shroud, CPU cooler tower, power supply intake, and bottom of the case can all obstruct airflow. Hold the GPU and CPU cooler fans stationary while blowing dust through them, using the same short-burst method.
Pay attention to the front intake path. Dust on a mesh panel can reduce airflow before it reaches the fans, while loose cables can create turbulence and make fans work harder. Wipe the inside of the side panel and the case floor with a dry microfiber cloth, but keep cloths away from exposed contacts and small motherboard components.
Do not open the power supply housing. Its capacitors can retain dangerous electrical charge even after the PC is unplugged. Clean only the external PSU grille and intake filter, directing dust away from the case and never inserting tools through the grille.
Check fan condition after cleaning
Spin each fan gently by hand once the cleaning is complete. It should move smoothly without scraping, clicking, or stopping abruptly. A small amount of resistance is normal, but a rough bearing or side-to-side wobble indicates wear. Listen for changes when the computer starts again, since some problems are more obvious under operating speed.
Reconnect the power cable, switch on the PSU, and observe the fans for several seconds. Confirm that intake fans pull air into the case and exhaust fans push warm air out. If a fan has stopped working, check that its cable was not accidentally disturbed and that its motherboard header or hub connection remains secure.
Software can help verify the result. Monitor CPU and GPU temperatures at idle and under a familiar workload, then compare them with previous readings. A drop of a few degrees is plausible after heavy dust removal, but unusually high temperatures may point to blocked heatsinks, a failing fan, poor thermal paste, or an airflow imbalance rather than dirty blades alone.
Build a maintenance routine
How often you clean depends on pets, carpet, smoking, room ventilation, and whether the PC sits on the floor. A lightly used office computer may need attention every six months, while a gaming system in a dusty room may benefit from a quick inspection every four to eight weeks. Checking filters takes less time than deep-cleaning a neglected case.
Use these habits to keep the cooling system effective:
- Inspect intake filters monthly and clean them before they become visibly clogged.
- Hold fan blades still whenever using compressed air or a brush.
- Keep the computer elevated from carpet and leave clearance around intake and exhaust panels.
- Record unusual noises, temperature increases, or fan-speed changes so gradual problems are easier to identify.
- Share cleaning experiences and troubleshooting results in the Hardware Hounds forums when a fan behaves unusually after maintenance.
A regular light cleaning is preferable to a rare aggressive blast. Frequent dust removal reduces the amount that reaches heatsink fins, fan bearings, and power supply filters, helping preserve both thermal performance and acoustic comfort.
Power down the PC, gather a soft brush, compressed air, and a microfiber cloth, then start with the dirtiest intake fan. Work slowly, keep the blades from spinning freely, and verify temperatures and fan noise when the system is back online. That simple routine can restore airflow without disconnecting a single case fan.