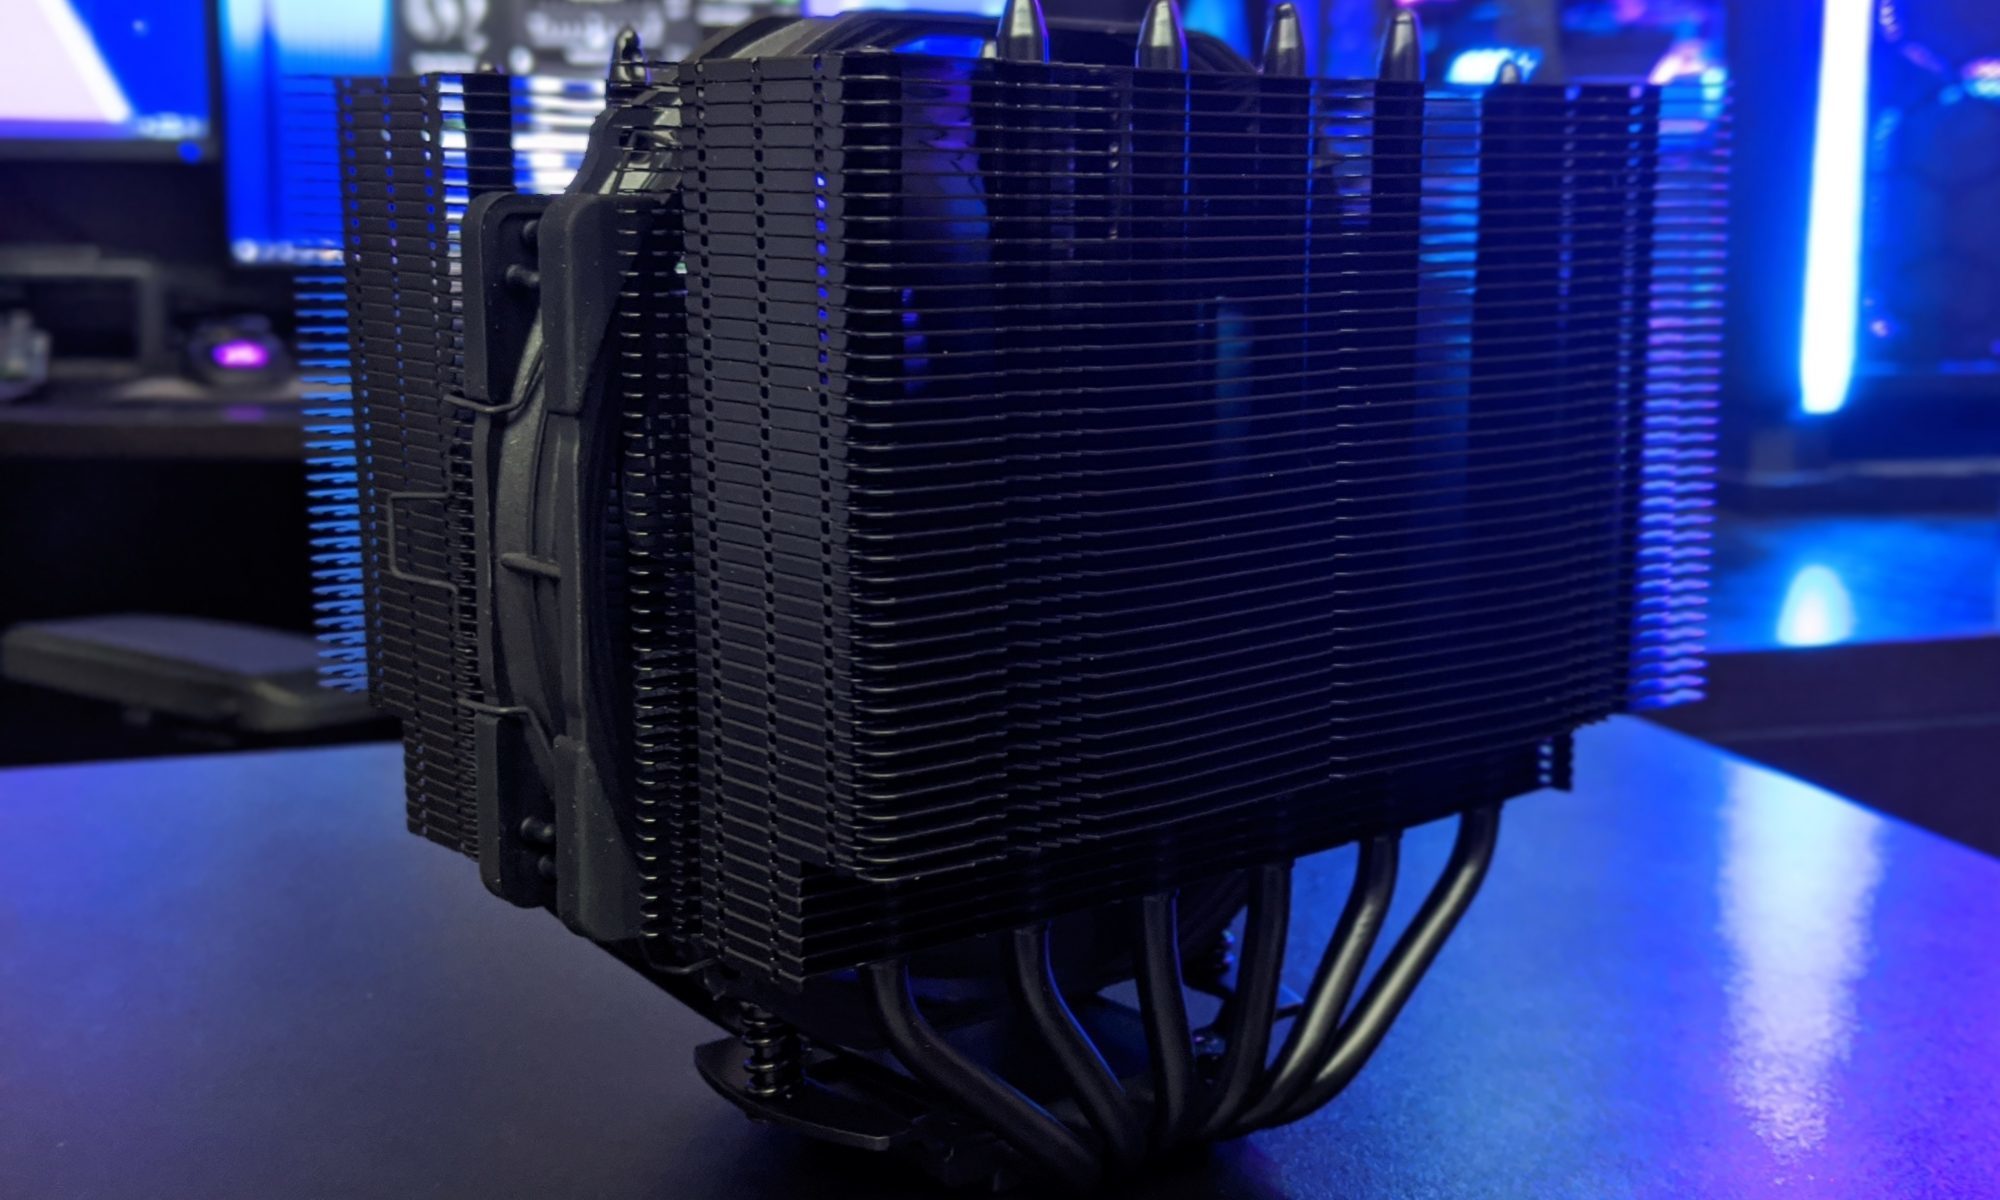
How to Customize Your CPU Fan Curve in BIOS
A CPU fan curve determines how quickly your processor’s cooler responds as temperatures rise. Instead of running the fan at one fixed speed, the motherboard adjusts its speed according to defined temperature points. This can keep a system quiet during light workloads while providing stronger cooling during gaming, rendering, or other demanding tasks.
Most modern motherboards include fan-control settings in the UEFI or BIOS firmware. The names vary between manufacturers, but the basic process is similar: select the CPU fan header, choose the correct control mode, set temperature and speed points, then test the result.
A well-tuned curve can reduce unnecessary noise without causing thermal throttling. It can also make a system feel more refined, especially when paired with a capable air cooler or liquid cooler. Before changing anything, however, it helps to understand the controls and establish a safe starting point.
Finding The Fan Controls In BIOS
Restart the computer and enter the firmware setup by pressing a key such as Delete, F2, or F10 during startup. The correct key usually appears briefly on screen, and your motherboard manual will confirm it. Once inside, look for menus named Hardware Monitor, Fan Control, Smart Fan, Q-Fan, Fan-Tastic Tuning, or a similar option.
The CPU cooler fan should usually be connected to the motherboard header labeled CPU_FAN. If it is connected to a pump or system-fan header, the BIOS may still control it, but the temperature source and warning behavior may be different. A standard air cooler generally has one fan connected to CPU_FAN, while an all-in-one liquid cooler may use a pump connection plus one or more radiator fans.
Before editing the curve, check the current CPU temperature and fan speed. If the fan is already running at a high percentage while the processor is idle, confirm that the cooler is installed correctly and that the temperature reading is sensible. Firmware screens can report slightly higher idle temperatures than Windows monitoring software because background hardware checks are active.
Choosing PWM Or DC Mode
Fan control mode must match the electrical design of the fan. Four-pin fans normally use PWM, or pulse-width modulation. In this mode, the motherboard supplies constant power while a control signal determines the fan’s speed. PWM usually gives reliable low-speed operation and precise adjustment.
Three-pin fans use DC or voltage control. The motherboard changes the voltage supplied to the fan, which alters its speed. Some older or inexpensive fans may stop spinning when the voltage becomes too low, so a minimum speed setting may be necessary.
Many BIOS interfaces can detect the fan type automatically, but automatic detection is not perfect. Check the fan specification or the cooler manual if you are unsure. Selecting PWM for a three-pin fan, or DC for a four-pin model, can result in poor speed control, a fan that runs constantly at full speed, or a fan that stops unexpectedly.
Run the motherboard’s fan-tuning or calibration utility if one is available. It can identify the lowest usable speed and prevent you from setting a percentage below the point where the fan reliably starts. Never apply a very low minimum speed without confirming that the fan continues spinning under light and moderate loads.
Building A Balanced Temperature Curve
A fan curve is made from points that pair a CPU temperature with a fan-speed percentage. A gentle curve might keep the fan near 25 or 30 percent at low temperatures, increase to 50 percent around moderate temperatures, and reach full speed at a high temperature. The exact values depend on the cooler, processor, case airflow, ambient room temperature, and personal noise tolerance.
For a beginner, the safest approach is to begin with a conservative curve and adjust it gradually. Modern processors can experience brief temperature spikes during short boost activity, so setting the fan to react aggressively to every small change may create an irritating surge in noise. A smoother profile is usually more comfortable.
| CPU Temperature | Suggested Fan Speed | Typical Behavior |
|---|---|---|
| 35–45°C | 20–30% | Quiet idle and light desktop work |
| 50–60°C | 35–50% | Web browsing and moderate activity |
| 65–75°C | 55–70% | Gaming and sustained workloads |
| 80–85°C | 75–90% | Heavy processing with stronger cooling |
| 90°C and above | 100% | Maximum thermal response |
These figures are starting points rather than universal rules. A compact case or a high-wattage processor may need higher fan speeds earlier. A large dual-tower cooler in a well-ventilated chassis may remain quiet at lower percentages. Use the processor’s temperature limits as a boundary, and avoid creating a curve that allows sustained workloads to approach thermal throttling.
Managing Temperature Spikes And Fan Noise
Some BIOS versions include response-time settings such as fan step-up time, step-down time, hysteresis, or smoothing. These determine how quickly the fan reacts to a temperature change. A short response time gives fast cooling but can cause repeated speed changes when the processor briefly boosts.
Increasing the delay before the fan slows down can make the system quieter. For example, the fan may increase speed quickly when the CPU gets hot, then remain at that speed for several seconds before returning to a quieter level. This prevents constant oscillation between two fan speeds during ordinary desktop use.
The temperature sensor used by the curve also matters. CPU temperature is the most direct choice for a CPU fan, but some motherboards offer a motherboard, socket, or external sensor option. CPU-based control generally responds best to processor workload, while motherboard temperature changes more slowly and may produce a quieter but less immediate response.
If the system uses a liquid cooler, radiator fans may be controlled from CPU temperature, coolant temperature, or a combination depending on the hardware. Coolant temperature changes gradually, so it often produces smoother fan behavior. A basic air cooler normally benefits from direct CPU-temperature control.
Testing Your New Settings
Save the BIOS changes and boot into the operating system. Use monitoring software to observe CPU temperature, clock speed, fan RPM, and processor power during idle operation. A short temperature spike is usually less important than the sustained temperature reached during a workload.
Test the computer with the applications you actually use. A game, video export, compilation task, or CPU stress utility can reveal whether the curve provides enough cooling. Run a workload for at least 10 to 15 minutes, then record the peak temperature and the approximate fan noise. Longer testing is useful for systems that regularly perform extended rendering or scientific workloads.
When checking results, look for several warning signs: the fan may fail to start at a low percentage, the CPU may repeatedly hit its thermal limit, or the fan may ramp up and down every few seconds. Each problem has a different remedy. Increase the minimum speed if the fan stalls, raise the curve at higher temperatures if the processor runs too hot, or add response delays if the noise fluctuates.
Hardware changes can also affect the ideal settings. New information about processors, coolers, and firmware appears regularly in the latest hardware news, so it is worth checking updates when a BIOS revision changes fan-control behavior or adds new temperature options.
Common BIOS Fan Curve Mistakes
One frequent mistake is setting every temperature point too low. A fan that runs at 10 or 15 percent may be nearly silent, but it may also fail to move enough air through the heatsink. Low-speed operation is appropriate only when the fan remains stable and the processor stays within a comfortable thermal range.
Another problem is using a flat curve. Running the fan at 50 percent at every temperature can work, but it wastes noise headroom during idle and may provide too little cooling during heavy loads. A gradual slope makes better use of the available fan range.
Do not confuse the CPU fan with a case fan. The CPU cooler responds directly to processor temperature, while intake and exhaust fans influence overall case airflow. If case fans are linked only to motherboard temperature, they may react too slowly during a sudden CPU load. Some firmware allows case fans to follow CPU temperature, but a moderate delay is useful to prevent abrupt changes.
Resetting BIOS settings can erase a carefully tuned profile. Save the configuration to a motherboard profile if the firmware supports it, and record the fan percentages manually. This makes it easier to recover after a BIOS update, hardware replacement, or troubleshooting reset.
A Practical Tuning Routine
The most reliable approach is to change one setting at a time and measure the effect. Begin with the manufacturer’s default curve, identify the temperatures and noise levels you observe, then make small adjustments rather than replacing the entire profile immediately.
Use these guidelines as a starting routine:
- Confirm that the cooler fan is connected to CPU_FAN and that PWM or DC mode is correct.
- Keep a safe minimum speed that prevents the fan from stopping unexpectedly.
- Set a gradual increase between normal desktop temperatures and sustained workload temperatures.
- Add a short ramp-down delay if the fan repeatedly changes speed during brief CPU boosts.
- Test with both everyday applications and a sustained heavy workload before accepting the curve.
A quiet system should still provide predictable cooling. If a processor regularly reaches its thermal limit, the solution may be a stronger cooler, better case airflow, fresh thermal paste, or a lower power limit rather than a more aggressive fan curve alone. Fan tuning can improve performance and acoustics, but it cannot overcome an undersized cooling system.
Save the working profile once testing is complete, then monitor the computer over several days. Seasonal room-temperature changes can affect results, and dust buildup can gradually increase cooler temperatures. Revisit the curve when you change the processor, cooler, case, fan, or motherboard firmware, and use your measured temperatures as the guide for each adjustment.