The Best ARGB Controllers for Software-Free Component Synchronisation
Addressable RGB can make a carefully built PC look cohesive, but software is often where the experience becomes frustrating. Background utilities compete for control, startup services delay lighting changes, and a motherboard update can unexpectedly reset your preferred colour profile. A physical ARGB controller offers a simpler path: connect the components, choose a hardware preset, and leave the operating system out of the loop.
This approach suits builders who value reliability as much as visual effects. A standalone hub can coordinate fans, pump blocks, light strips, and front-panel lighting from a button or remote. Some units also provide motherboard pass-through, allowing software control when wanted while retaining hardware presets for everyday use.
The Australian market has a particularly good reason to consider this setup. Availability can vary between PCCaseGear, Scorptec, Umart and local independent retailers, while replacement parts may take longer to arrive outside Sydney or Melbourne. A controller that works with standard 5V ARGB plugs is usually a safer investment than a proprietary ecosystem.
What a software-free ARGB controller actually does
ARGB stands for addressable RGB, meaning each LED, or a small group of LEDs, can receive its own colour instruction. The standard connection is a three-pin, 5V digital header, although many plugs use a missing pin or keyed housing to prevent incorrect alignment. This is fundamentally different from four-pin 12V RGB, where the whole strip generally displays one colour at a time.
A hardware controller stores lighting patterns inside its own electronics. Pressing a button or using an infrared or radio remote cycles through effects such as static colour, rainbow, breathing, wave and temperature-style fades. The controller sends the signal directly to connected devices, so no Windows application needs to run in the background.
The key limitation is that the controller only synchronises devices connected to the same ARGB signal. A graphics card with an isolated proprietary lighting system may remain separate, and some liquid coolers use non-standard cables. Before buying, check the plugs, voltage, channel arrangement and maximum LED load rather than assuming every “RGB” product is interchangeable.
The strongest controller types for builders
The most flexible choice is a powered ARGB hub with a physical mode button and motherboard-sync input. Products such as the DeepCool SC790-style hub combine several 5V ARGB outputs with fan power connections, allowing one signal to reach multiple fans while SATA power supplies the LEDs. Similar powered hubs from Cooler Master, SilverStone and generic PC accessory brands can work well when their connector layout matches the build.
A compact standalone unit such as Cooler Master’s Addressable RGB LED Controller is useful for smaller systems. It normally offers a few lighting modes and speed or colour controls from buttons on the enclosure. It is less elegant than a hidden hub, but it avoids driver conflicts and is suitable for a basic fan-and-strip arrangement.
Remote-controlled ARGB kits from brands such as EZDIY-FAB and upHere are another practical option. Their receivers are inexpensive, and the remote can be placed beside the keyboard or attached inside the case for quick access. Build quality and remote range vary, so these are best for budget systems rather than showcase PCs with a large number of LEDs.
Controllers built around proprietary ecosystems should be treated differently. Corsair, NZXT and Razer can offer richer effects, but their full feature sets depend on software and dedicated connectors. They are not the best fit when the goal is genuine software-free synchronisation.
Compatibility matters more than the lighting modes
The first check is voltage. A 5V 3-pin ARGB device must connect to a matching 5V ARGB output; plugging it into a 12V 4-pin RGB header can damage the LEDs. Many motherboards label the correct header D_LED, ADD_GEN2, JRAINBOW or ADD_HEADER, but the naming differs between ASUS, MSI, Gigabyte and ASRock.
The second check is power capacity. A hub that accepts SATA power can distribute current more safely than a motherboard header, especially with six or more fans and several illuminated strips. However, the controller still needs a stated LED or wattage limit. Long strips, bright white effects and pump-top lighting can draw more power than a small controller is designed to handle.
Physical connectors also deserve attention. Some fans use a standard 3-pin ARGB plug, while others include daisy-chain sockets or a two-cable arrangement that separates fan power from lighting. An adaptor may solve a plug mismatch, but it cannot convert 12V RGB into addressable 5V lighting. If the documentation is unclear, use the manufacturer’s pinout rather than relying on colour or plug shape.
A clean installation usually places the hub behind the motherboard tray, with one short lead to each fan group. Leave enough slack to remove the side panel later. This matters in Australian cases where dust filters often need frequent cleaning, particularly in dry areas around Adelaide or Perth.
Best choices for different PC builds
For a quiet home or office PC, a simple button-operated controller is usually the best value. It offers dependable colour changes without adding another startup application, and its low complexity reduces the chance of a lighting fault. Pair it with a powered splitter if the case has several front and rear fans.
A gaming build with six to ten fans benefits from a powered hub with multiple outputs and a motherboard-sync toggle. The hardware mode can run independently, while the sync cable remains available for occasional software control. This arrangement is useful for builders who want a single colour during daily use but may experiment with effects later.
A showcase build needs more than a long list of presets. Look for a controller that distributes the same signal evenly and supports daisy-chaining without visible timing differences. Addressable strips around the case floor or rear panel should be connected to a separate channel where possible, preventing a crowded fan chain from producing uneven effects.
Cooling hardware deserves special consideration. A pump block and radiator fans may need separate power connections even when their ARGB leads can share one controller. For broader component-testing context, the Hardware Hounds coverage includes the kind of performance, thermal and noise priorities that should guide a lighting-focused build rather than allowing appearance to dictate every component choice.
Installation and troubleshooting without an app
Start with the PC switched off and the power supply disconnected. Identify the 5V ARGB leads, connect the hub’s SATA power cable, and attach the case button lead if the controller supports it. Many hubs let the reset button act as a lighting-mode switch, but doing so means the button can no longer reset the computer unless the controller provides a pass-through function.
Keep the first test simple. Connect one fan or light strip, confirm that the controller powers correctly, and then add the remaining devices one at a time. If the lights remain dark, check connector orientation, SATA power and the controller’s mode switch. A fan spinning normally does not prove that its ARGB lead is connected correctly.
Random flickering usually points to excessive LED load, a loose connector or a daisy chain that is too long. Unstable effects can also result from mixing devices with different signal standards. When a controller remembers an unwanted pattern, disconnect power, use its reset procedure and reselect a hardware mode; a reset guide can be useful when the controller’s documentation is vague, provided its instructions match the device.
Buying advice for the Australian market
Retail stock changes quickly, so compare the exact model number rather than choosing by product photograph. Australian listings sometimes bundle a controller with fans, while an overseas listing may show the same enclosure without SATA power or the required ARGB cables. Factor in GST, delivery costs and warranty handling when a cheaper import is only marginally less expensive.
Climate also influences the sensible design. Brisbane’s humidity, Melbourne’s cooler winters and inland summer heat all place different demands on fan curves and cooling hardware, although the controller itself generally needs only basic ventilation. In a warm room, prioritise a well-powered hub and sensible fan control instead of adding more illuminated fans than the case needs.
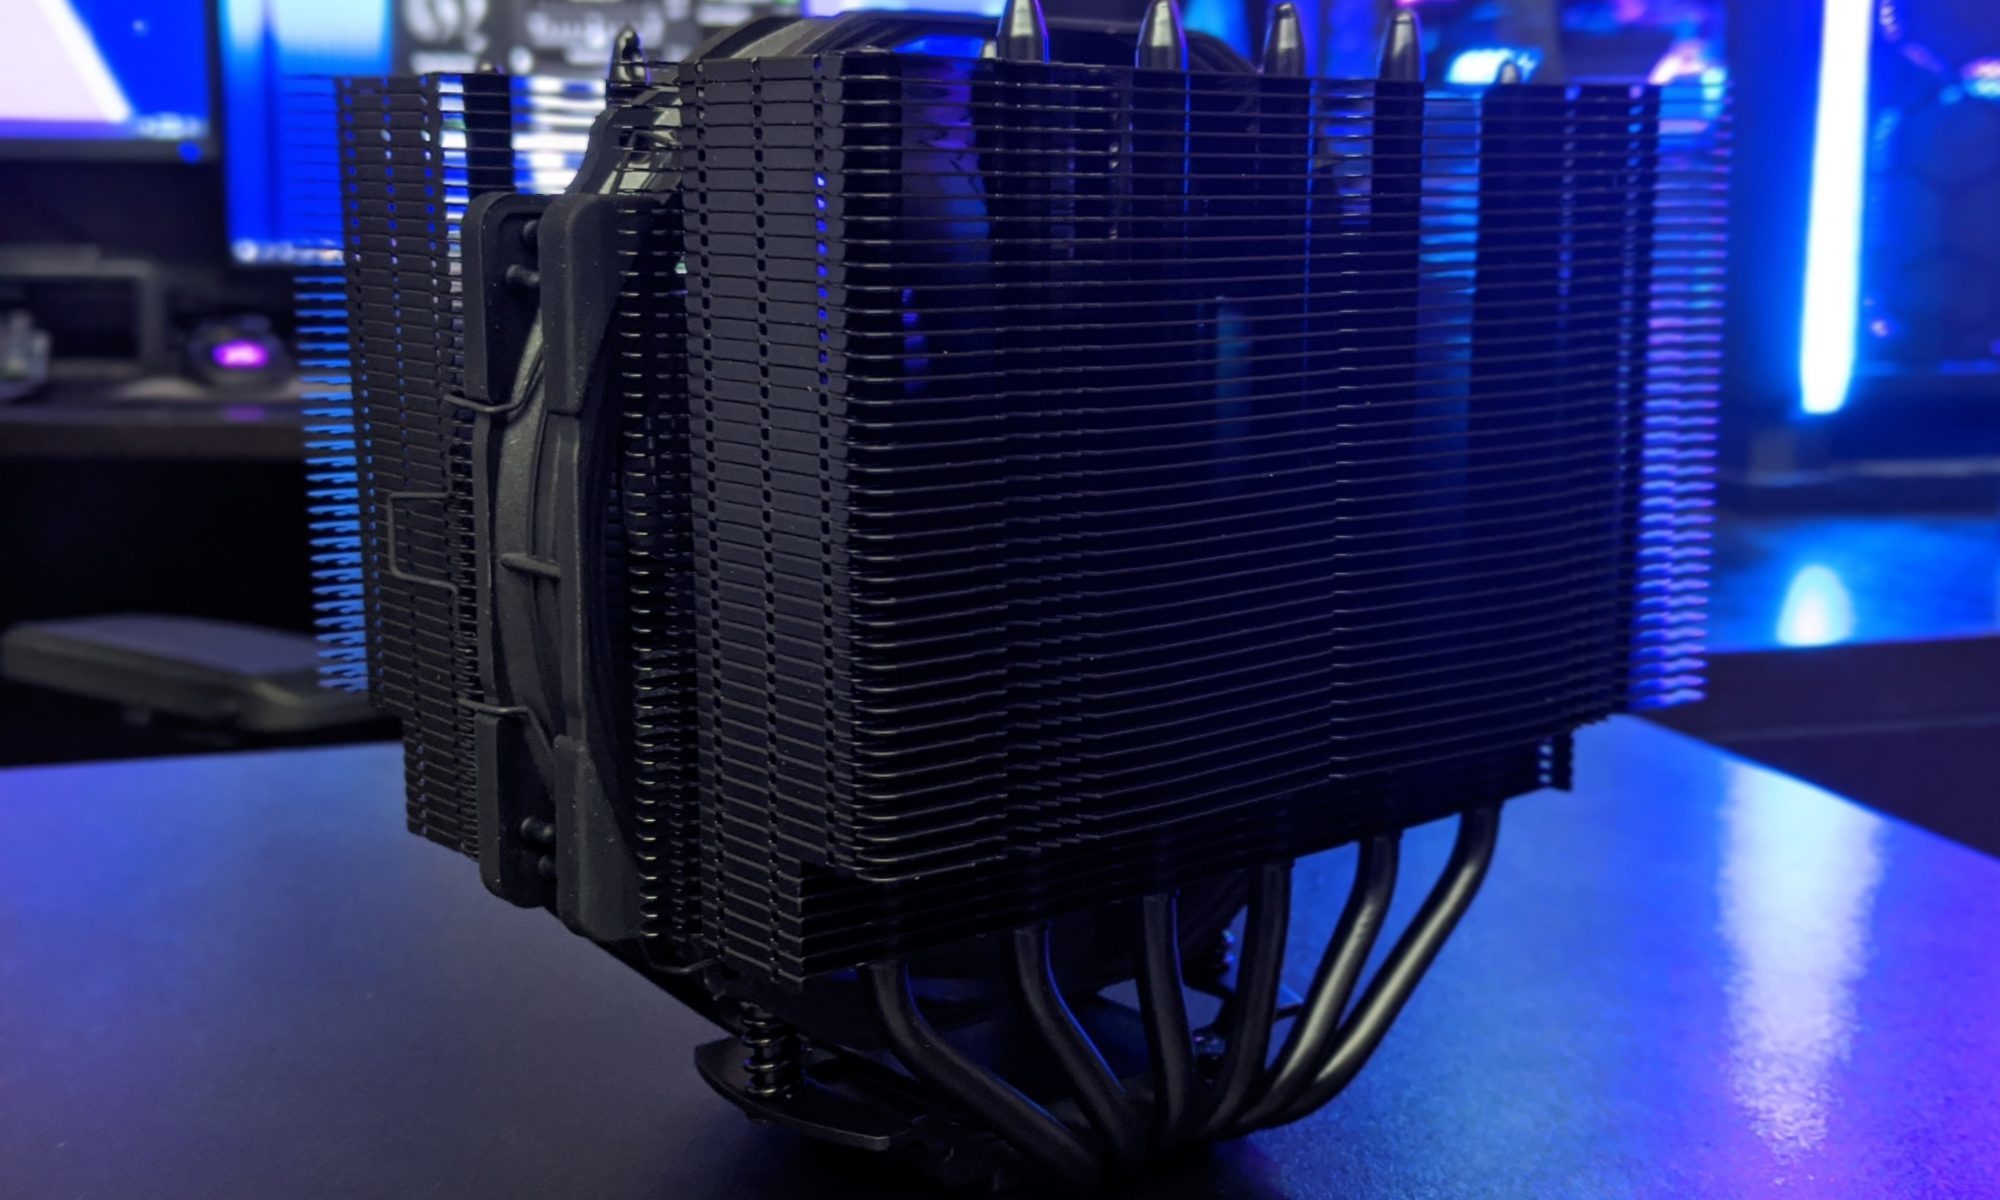
Builders planning a radiator installation should check that the controller does not obstruct pump or fan wiring. The relevant CPU cooler comparisons can help separate genuine thermal performance from decorative features when choosing a cooler whose lighting must join the rest of the system.
A practical buying checklist
- Confirm that every lighting device uses 5V 3-pin ARGB, not 12V 4-pin RGB or a proprietary plug.
- Choose SATA-powered hardware for builds with several fans, strips or illuminated cooler components.
- Prefer a controller with a physical button, remote, or reset-switch input when software independence is essential.
- Check the maximum LED count, cable length and number of outputs before connecting the full system.
- Buy from a retailer with a clear Australian warranty and return policy, especially for imported controller kits.
A reliable ARGB setup should disappear into the build once it is configured. The best controller is therefore rarely the one with the most elaborate software ecosystem; it is the unit with safe voltage handling, adequate power, useful physical controls and connectors that match the rest of the PC. For many Australian builders, that combination delivers consistent lighting without another application competing for control of the system.