Building A Quiet 3D Printing PC In The Cooler Master NR200
A 3D printing computer does not need to be enormous or aggressively cooled. Slicer software, CAD tools, printer control utilities and design applications benefit from a responsive processor, plenty of memory and fast storage, while the system itself can remain quiet enough for a study, workshop or bedroom. The Cooler Master NR200 is well suited to this role because its compact Mini-ITX layout still provides generous ventilation and room for capable graphics cards.
The challenge is balancing airflow, component clearance and acoustic performance inside a small enclosure. A quiet build must be planned around the printer’s workload, the Australian climate and the parts available through local retailers. A system designed for occasional slicing in Hobart will have different cooling requirements from one rendering models in a Brisbane office during January.
Choosing Hardware For Slicing And Design
Start with the applications you actually use. Cura, PrusaSlicer and OrcaSlicer can run comfortably on a modern six-core processor, while Fusion 360, Blender and other CAD or modelling programs may reward additional cores and higher single-thread performance. A current mid-range CPU with integrated graphics is often enough for slicing and ordinary design work, keeping cost, heat and noise under control.
For a balanced system, 32GB of DDR5 memory is a sensible target. Large assemblies, multiple slicer profiles and browser tabs can quickly consume 16GB, especially when a design program and printer monitoring software are open together. Choose two matched modules for dual-channel operation, and check the motherboard’s memory support before buying a high-speed kit.
Storage should be a quality 1TB or 2TB NVMe SSD rather than a small boot drive that fills with model files. 3D printer users often accumulate STL files, project versions, sliced output and timelapse footage. A second SSD can separate active projects from the operating system, while a network drive or external backup protects designs that cannot easily be recreated.
A dedicated graphics card is optional for basic slicing but useful for complex viewport work, Blender rendering and GPU-accelerated applications. Select a short, efficient card if you need one. A large high-wattage GPU can dominate the NR200’s interior and force higher fan speeds, so a quiet mid-range model is usually a better match than a power-hungry flagship.
Designing Airflow In The NR200
The NR200’s ventilated panels give it a useful advantage over many small cases with solid fronts. A common layout uses two 120mm or 140mm fans at the bottom as intake, with warm air leaving through the top and rear. Bottom intake is particularly helpful for a graphics card, although the filter and fan grille should be kept clear of carpet, dust and loose filament scraps.
Use a gentle, predictable airflow path rather than filling every mounting position. Two quality intake fans and one or two exhaust fans can cool a moderate system at lower speeds than a collection of inexpensive fans running quickly. Positive pressure, where intake airflow slightly exceeds exhaust, also reduces the amount of unfiltered air entering through gaps.
Fan size matters. A 140mm fan can move a useful amount of air at a lower rotational speed than a 120mm model, but compatibility depends on the chosen cooler, GPU and side-panel configuration. Measure the final arrangement rather than assuming every NR200 accessory will fit alongside every other component.
Room temperature has a direct effect on noise. In Sydney or Brisbane, a summer office can sit well above 30°C before the computer starts working. Melbourne’s cooler mornings may make the same fan curve seem silent, while an enclosed desk can trap heat in any city. Leave clearance around the case and avoid placing it beside a hot 3D printer enclosure or directly in its exhaust stream.
Selecting A Quiet CPU Cooler
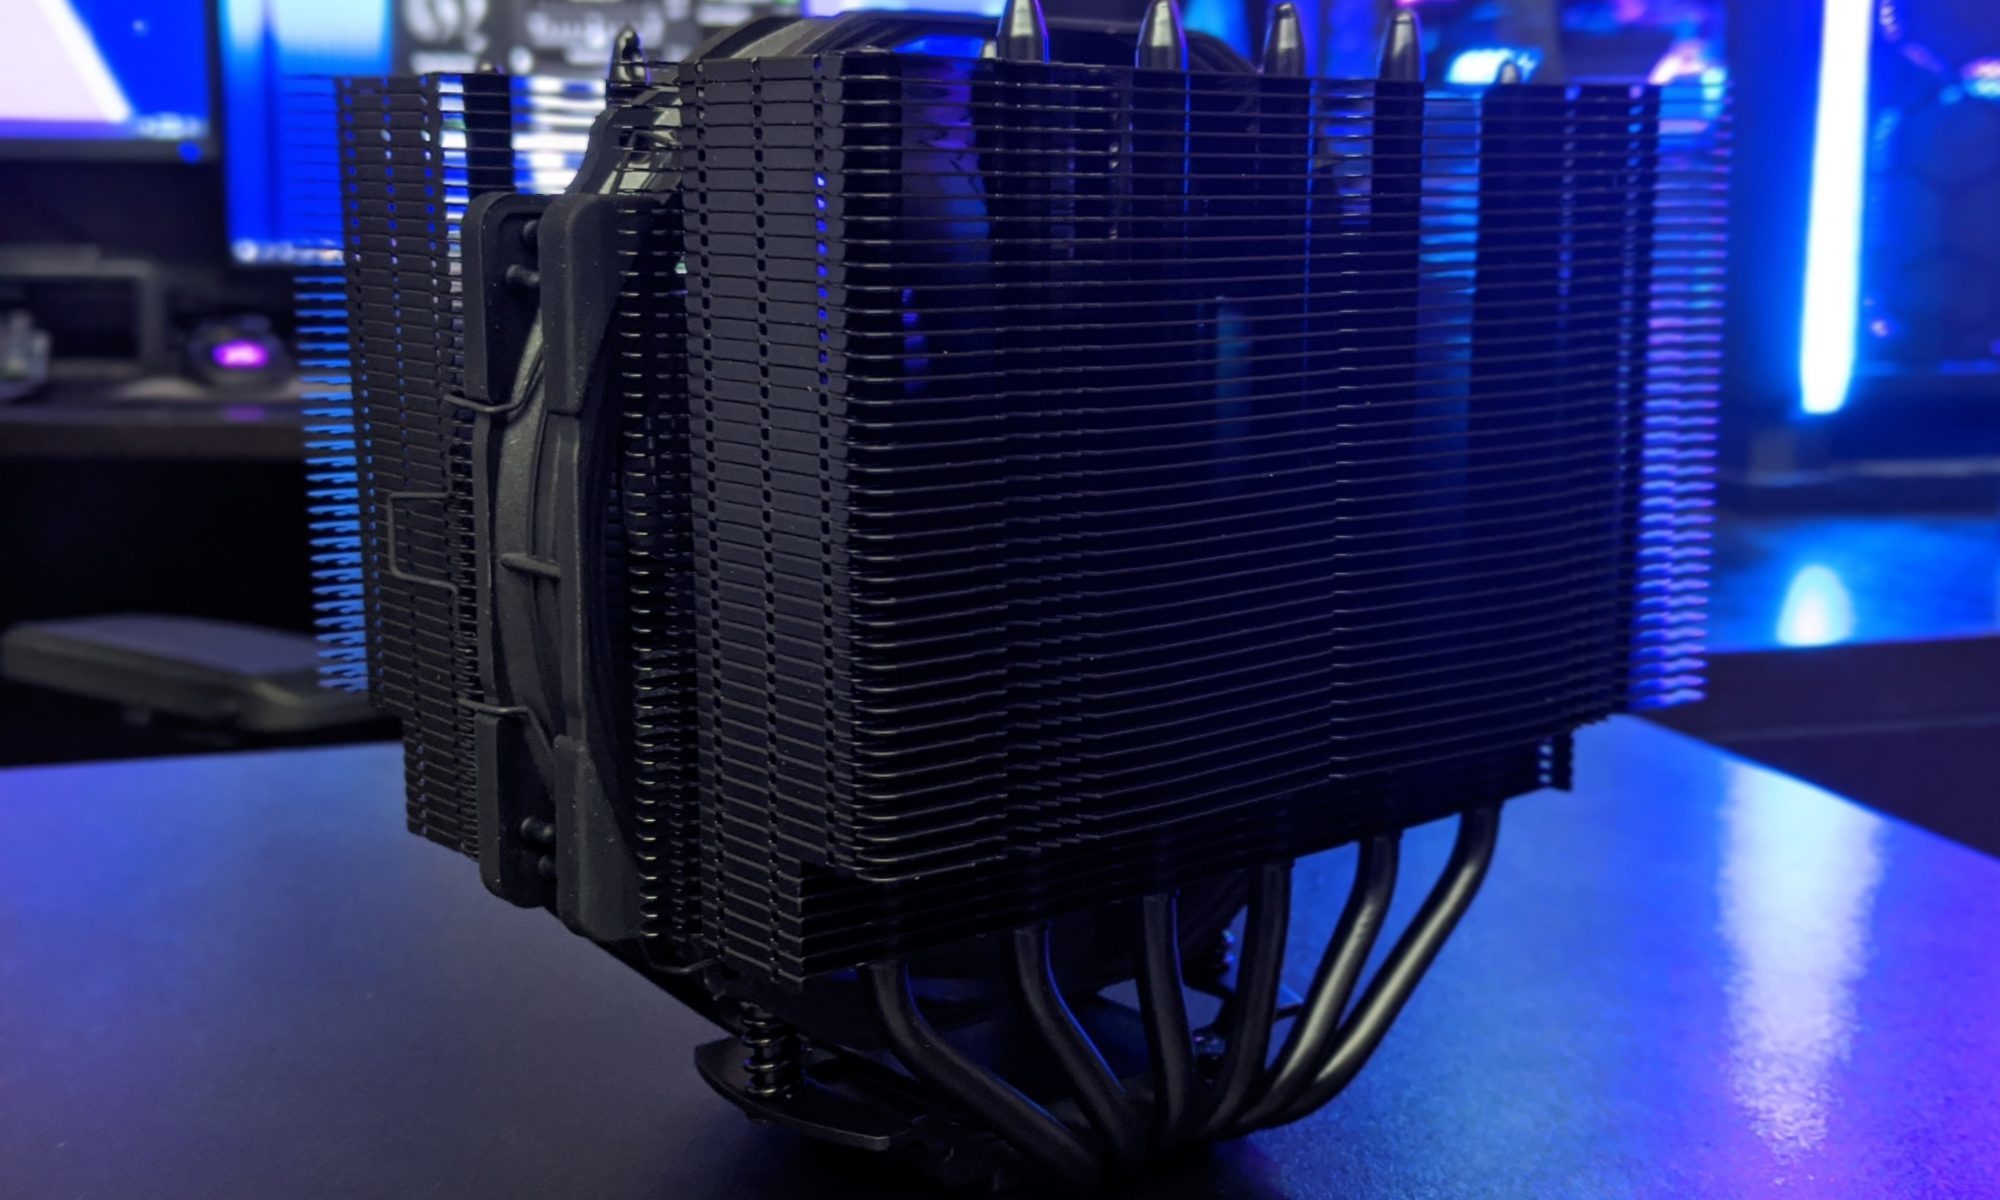
The stock cooler supplied with some processors may handle slicing, but it is rarely the best acoustic choice for sustained CAD exports or batch jobs. A compact tower cooler with a 120mm fan usually offers a strong blend of temperature, clearance and low noise. Confirm the NR200’s CPU cooler height limit for your exact panel and motherboard arrangement, since side-mounted radiators and tall tower coolers can compete for the same space.
Low-profile coolers are useful when the build includes a large graphics card or unusual cable routing. Their smaller fans may need higher speeds under a full CPU load, so they are most suitable for efficient processors with sensible power limits. A well-tuned six- or eight-core chip can be quieter than a hotter processor running at unrestricted motherboard settings.
Liquid cooling can work in the NR200, but it adds a pump, extra tubing and another potential source of noise. A 240mm or 280mm radiator may suit a particular configuration, while a 360mm unit designed for larger cases should not be assumed to fit. The cooler comparison charts are useful when comparing temperature results, fan behaviour and the practical trade-offs between air and liquid cooling.
For an all-in-one cooler, pump speed should be configured separately from radiator fan speed. Running the pump at a fixed moderate setting and allowing the fans to respond gradually can prevent distracting changes in tone. The H150i hands-on review also illustrates why cooling figures should be considered alongside installation complexity, software and noise characteristics, even though its large radiator is not an automatic NR200 fit.
Power Supply And Component Compatibility
Choose an SFX or SFX-L power supply with enough capacity for the complete system, not just its average draw. A quiet 650W unit is ample for many integrated-graphics or mid-range GPU builds, while a more powerful graphics card may justify 750W or higher. Avoid oversizing the PSU dramatically, because a lightly loaded unit can still have a fan profile that becomes audible at inconvenient times.
Modular cables are valuable in the NR200. Use only the cables supplied for that exact power supply model; modular connectors are not universally wired, even when they look identical. Route the 24-pin, EPS and graphics cables around the motherboard tray and keep them away from fan blades and the side panel.
Australian buyers should check local stock, warranty terms and the retailer’s return process through suppliers such as Scorptec, Umart or PCCaseGear. A model listed overseas may have different cables, certification or availability locally. The household supply is nominally 230–240V, so use an Australian-rated PSU and a suitable surge-protected power board rather than importing a questionable bargain.
Check graphics card length, thickness and power connector position before ordering. In a compact case, a card may technically fit while blocking bottom fans or making the side panel difficult to close. Motherboard headers, USB ports and front-panel cables also deserve attention because access becomes difficult once the power supply and graphics card are installed.
A Practical Parts And Setup Checklist
A quiet printer workstation benefits from deliberate parts selection before the first order is placed.
- Mini-ITX motherboard with current firmware support
- Efficient six- or eight-core CPU
- 32GB dual-channel memory
- One or two NVMe SSDs with room for model files
- SFX or SFX-L power supply with modular cables
The physical build should be planned around the most restrictive components first. Install the CPU, memory and M.2 drive on the motherboard before placing it in the case, then test clearances with the cooler and graphics card.
- Confirm cooler height and radiator compatibility
- Measure GPU length, thickness and connector clearance
- Prepare two intake fans and one or two exhaust fans
- Keep spare cable length out of the fan path
- Leave access for printer USB or network connections
A wired Ethernet connection is useful when the printer, NAS and workstation share a network, although reliable Wi-Fi can be sufficient. If the printer is near the computer, use a short, well-supported USB cable and avoid routing it across fan openings or areas where the moving print bed can catch it.
Assembly And Cable Management
Build outside the case as far as practical. Install the processor, cooler backplate, memory and storage on the motherboard first, then perform a basic power-on test with the board, CPU and one memory module. This can identify a missing BIOS update or poorly seated component before the system is crowded inside the NR200.
When installing the motherboard, connect the CPU power cable before access becomes restricted. The EPS connector is often the most awkward cable in a Mini-ITX system. Feed it along the case edge without bending it sharply, and secure excess length beside the power supply rather than pressing it against the side panel.
Fans should be oriented deliberately. The frame supports and label side usually identify the exhaust direction, but a quick tissue test can confirm airflow after assembly. Keep the underside intake unobstructed and check that fan screws do not extend into nearby components.
Before closing the panels, inspect every cable for contact with a blade, GPU backplate or hot heatsink. Install the filtered panels, start the computer and listen at idle before applying a heavy workload. A faint electrical buzz, pump vibration or fan bearing rattle is easier to locate before the system is placed under a desk.
Tuning Noise And Temperature
The BIOS is where a quiet build becomes genuinely quiet. Set a gradual fan curve with a low idle speed and a measured increase as CPU temperature rises. Avoid an aggressive curve that reacts to every short boost in processor temperature; a delay or temperature averaging option can prevent constant ramping during normal desktop use.
Modern CPUs often boost briefly and produce sharp temperature spikes without being dangerously hot. Use the motherboard’s sensible default limits first, then consider a modest power limit or undervolt if sustained slicing temperatures remain high. Stability testing should include a long export, a demanding CAD operation and the actual printer-control workload.
Monitor CPU temperature, GPU temperature, SSD temperature and fan speed with a tool that records history. For an Australian summer, test with the room at its warmest practical condition rather than relying only on a cool evening benchmark. A system that is silent at 20°C ambient may become distracting at 32°C if the fan curve has no thermal headroom.
Keep the case filters clean, especially in dusty workshops or homes with pets. Filament itself does not usually create large airborne particles, but sanding, cardboard packaging and general workshop dust can quickly load a filter. Place the computer away from printer exhaust, allow air around all sides and back up project files separately from the machine. With efficient hardware, controlled airflow and careful tuning, the NR200 can provide a compact workstation that stays unobtrusive through long slicing sessions and demanding design work.