How fan speed curves shape CPU temperature and noise
A fan speed curve is the control logic that translates CPU temperature into fan revolutions per minute. It may look like a simple graph in a motherboard utility, yet its shape can significantly affect cooling performance, acoustic comfort, and the way a system responds to short workloads.
A steep curve can pull heat away quickly, but it may also create distracting bursts of noise whenever the processor boosts for a few seconds. A shallow curve keeps the system quieter during routine use, though temperatures may rise further before the fans provide enough airflow. The best setting is rarely the most aggressive one.
Finding that balance requires understanding the cooler, the processor’s thermal behavior, case airflow, and the delay built into fan-control software. A useful curve should respond to sustained heat without constantly chasing every small temperature spike.
Why the curve matters beyond fan speed
CPU temperature changes quickly because modern processors adjust clock speed and voltage from moment to moment. Opening an application, compiling a small project, or loading a web page can produce a brief temperature spike even when the average workload remains light. If the fan curve reacts instantly, fan speed can rise and fall repeatedly.
This behavior is often called fan hunting. It does not necessarily indicate a cooling problem; it usually means the control response is too sensitive. Rapid changes in RPM are more noticeable than a steady fan running slightly faster, particularly when the system uses a high-pitched 120 mm or 140 mm fan.
A curve also determines how much thermal headroom is preserved during longer workloads. A low-speed setting may be nearly silent at idle, but if it delays airflow until the CPU is already hot, the cooler may need a sudden jump to maximum speed. A smoother ramp can prevent that late response and make the whole system sound more consistent.
Reading CPU temperature behavior correctly
The temperature shown by monitoring software may represent the CPU package, a core sensor, or a control value selected by the motherboard. Package temperature can move sharply because it reflects the hottest active area and responds quickly to boost behavior. That makes it useful for protection, but sometimes too excitable for direct fan control.
Sustained workloads provide a better basis for tuning. A ten-minute render, extended game session, or repeated benchmark reveals the temperature the cooler reaches after heat has saturated the heatsink and case airflow. Short bursts are still relevant, but they should not dictate every point on the curve.
Different processors also have different thermal targets. A modern CPU may intentionally operate at a high temperature while power and performance remain within specification. Lowering the peak temperature by a few degrees may have little practical value if it requires a large acoustic penalty. The meaningful goal is stable performance at an acceptable noise level.
Matching control strategy to the cooler
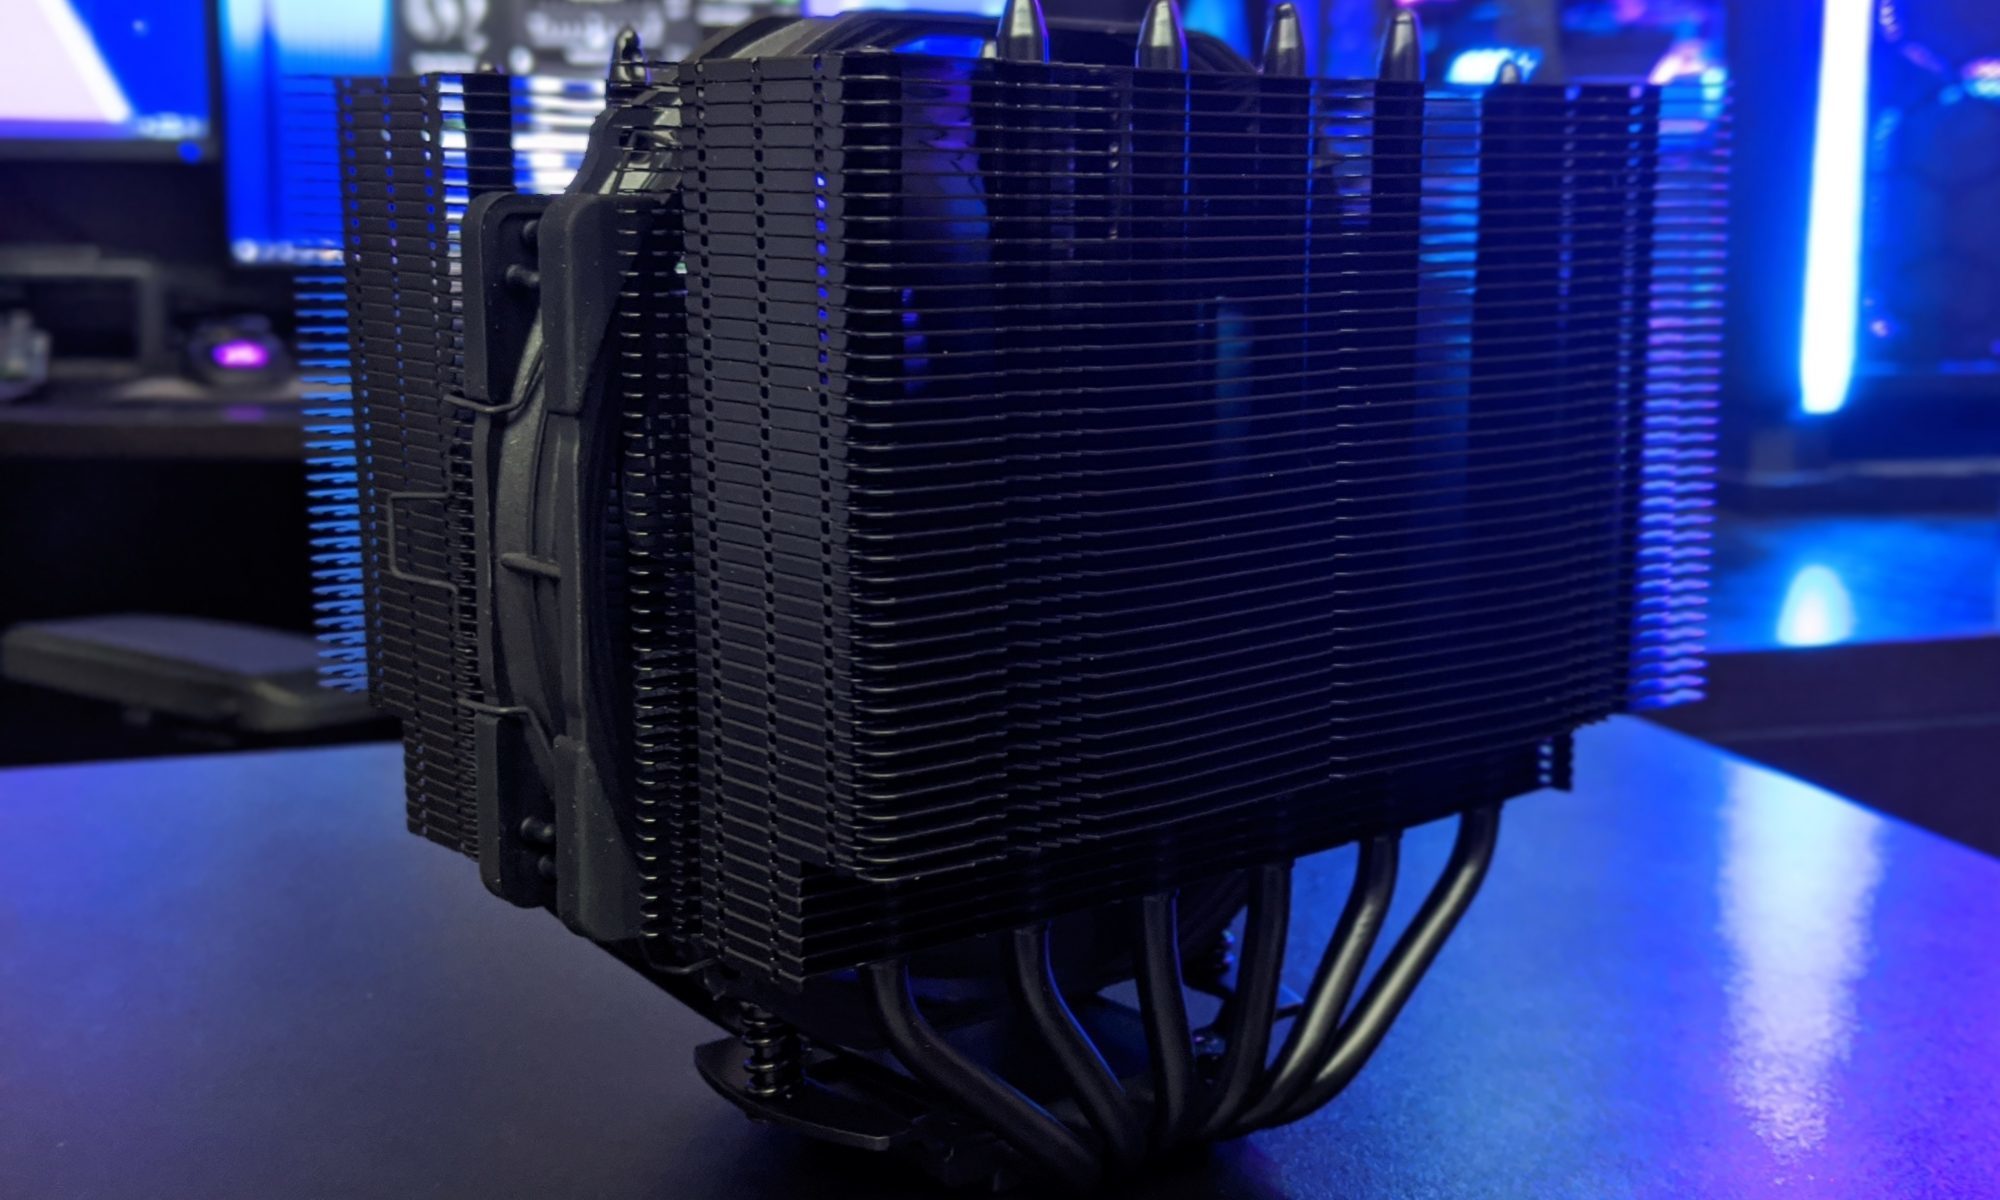
Air coolers often benefit from a fan curve tied to CPU temperature, especially when the heatsink has enough mass to absorb brief spikes. The fan can remain quiet during short activity and increase gradually as the heatsink warms. Large tower coolers generally tolerate a slower response than compact models.
Liquid coolers require more careful control. A radiator fan governed directly by CPU temperature may accelerate whenever the processor boosts, even though the coolant has not warmed significantly. Using coolant temperature, when the hardware supports a reliable sensor, usually produces steadier fan behavior. Pump speed can also remain fixed or follow a conservative curve rather than constantly changing.
Case fans influence CPU temperature indirectly. Increasing front intake airflow can improve the cooler’s supply of fresh air, while a stronger rear or top exhaust fan can remove heat from the socket area. A CPU fan curve cannot fully compensate for restricted intake filters, poor cable placement, or an imbalanced pressure setup.
| Cooling situation | Useful control input | Curve behavior | Main tradeoff |
|---|---|---|---|
| Large tower air cooler | CPU package temperature | Gentle rise through moderate temperatures | Brief spikes may be warmer |
| Compact air cooler | CPU temperature | Earlier increase with a moderate slope | More audible during boosts |
| AIO liquid cooler | Coolant temperature | Slow, smooth radiator-fan ramp | Requires a compatible sensor |
| Quiet gaming system | CPU or GPU-informed control | Moderate baseline with delayed ramp | Higher short-term temperatures |
| High-power sustained workload | CPU package temperature | Steeper response near thermal limit | Greater peak noise |
| Dusty or restricted case | CPU plus case-air awareness | Higher minimum airflow | More idle and desktop noise |
Building a balanced fan profile
Start by setting a minimum speed that keeps the fan reliable and prevents repeated start-stop cycles. Many fans become unstable at very low PWM duty cycles, producing clicking or failing to start after a system resumes from sleep. A minimum of roughly 20 to 35 percent is a reasonable testing range, although the correct value depends on the specific model.
Use several control points instead of creating one dramatic jump. For example, a fan might run quietly below 50°C, increase modestly around 65°C, reach a stronger setting at 75°C, and approach full speed near 85 or 90°C. These figures are starting points rather than universal rules; the processor, cooler, and motherboard firmware determine the useful range.
Hysteresis and response delay are especially valuable. A temperature hysteresis setting prevents the fan from reacting to every one-degree fluctuation, while an up-delay can wait several seconds before increasing RPM. A down-delay should usually be longer, allowing the heatsink or coolant to shed heat before the fan slows. This produces fewer audible oscillations.
Avoid setting every fan to follow the same aggressive curve. The CPU fan should respond to processor heat, while case fans can run at a lower steady speed or follow a motherboard temperature sensor. Coordinating them reduces turbulence and prevents several fans from surging together during a brief CPU boost.
Measuring the result at your desk
Tuning should be based on both sensor data and listening tests. Record idle temperature, gaming temperature, sustained all-core temperature, peak temperature, and fan RPM. Then compare those readings with noise at your normal seating position rather than judging the system from directly beside the case.
Run the same workload for each curve and allow enough time for temperatures to stabilize. A profile that looks excellent during a two-minute benchmark may become noisy after twenty minutes when the cooler and internal air have reached equilibrium. Keep ambient room temperature as consistent as possible because a warmer room shifts every result upward.
Noise quality matters as much as the measured level. A low-frequency whoosh may be comfortable at a higher decibel reading than a tonal motor whine or repeated RPM pulsing. Check whether fan speed changes are smooth, and listen during common activities such as browsing, gaming, video calls, and compiling.
For readers comparing coolers or case layouts, review submissions can help create more useful real-world testing around thermals, acoustics, and sustained performance. Consistent methodology makes a fan curve comparison far more informative than a single peak-temperature screenshot.
Common tuning mistakes to avoid
The most frequent mistake is chasing the lowest possible CPU temperature. A processor running at 70°C with loud fans is not automatically better than one running at 78°C quietly if both maintain the same clocks and remain within their operating limits. Thermal targets should be considered alongside noise, power consumption, and component longevity.
Another mistake is ignoring fan quality and mounting conditions. A badly seated cooler, dried thermal paste, blocked filter, or loose fan can make a carefully designed curve appear ineffective. Check cooler contact, fan direction, radiator orientation, and dust buildup before changing control software.
Using the wrong sensor can also undermine the profile. A motherboard socket sensor may react slowly, while a core or package sensor may react too quickly. Some firmware offers an average or smoothing option that provides a useful compromise. Test how the chosen sensor behaves under both short bursts and long workloads.
Finally, do not assume maximum RPM is always the safest setting. Running a fan at full speed can improve temperatures, but it increases noise, power use, and mechanical wear. Reserve the highest range for genuinely demanding conditions or for protecting the CPU when temperatures approach the chosen limit.
Practical starting points for different systems
A sensible profile depends on the system’s priorities, but these guidelines provide a useful first pass:
- Set a stable minimum speed that avoids motor chatter and keeps low-load airflow consistent.
- Add a gentle midrange ramp so the fan responds to sustained heat instead of every brief boost.
- Use a stronger rise near the processor’s chosen thermal limit, leaving maximum RPM for heavy workloads.
- Apply temperature hysteresis and a short ramp-up delay to reduce rapid speed changes.
- Keep radiator, case, and CPU fans on control sources that match their actual thermal role.
After applying the curve, compare the system at idle, during a repeatable game scene, and under a sustained processor workload. Adjust one variable at a time, since changing minimum speed, delay, sensor source, and curve slope together makes the result difficult to interpret.
A well-tuned profile should disappear into the background during ordinary use and respond with purpose when heat persists. Save the final settings in the motherboard or control application, then recheck them after major hardware changes, firmware updates, or seasonal room-temperature shifts.
Use the same process whenever you upgrade a CPU, cooler, case, or fan set: measure the baseline, shape the response, and verify both temperatures and acoustics. Share your tested results with the Hardware Hounds community so other builders can make better cooling decisions based on real operating conditions rather than specifications alone.