VRM Thermal Design: What Smart Motherboard Buyers Check
A motherboard’s voltage regulator module, or VRM, is easy to overlook when comparing chipsets, memory support, expansion slots, and rear I/O. Yet this power delivery circuit has a direct influence on processor stability, sustained boost behavior, temperatures, and fan noise. A board can have an impressive feature list while using a power stage that becomes uncomfortably hot under a demanding CPU.
Knowing what to look for in a motherboard’s VRM thermal design helps separate meaningful engineering from decorative heatsinks and inflated phase-count claims. The goal is not to find the largest metal block available. It is to understand how the power stages, chokes, PCB, heatsinks, airflow path, and firmware work together.
Thermal needs also depend on the processor and the workload. A board designed for a 65-watt gaming CPU has different requirements from one expected to run a high-core-count chip through long renders or software compiles. Good motherboard selection starts by matching the power delivery system to realistic use.
What The VRM Actually Does
The VRM converts the relatively high voltage supplied by the power supply into the low, carefully controlled voltage required by the CPU. It uses components such as MOSFETs or integrated power stages, chokes, capacitors, and a controller. These parts operate at high current, particularly when a modern processor boosts aggressively or sustains an all-core workload.
Electrical efficiency determines how much input power becomes useful CPU power and how much becomes heat. A VRM running at 90 percent efficiency still turns a portion of its load into heat. As current rises, losses increase, and a poorly cooled circuit can approach thermal limits quickly.
Excessive VRM temperature may trigger power-stage protection, reduce boost behavior, or create instability. Even when the system remains technically stable, elevated temperatures can shorten component lifespan and increase the speed of nearby case fans. A cooler VRM usually gives the motherboard more operating margin.
Read The Power Delivery Layout
Start by examining the power stages rather than counting advertised phases. A board may list a high phase number because it uses doubled phases, teamed stages, or marketing terminology that does not directly describe current-handling capacity. The rating and quality of the individual power stages matter more than a large number printed on the product page.
Look for integrated power stages with a clearly stated continuous current rating, a capable PWM controller, and a layout intended for the target processor class. Reviews that measure VRM temperatures under sustained loads are more useful than specifications alone. The same nominal design can behave differently depending on PCB layers, firmware limits, heatsink contact, and ambient temperature.
The CPU power connectors provide another clue. A single eight-pin EPS connector can support many mainstream systems, while additional four- or eight-pin connectors may be useful for high-current processors and overclocking. Extra connectors do not prove superior regulation, but they indicate that the board was designed with a higher power envelope in mind.
Judge Heatsinks And Airflow
A VRM heatsink needs sufficient surface area, mass, and contact with the heat-producing components. Finned or ridged surfaces generally dissipate heat more effectively than a smooth decorative cover. Two separate heatsinks may cool the high-side and low-side power stages more evenly than a small block placed over only part of the circuit.
Thermal pads must make consistent contact with the power stages. Poor pad thickness, uneven mounting pressure, or gaps can undermine an otherwise strong heatsink design. A heatpipe connecting the upper and rear sections can help spread heat, although its value depends on proper contact and the quality of the surrounding fin structure.
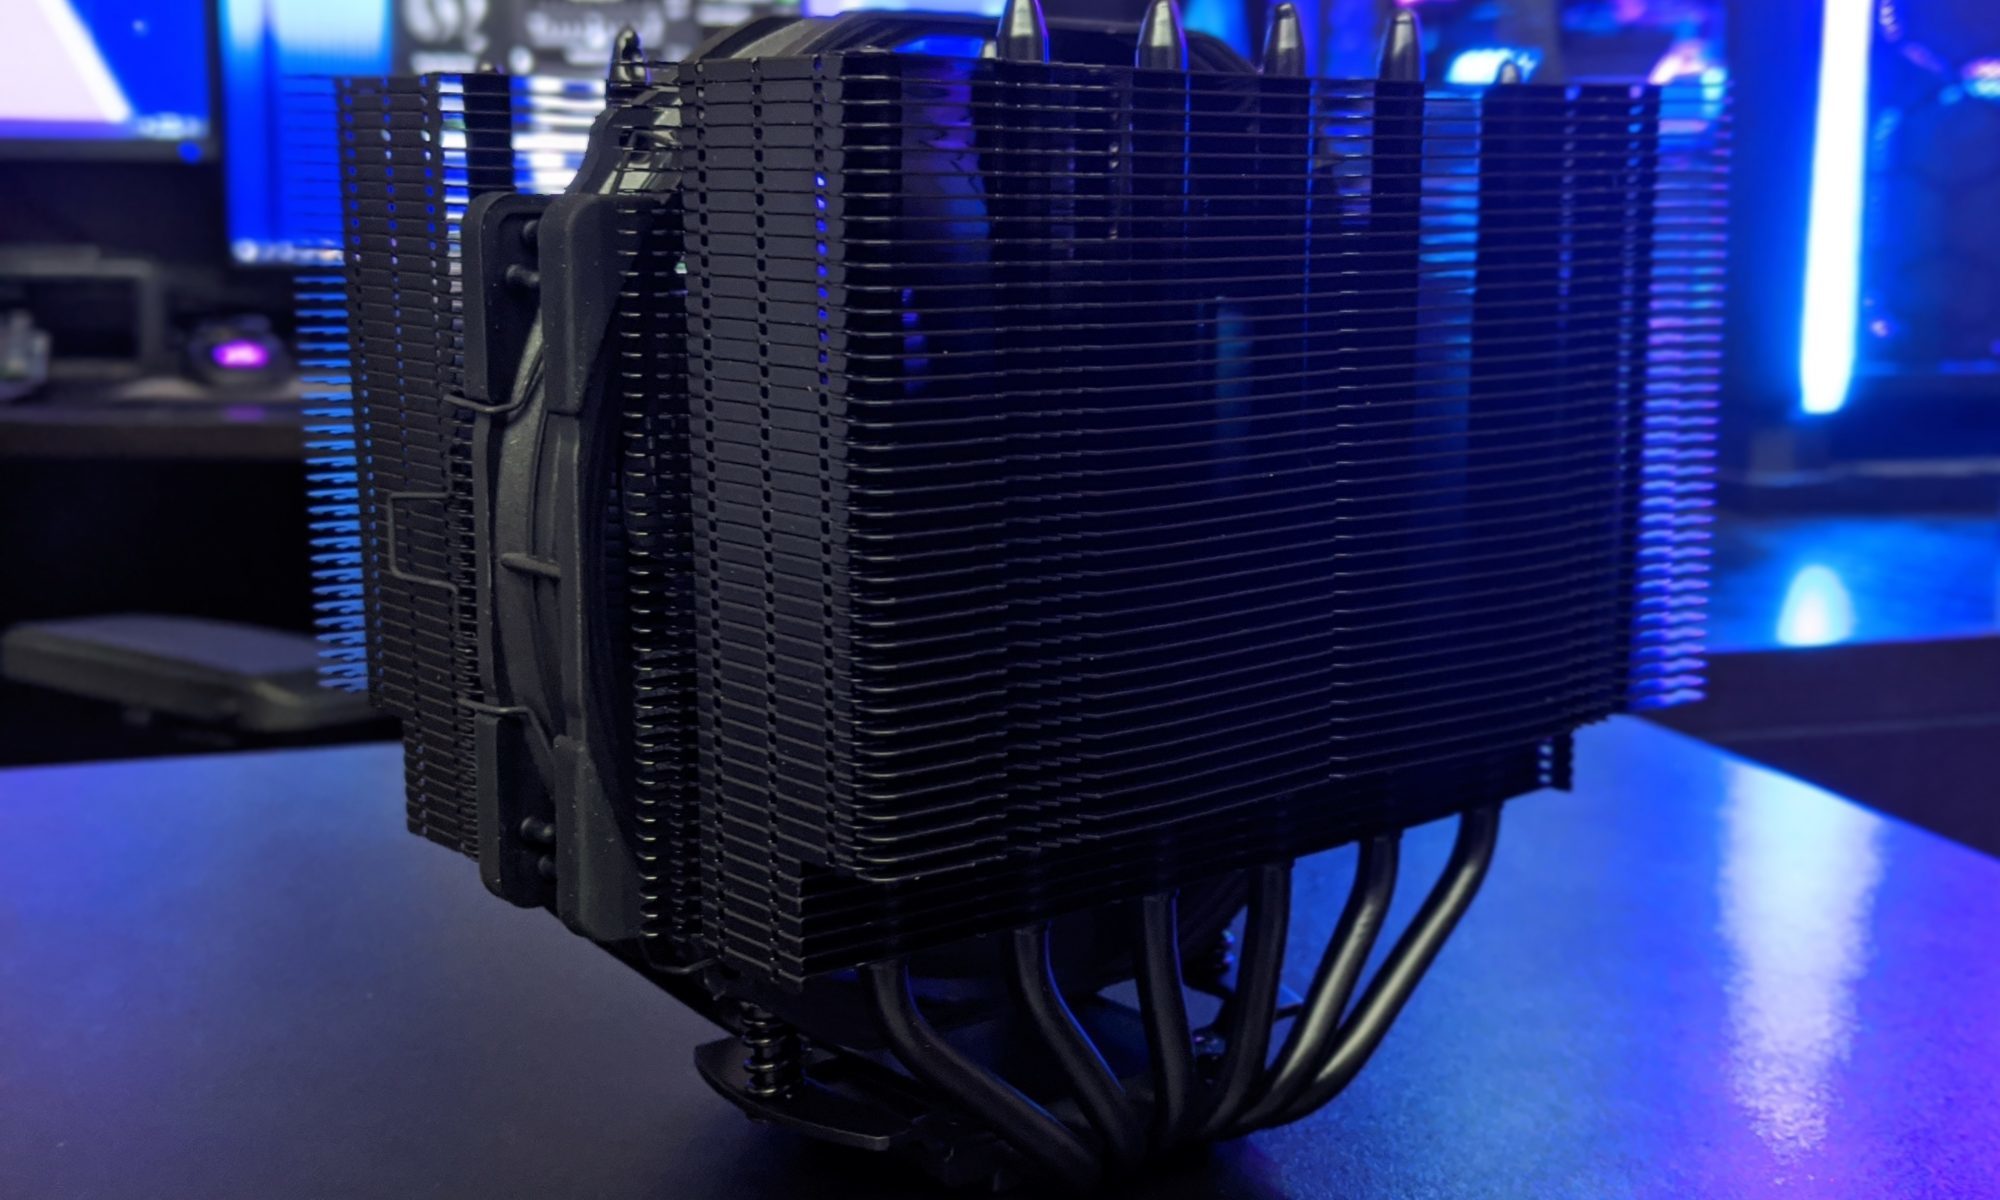
Airflow through the case is equally important. The CPU cooler fan, rear exhaust, and front-to-back airflow pattern should move air across the VRM area. Large tower coolers often provide useful local airflow, while some liquid-cooling configurations leave the socket surroundings with less direct ventilation. A motherboard with a robust heatsink still benefits from a sensible case fan layout.
| Feature | Stronger Design | Warning Sign | Why It Matters |
|---|---|---|---|
| Power stages | High-current integrated stages with credible ratings | High phase count with little electrical detail | Determines current capacity and efficiency |
| Heatsink structure | Large, finned sections with solid mounting | Small, flat covers or mostly plastic trim | Controls heat dissipation |
| Thermal interface | Full, even contact with quality pads | Visible gaps or inconsistent pressure | Transfers heat from stages to heatsink |
| Airflow path | Heatsink exposed to CPU or case-fan airflow | VRM enclosed behind tall cosmetic panels | Affects sustained temperatures |
| Firmware behavior | Sensible load-line and power-limit control | Aggressive automatic voltage settings | Influences heat, stability, and noise |
| Monitoring | VRM or MOS temperature sensors | No useful thermal telemetry | Makes troubleshooting and validation easier |
Match The Design To Your Processor
For a six-core or eight-core mainstream processor running at stock settings, a well-built mid-range motherboard is often sufficient. The important qualities are reasonable power-stage efficiency, a properly sized heatsink, and reliable firmware. Spending heavily on an extreme overclocking board may provide little practical benefit if the CPU itself has modest power demands.
High-end processors require closer inspection. Chips with many cores can draw substantial current during rendering, encoding, simulation, and other sustained workloads. Automatic motherboard settings may also remove conservative power limits, causing the CPU and VRM to operate well above their advertised base power.
Overclocking and manual tuning increase the need for thermal headroom. A board that remains comfortable during a short benchmark may become much hotter during a 30-minute workload. When comparing platforms, use measured temperatures from repeatable tests rather than relying on a manufacturer’s phase-count graphics.
Power delivery should also be considered alongside the rest of the system. A motherboard cannot compensate for an inadequate PSU, and the quality of the power source affects stability throughout the build. This budget 850W guide is useful context when assessing a power supply for a demanding mid-range configuration.
Account For Case And Cooler Compatibility
Motherboard VRM cooling does not exist in isolation. A compact case may restrict the height of the heatsink, reduce exhaust capacity, or place the board close to a solid side panel. Before buying, check motherboard dimensions, cooler clearance, radiator position, and the available intake and exhaust fan mounts.
Large CPU air coolers can create compatibility issues around the upper VRM heatsink. Conversely, an all-in-one liquid cooler may leave the VRM without the airflow that a tower cooler would provide. Some boards use tall heatsinks that interfere with radiator tubes or fan placement, so photographs and clearance diagrams deserve attention.
The case’s internal pressure and dust condition can influence long-term performance too. Restricted filters and clogged heatsink fins raise temperatures gradually, often without obvious symptoms. A practical VRM design should remain accessible for cleaning and should not depend on an unusually powerful fan running at high speed.
Use Testing Data, Not Marketing Claims
When reading a motherboard review, prioritize sustained thermal measurements under a fixed CPU load. Useful tests report ambient temperature, CPU model, power limits, workload duration, fan settings, and whether the board used automatic voltage behavior. A temperature result without this context is difficult to compare.
Pay attention to the difference between sensor readings and infrared measurements. The motherboard’s reported MOS or VRM temperature may reflect a sensor located near the hottest area, while an infrared camera may reveal local hotspots or measurement limitations. Neither method is perfect, but agreement between several observations increases confidence.
Noise results add another layer. A VRM that reaches a safe temperature only because the board ramps its chipset or case fans aggressively may be less appealing than a slightly warmer design that remains quiet. Look for fan-speed graphs and long-load behavior in detailed hardware reviews, especially when evaluating boards for quiet workstations.
Thermal throttling is the most serious warning sign, but it is not the only one. Rapid temperature escalation, inconsistent benchmark scores, excessive automatic voltage, or a heatsink that becomes too hot to approach safely can indicate limited headroom. Compare results across boards tested with similar settings rather than treating one isolated number as definitive.
Practical Checks Before You Buy
A short checklist can prevent an expensive mismatch between motherboard and processor. Specifications establish a baseline, while independent testing verifies whether the design performs as advertised in a real enclosure.
- Confirm that the board’s tested VRM performance matches your CPU’s sustained power demand.
- Inspect heatsink size, finning, thermal-pad coverage, and the expected airflow direction.
- Check BIOS power limits, load-line behavior, voltage controls, and available temperature sensors.
- Verify case, CPU cooler, radiator, EPS connector, and memory clearance before ordering.
- Prefer long-duration thermal and noise measurements over phase-count marketing.
Build Around Sustained Performance
The best VRM thermal design is the one that maintains stable power delivery without excessive fan noise, unnecessary voltage, or awkward compatibility compromises. For a mainstream gaming system, that may mean choosing a sensible mid-range board with strong measured results rather than paying for an enthusiast model filled with features you will never use.
For a workstation or high-end upgrade, prioritize thermal headroom, credible power-stage specifications, full heatsink coverage, and independent testing under extended loads. Review the motherboard as part of the whole cooling and power system, then choose the model that keeps the CPU, VRM, and case environment balanced.
Use these criteria when comparing your next motherboard, and explore detailed test results before committing to a platform. A few minutes spent checking power delivery and cooling can produce a quieter, more reliable PC for years of demanding use.