How to build a low-noise PC using only 120mm fans
A quiet computer does not require unusual hardware or an oversized case. With careful fan selection, sensible airflow, and a good control curve, a system built entirely around 120mm fans can stay cool without producing the constant hum associated with gaming PCs. The key is to manage heat before it reaches the fans, then run those fans slowly and consistently.
The 120mm format remains popular because it fits a wide range of CPU coolers, cases, radiators, and power supplies. It also offers a broad selection of affordable models, from high-static-pressure fans for heatsinks and dust filters to low-noise airflow fans for unrestricted case positions.
Noise comes from several sources: motor tone, bearing friction, turbulence, vibration, and sudden changes in speed. A low-noise build addresses each of these rather than relying on a single “silent” fan specification. The result should be a PC that remains unobtrusive during web browsing and light work while increasing cooling capacity smoothly during demanding loads.
Choose the case around airflow
A quiet build begins with a case that allows air to move freely. A restrictive front panel forces intake fans to spin faster, while a cramped interior can create recirculating pockets of warm air. Look for a chassis with a ventilated front or side intake, a clear path toward the CPU cooler, and a rear exhaust mount that accepts a 120mm fan.
Three or four 120mm fans are sufficient for many systems. Two front intakes paired with one rear exhaust create a straightforward airflow path, while adding a top-rear exhaust can help remove heat from a high-power graphics card. More fans do not automatically produce lower temperatures; each additional motor adds another potential source of noise.
Positive pressure is useful for dust control and acoustics. Set the intake fans to run slightly slower or faster depending on the restriction created by the case, then check whether air escapes through gaps rather than pulling heavily through unfiltered openings. A washable front filter and tidy cable routing also protect airflow over time.
Match fan design to its position
Case fans and cooler fans have different jobs. An airflow-optimized 120mm fan is generally appropriate for an open rear or top exhaust, where it can move air with little resistance. A static-pressure model is better behind a dense front filter, on a tower heatsink, or against a radiator because it maintains useful airflow when resistance increases.
Fan diameter alone does not determine performance. Blade shape, frame design, bearing quality, maximum speed, and control range all influence the sound profile. A fan that produces impressive airflow at 2,000 rpm may be irritating in everyday use if its minimum speed is high or its motor emits a tonal whine.
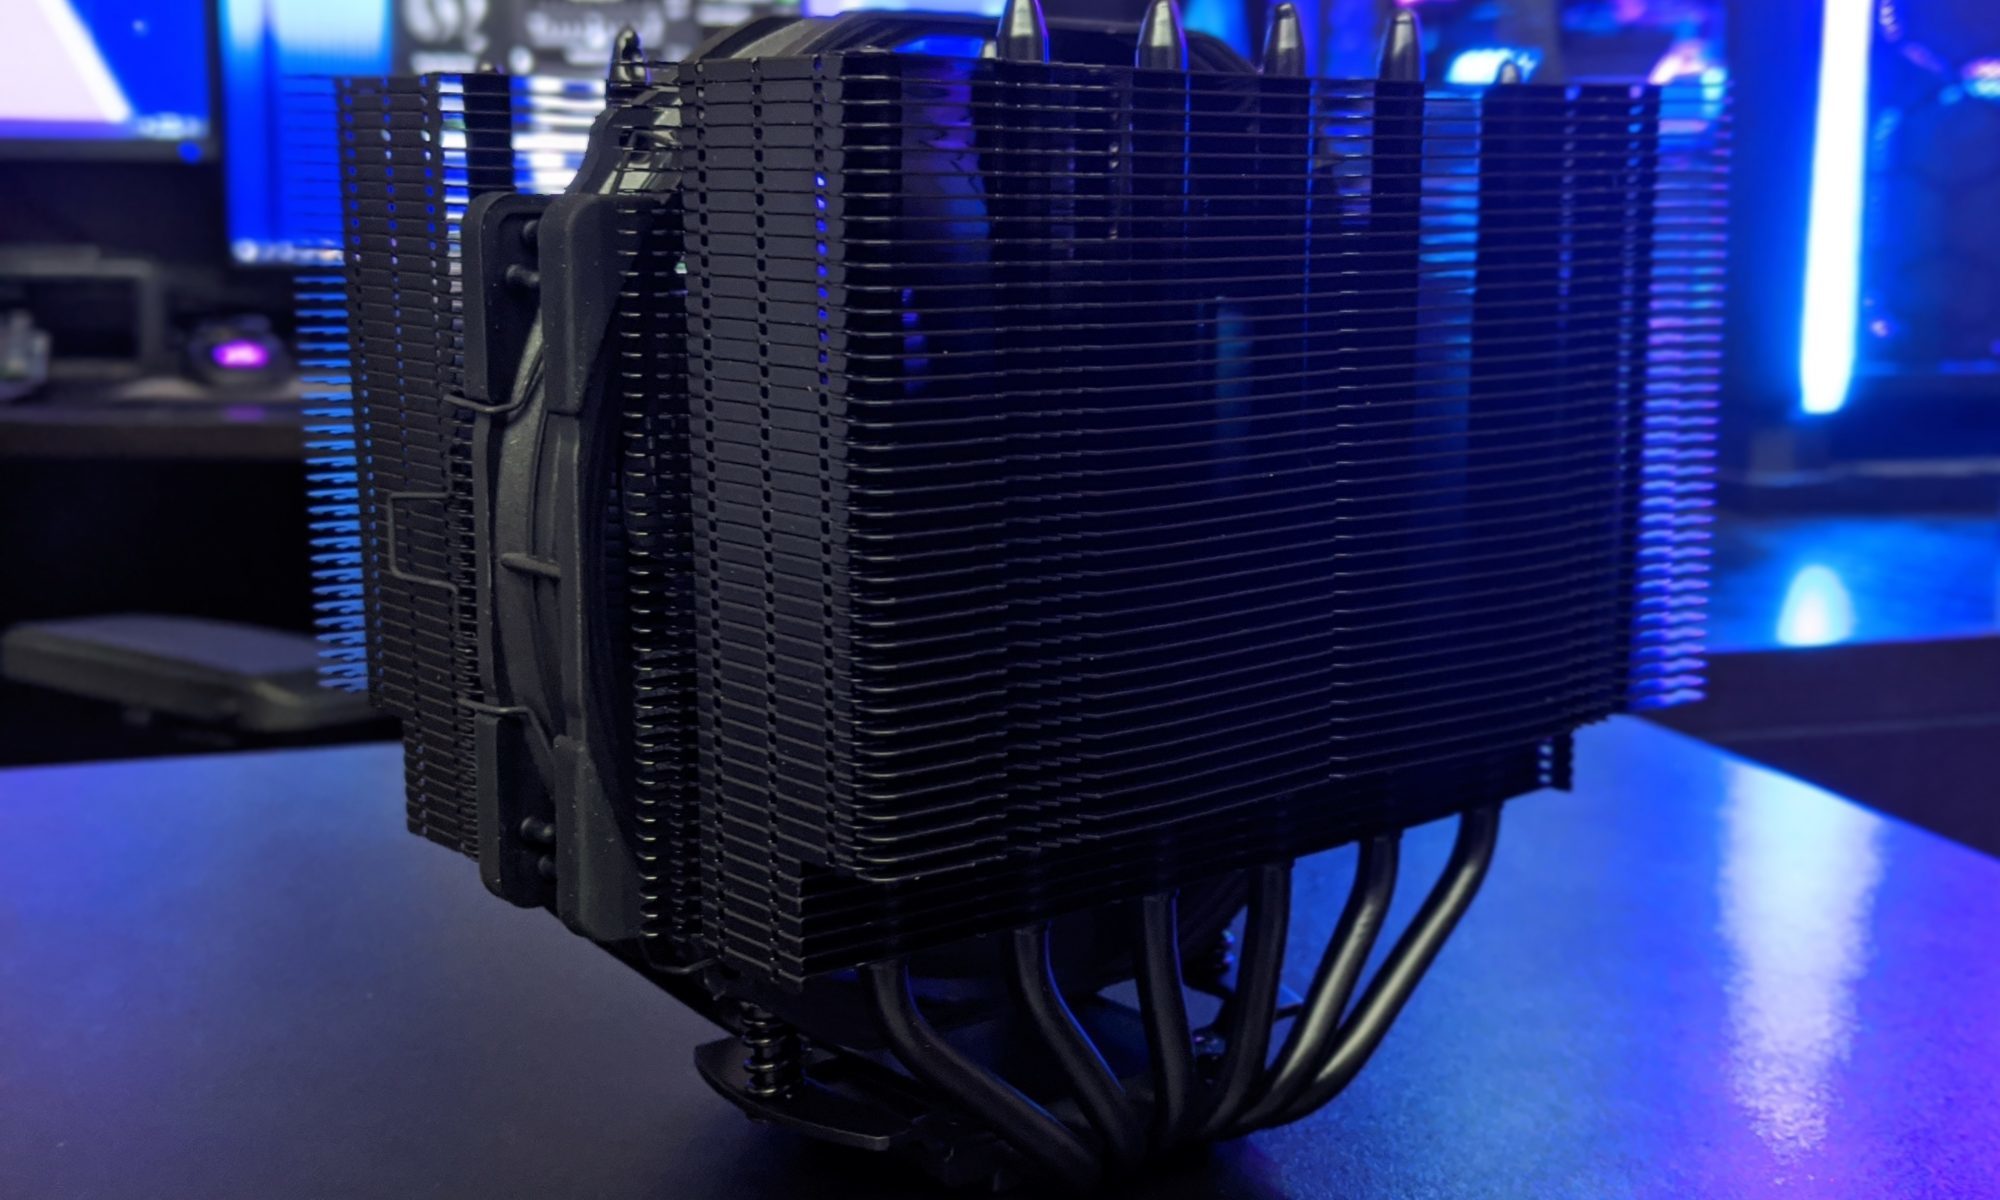
For a CPU air cooler, compare the complete cooler rather than judging the fan in isolation. Large dual-tower designs can dissipate processor heat at lower fan speeds, and testing such as this cooler comparison can reveal how heatsink size, fan behavior, and thermal results interact. A cooler that keeps the processor several degrees cooler at the same acoustic level gives the fan more room to remain quiet.
Build a balanced fan layout
A reliable starting layout uses two 120mm front intakes and one 120mm rear exhaust. The front fans should deliver cool air toward the graphics card and CPU cooler, while the rear unit removes warm air from the socket area. This arrangement is easy to tune and works well in cases with a conventional front-to-back airflow path.
A top exhaust is optional. It can reduce CPU and VRM temperatures in a system with a powerful processor, but it may also pull fresh intake air away from the CPU cooler before that air reaches the heatsink. If the top fan causes higher CPU temperatures or needs to spin quickly, remove it or restrict its speed.
Graphics cards complicate airflow because their open-air coolers recirculate heat inside the case. In that situation, a lower front intake aimed toward the GPU can be more useful than a second top exhaust. Monitor both GPU hotspot temperature and overall acoustic output rather than optimizing for the CPU alone.
| Fan position | Preferred role | Sensible starting speed | Main acoustic concern |
|---|---|---|---|
| Front lower | Intake toward the GPU | 500–700 rpm | Filter turbulence |
| Front upper | Intake toward the CPU cooler | 500–700 rpm | Restricted panel noise |
| Rear | Exhaust behind the CPU socket | 500–800 rpm | Motor tone near ear level |
| Top rear | Optional exhaust | 400–700 rpm | Stealing cool intake air |
| CPU cooler | Heatsink airflow | 500–900 rpm | Rapid speed changes |
Tune the fan curve for real workloads
Motherboard fan control is essential for a quiet PC. Begin with a low idle speed that remains reliable for the selected fan, often around 400 to 600 rpm. Increase speed gradually as temperature rises instead of using a steep curve that causes audible surges whenever a browser tab or background task briefly loads the processor.
CPU temperature can jump quickly because modern processors boost aggressively. If the CPU fan responds instantly to every short spike, the system may sound restless even when average heat output is modest. A response delay of several seconds, where the motherboard supports it, smooths these fluctuations without compromising sustained cooling.
Case fans can follow CPU temperature, GPU temperature, or a motherboard sensor. CPU-based control is convenient, but a gaming system may benefit from a curve linked to the graphics card. If the motherboard cannot read GPU temperature, set a moderate baseline for the case fans and let the GPU’s own cooler manage its local heat.
Test the curve with a repeatable workload. Run a CPU render or stress test for at least 15 minutes, then play a demanding game and observe temperatures, fan speed, and sound. A good curve avoids thermal throttling while keeping fan changes gradual and predictable.
Reduce vibration and unwanted resonance
Even a quiet 120mm fan can become annoying when its vibration transfers into a steel case panel. Use the supplied rubber mounts or silicone pads where available, tighten screws evenly, and avoid over-tightening. A fan frame that is slightly distorted can cause bearing noise or blade imbalance.
Hard drives, pumps, and graphics card fans can dominate the acoustic profile, so evaluate the whole system. If the computer uses a mechanical storage drive, isolate it with rubber grommets or place it in a decoupled cage. Coil whine from a graphics card or power supply cannot be fixed with case fans, although lower frame rates and an appropriate power limit may reduce it.
Keep dust filters clean and check that no cable touches a fan blade. Turbulence can also come from placing a fan directly against a perforated panel with minimal clearance. A few millimeters of space, a smoother intake surface, or a lower fan speed can make a bigger difference than buying a premium model.
Practical choices that keep noise down
- Use PWM 120mm fans with a broad control range rather than fixed-speed models.
- Reserve high-static-pressure fans for filters, heatsinks, and radiators.
- Set a moderate minimum speed and add a delay to prevent constant ramping.
- Use rubber isolation at every fan mount and keep blades clear of cables.
- Measure noise from the normal seating position, not directly beside the case.
A fan with a slightly lower peak specification may be the better purchase if it has a smoother motor, dependable bearings, and quiet operation below 1,000 rpm. Specifications remain useful for narrowing choices, but real acoustic testing is more valuable than maximum airflow claims.
Keep heat under control at the source
The quietest fan is the one that does not need to work hard. Choose a processor with a reasonable power target, enable an efficient motherboard power profile, or apply a small undervolt when stability testing confirms the settings. Lowering unnecessary voltage can reduce heat output and make both CPU and case fans less active.
Graphics card power limits are equally important in a gaming system. A modest reduction in board power often has a small effect on frame rates while significantly reducing GPU temperature and fan speed. Frame-rate caps can provide another acoustic benefit, especially in menus or older games where the graphics card would otherwise run at maximum output.
Apply thermal paste carefully, ensure the cooler mounting pressure is even, and confirm that the heatsink’s protective film has been removed. Poor contact creates a high temperature difference that forces the CPU fan to compensate. Memory modules and motherboard heatsinks should also be checked for clearance so the cooler receives unobstructed airflow.
Cable management should support the airflow path rather than simply making the back of the case look tidy. Keep excess cables away from front intakes, leave space below the graphics card where possible, and avoid blocking the rear exhaust grille. These small changes help a 120mm fan move air effectively at low speed.
Validate performance with repeatable testing
Record idle temperature, sustained CPU temperature, GPU temperature, and noise at a fixed distance. Ambient room temperature should be noted because a five-degree change in the room can make fan comparisons misleading. Smartphone sound meters are imperfect, but they can still show whether a change is meaningfully quieter when used consistently.
Listen for character as well as loudness. Broadband airflow resembles a soft rush and is often easy to ignore, while a narrow motor tone or bearing rattle remains noticeable at a lower measured volume. Run the system at the desktop, under a CPU workload, and during a typical gaming session because different components dominate in each condition.
After tuning, inspect temperatures over several days of normal use. A curve that performs well in a short benchmark may allow heat to build during long gaming sessions or summer weather. Keep enough thermal margin to prevent the fans from reaching their maximum speed unexpectedly.
A well-designed 120mm setup should fade into the background during light work and produce a controlled, steady airflow sound under load. Install the fans in a clear intake-to-exhaust path, tune each header patiently, and verify the result with both temperature data and careful listening. That process turns a collection of standard components into a genuinely quiet PC.