How To Measure Case Air Pressure And Improve Cooling Efficiency
Case air pressure describes the balance between the air that fans push into a PC and the air that fans exhaust. A system with slightly more intake airflow has positive pressure, while stronger exhaust creates negative pressure. If intake and exhaust flow are closely matched, the case operates near neutral pressure.
This balance affects temperatures, dust accumulation, fan noise and the consistency of airflow around heat-producing components. It is especially relevant when a graphics card dumps heat inside the chassis, when a radiator restricts airflow, or when front-panel ventilation is limited.
Air pressure is often discussed as though it has a single ideal setting, but the best result depends on the case design, fan filters, cooler layout and room temperature. A well-sealed chassis with filtered intakes can benefit from mild positive pressure, while a highly open case may show only a small measurable pressure difference.
Australian conditions make airflow testing particularly useful. A gaming PC in Brisbane or Perth may face hot summer room temperatures, while a Melbourne system can experience cooler winters but considerable dust and lint indoors. Measuring the system under repeatable conditions provides more useful evidence than relying on fan specifications alone.
What Case Air Pressure Actually Means
Pressure inside a PC case is measured relative to the surrounding room, usually in pascals (Pa). The values are small because a computer case is not an airtight vessel. Gaps around expansion slots, cable openings, removable panels and dust filters allow air to escape or enter.
Positive pressure occurs when the effective intake capacity exceeds the exhaust capacity. This does not simply mean counting fans. A front intake behind a restrictive mesh filter may move less air than an unrestricted rear exhaust, even if both fans have similar advertised airflow. Fan curves, radiator fins, grille resistance and filter cleanliness all influence the final balance.
Negative pressure can pull air through every unfiltered opening, including gaps around the side panel and PCIe brackets. That may improve the removal of warm air in some layouts, but it also draws dust into the chassis. Mild positive pressure generally helps direct incoming air through filters, though excessive intake can create turbulence and recirculation.
The objective is therefore controlled airflow rather than the highest possible pressure reading. A small positive differential combined with a clear front-to-back or bottom-to-top path is usually more useful than forcing large volumes of air into a poorly vented case.
Practical Ways To Measure The Difference
The most direct method uses a differential pressure manometer. One tube remains in the room, while the other passes through a small gap in a side panel or through a temporary opening. With the computer running at a fixed fan speed, the gauge shows whether the interior is above or below room pressure.
Digital differential manometers are available from laboratory suppliers and some electronics retailers, although they may cost more than a basic PC fan. A simple U-tube manometer can also reveal the direction and approximate magnitude of the pressure difference. Use water or suitable gauge fluid carefully, keep the tube secure, and avoid spilling liquid near powered hardware.
A low-cost smoke test can show airflow direction without measuring pressure numerically. Hold a thin strand of incense smoke, theatrical fog or a smoke pencil near likely leak points, such as the rear expansion slots, side-panel seams and unused cable openings. Smoke moving inward indicates negative pressure at that location; smoke moving outward suggests positive pressure.
Avoid using smoke near sensitive components or leaving an incense stick inside the room unattended. A tissue strip or lightweight thread offers a safer visual check, although it is less sensitive. For repeatable comparisons, test with the same panels fitted, the same fan speeds selected and the same room doors and windows closed.
Before testing, record room temperature, CPU package temperature, GPU temperature, fan RPM and noise level. A digital thermometer placed near the case intake is useful. Readers who want to report unusual results or clarify a test method can use the Hardware Hounds contact page.
Setting Up A Reliable Cooling Test
Begin with the case in its normal operating position, rather than on its side or with the front panel removed. Install all dust filters and panels, because removing them changes both the pressure balance and the resistance faced by the intake fans. Allow the system to reach a stable idle temperature before recording results.
Run a repeatable workload for at least 10 to 15 minutes. A CPU rendering test, a demanding game benchmark and a combined CPU-GPU workload reveal different airflow behaviours. The graphics card may heat the case interior during gaming, while a CPU-only test can overstate the performance of the processor cooler.
Test several fan configurations: the default motherboard profile, a matched intake-and-exhaust profile, and a configuration with slightly stronger intake. Keep the pump speed fixed if using liquid cooling. Record average temperature and peak temperature, but also note whether the temperature continues rising, since a case with poor heat removal may take longer to reach equilibrium.
Noise should be measured from the same position, ideally with the PC at a fixed distance from the microphone. Increasing intake fan speed can reduce component temperature while making the system less pleasant to use. A result that lowers GPU temperature by one degree but adds a clearly audible motor or turbulence noise may not represent a worthwhile improvement.
Room conditions matter greatly in Australia. A test performed in an air-conditioned Sydney office at 22°C cannot be compared directly with a summer result from an Adelaide room at 30°C. Record ambient temperature and use the difference between component temperature and room temperature when comparing sessions.
How Pressure Changes Component Temperatures
Positive pressure can improve cooling when it ensures that most incoming air passes through a large, unobstructed intake area. Cool air then reaches the graphics card and CPU cooler before being removed through the rear and top exhausts. This arrangement is particularly effective in cases with a perforated front panel and enough clearance behind the dust filter.
Pressure alone does not guarantee lower temperatures. If exhaust fans are too weak, warm air can remain trapped near the graphics card or accumulate around the top of the motherboard. If intake fans are too strong for the case openings, the air may spill out before reaching the components, while internal turbulence can disrupt the intended airflow path.
Negative pressure can help in a case with restricted front intakes and a large open rear or top exhaust area. However, it often makes dust control worse. Australian homes can introduce fine dust, carpet fibres and pet hair into a system, and periods of bushfire smoke can make filtration especially important. A filter that becomes clogged will also change pressure and cooling over time.
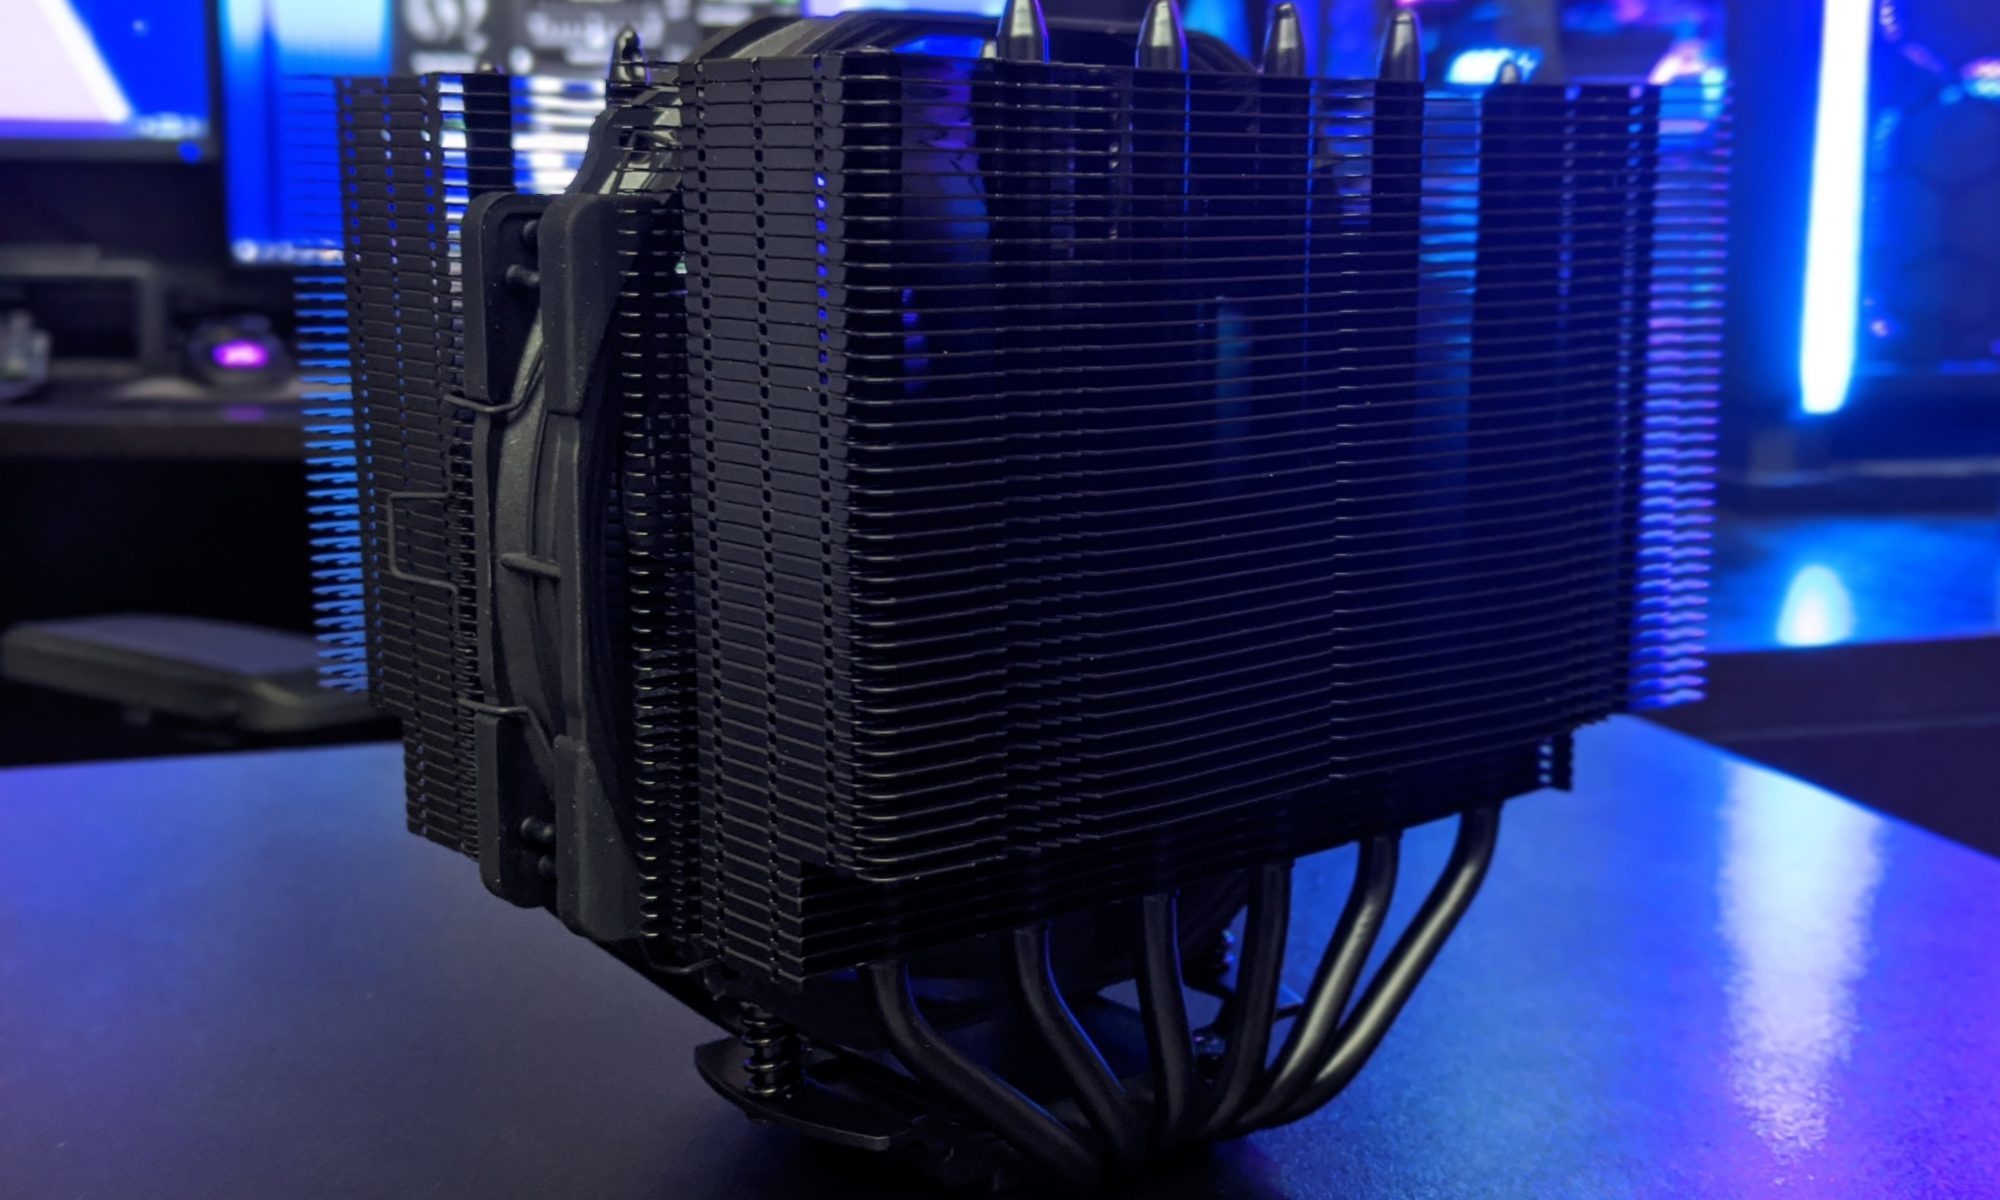
CPU cooler design is another variable. A tower air cooler needs a steady stream through its fin stack, while a top-flow cooler may benefit from more direct intake airflow around the motherboard. For an example of how cooler design and case airflow interact, the Peerless Assassin comparison provides useful context when evaluating large tower coolers against alternative designs.
Tuning Fans For A Balanced System
Start with a slight intake bias rather than chasing a specific pressure number. Two front intakes and one rear exhaust are a common baseline, but fan size and restriction matter more than the raw count. A 140 mm intake running at a moderate speed may move substantial air quietly, while a 120 mm exhaust at high speed can dominate the pressure balance.
Top exhaust fans require careful adjustment. They can remove warm air from the CPU area, but excessive top exhaust may draw cool intake air directly out of the case before it reaches the graphics card. Try disabling the top fan temporarily, then compare GPU temperature, CPU temperature, pressure direction and noise.
Fan curves should respond to the component that creates the greatest heat load. A gaming system may need its front intake fans to follow GPU temperature, while a workstation running sustained renders may benefit from a CPU-based curve. Avoid rapid speed changes by using a short delay or smoothing option in the motherboard software.
Clean filters and heatsinks before drawing conclusions. A clogged front filter can turn a previously positive-pressure case into a restricted system with rising temperatures. Likewise, dust on a radiator or cooler fin stack increases resistance and may encourage users to compensate with louder fan speeds.
Do not download questionable utilities simply because they promise free monitoring or security features. Offers such as a free antivirus key can expose a PC to unwanted software or licensing risks; use reputable motherboard tools, established hardware monitors and official vendor downloads instead.
A useful final comparison includes temperature, room-adjusted temperature, fan RPM, sound level and pressure direction under the same workload. Australian buyers can then judge whether a case or fan upgrade is worthwhile at local retailers such as PCCaseGear, Scorptec or Umart, where pricing and stock can vary considerably. The best setup is the one that keeps the CPU and GPU stable, controls dust and remains acceptably quiet throughout the year.