The best pre-crimped cable extensions for cleaner PC builds
A well-built gaming PC is judged by more than frame rates and component temperatures. Once a tempered-glass side panel is fitted, the power cables become part of the machine’s visual design. Pre-crimped cable extensions offer a relatively simple way to replace tangled stock leads with cleaner, colour-matched runs without rebuilding the entire power-delivery system.
These kits are available in sleeved, braided, flat and RGB-equipped designs, with options for ATX, EPS, PCIe and newer GPU power connectors. The best choice depends on your case layout, graphics card, power supply, airflow priorities and tolerance for cable management. Australian builders also need to consider local pricing, summer temperatures and whether a product is genuinely compatible with their hardware.
Why pre-crimped extensions suit showcase builds
A cable extension plugs into the original modular or fixed PSU cable and presents a more attractive visible section inside the case. The factory cable remains behind the motherboard tray or in the power-supply shroud, while the extension is routed through the main chamber. This approach can deliver a significant visual improvement without replacing PSU-side connectors.
Pre-crimped products arrive with terminals already fitted and sleeved, so the builder does not need a crimping tool, terminal extractor or experience with wiring assemblies. That convenience is particularly useful for first-time builders and anyone changing from a closed-front case to a panoramic dual-glass chassis. Cable combs are usually included, helping parallel wires maintain a tidy shape around the motherboard and graphics card.
The main benefit is consistency. Matching extensions can give the 24-pin ATX lead, CPU EPS cable and GPU leads the same sleeve texture and colour. Black, white and grey remain the safest choices for broad compatibility with cases, while red, blue and custom colour combinations can complement a more deliberate themed build.
The cable types worth buying
A basic kit should include a 24-pin motherboard extension, one or two 8-pin EPS extensions for the CPU, and PCIe leads for the graphics card. Many modern systems need two separate PCIe cables rather than one daisy-chained lead, particularly when a high-power GPU is installed. Using individual runs can improve cable management and reduce stress at the connector.
The newer 12VHPWR and 12V-2x6 standards require additional care. These compact connectors can carry substantial current, and the cable should be fully inserted with no sharp bend directly beside the plug. A compatible extension must be designed for the correct connector and power rating; an attractive sleeve is not a substitute for suitable electrical construction.
SATA and peripheral extensions are less visually important because they are often hidden behind the motherboard tray, although sleeved versions can help in cases with exposed drive mounts. Avoid mixing random brands where the extensions use different sleeve lengths, comb spacing or connector housings. Small differences become obvious when multiple cables run side by side.
It is also important to distinguish extensions from replacement PSU cables. Extensions are generally universal at the component-facing end because they connect to the original cable. Replacement cables are PSU-model specific, and plugging an incompatible modular cable directly into a power supply can damage components. Product descriptions that use “universal” loosely deserve careful scrutiny.
Choosing between popular sleeve styles
ModMesh-style sleeving is a common enthusiast choice because it offers a dense, fabric-like appearance and a broad range of colours. It tends to hold curves neatly, although thicker bundles may need more room behind the motherboard tray. Premium kits usually have cleaner heat-shrink work, tighter cable combs and better consistency between individual wires.
Paracord and nylon-braided extensions can look softer and less rigid. That makes them easier to shape around a graphics card, but the cables may spread or twist if the included combs are loose. Flat extensions are often the easiest to hide, though they generally provide a less luxurious appearance than individually sleeved wires.
RGB cable extensions, including illuminated motherboard and GPU designs, make sense when the build already uses addressable lighting. They can create a strong focal point through a glass side panel, but they add controllers, software and extra wiring. A restrained build with a clean white or black palette may look more expensive with high-quality non-lit cables than with excessive lighting.
Colour accuracy also varies between brands and batches. White sleeves can appear warm under some LED strips, while grey may look almost silver in photographs. If a build includes a white case, fans and cooler, ordering matching samples or buying from the same product range reduces the chance of mismatched tones.
Compatibility, safety and installation details
Before ordering, check the motherboard’s EPS requirement, the graphics card’s connector type and the number of available cable paths. A dual-8-pin CPU motherboard may need two extensions, while a high-end GPU could require three traditional 8-pin PCIe connections. The length should reach comfortably without pulling on either connector, but excessive slack can make the rear chamber difficult to close.
Inspect every crimp and connector housing before installation. The pins should sit evenly, the plastic should not be cracked and the sleeving should be firmly secured. Extensions should never be modified by cutting, repinning or combining conductors unless the user has the correct electrical knowledge and tools.
Routing matters for both appearance and reliability. Keep the 24-pin cable aligned with the motherboard edge, use combs near visible bends and avoid crushing thick bundles beneath a glass panel. For GPU power, maintain the manufacturer’s recommended bend radius and make sure the connector is not resting against the side panel.
Australian rooms can become very warm during summer, especially in western Sydney, Brisbane or Perth. While cable extensions do not normally generate meaningful heat, poor routing can obstruct front-to-back airflow or press against hot GPU exhaust areas. Check that the case closes without pinching the cable and that intake fans still have a clear path.
Value in the Australian market
Pricing varies considerably between local retailers and imported marketplace listings. A premium sleeved kit may cost more than a budget extension set, but the difference is often visible in connector fit, comb quality and the uniformity of the braid. Australian buyers should factor in delivery times, GST treatment and the practical difficulty of returning a product that does not match the advertised connector.
The Australian Consumer Law provides consumer guarantees for products sold by businesses in Australia. A cable set must be of acceptable quality, match its description and be reasonably fit for its stated purpose. That does not remove the need to check compatibility, but it gives buyers stronger recourse when a product arrives damaged, incorrectly labelled or materially different from its listing.
For a mid-range gaming system, a coordinated extension kit is usually a better value upgrade than replacing every PSU cable. It can refresh an older build, hide an unattractive fixed-cable power supply and improve photographs for a modest outlay. Builders in Melbourne or Adelaide may also appreciate the flexibility of extensions when changing cases between compact and full-size layouts.
Cable selection should still follow the whole build budget. Spending heavily on decorative leads while using an undersized or poor-quality power supply is the wrong priority. The PSU, cooling, storage and graphics card determine system reliability and performance; extensions should refine the presentation after those fundamentals are sound.
Getting a polished result without overbuilding
The cleanest installations usually begin with a dry fit. Place the motherboard and power supply, route the original leads behind the tray, then test the extensions before installing the graphics card. This reveals whether the supplied lengths suit the case and whether the rear panel can close without excessive force.
Start with the largest visible cable, normally the 24-pin ATX lead, and position its curve before securing anything permanently. Next, route the CPU EPS extensions through the upper cut-out, keeping them close to the case frame. GPU cables should run in parallel and enter the card at matching angles, with the combs positioned where they can be seen through the glass.
Photographs can be useful when judging a finished build, but real-world viewing distance matters more. A cable that looks perfectly straight in a close-up may appear unnaturally stiff from across a desk. In a compact case, gentle curves usually look more refined than forcing every wire into a ruler-straight line.
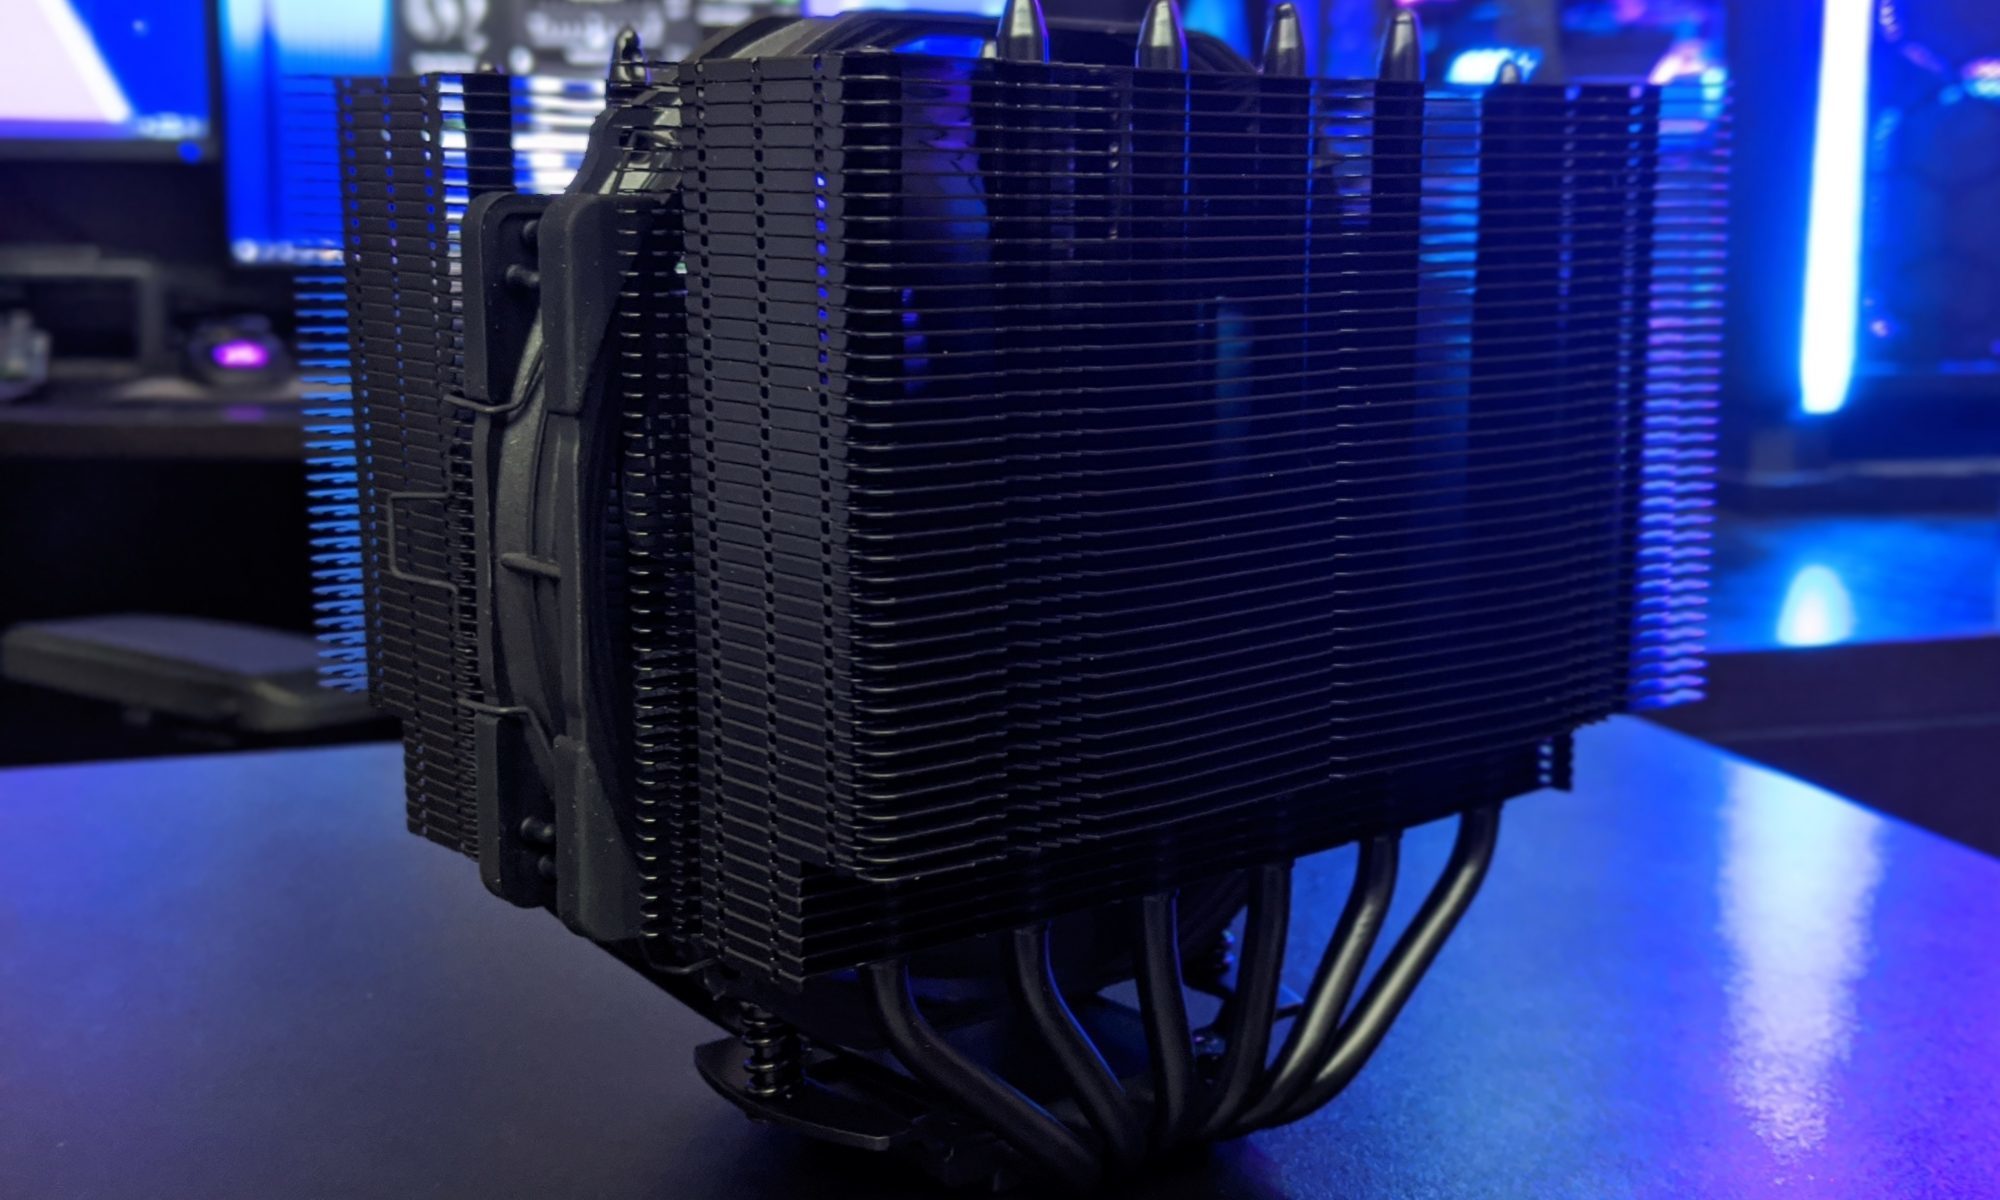
The same attention to thermal detail used for a cooler comparison can improve cable choices; Hardware Hounds’ cooler comparison demonstrates why airflow, temperatures and physical clearance should be considered together. A visually impressive cable route should leave room for CPU cooler towers, radiator tubes and GPU intake airflow.
For builders planning detailed hands-on coverage or product testing, the site’s review contact page provides a direct route for hardware enquiries. In everyday use, the ideal pre-crimped extension is the one that fits the connector standard, survives repeated case maintenance and makes the visible side of the PC look intentional rather than merely decorated.